Plein Air Painting in Snow: A Practical Guide for UK Artists
A practical UK guide to plein air painting in snow. Learn to spot blue-violet shadows, layer clothing, simplify kit, and paint quickly while staying safe and warm.

Key takeaways
- • Snow is rarely pure white; lit areas are warm and shadows are blue or violet, so mix accordingly.
- • Be ready to move when snow falls. Plan ahead, check the forecast and location access the night before.
- • Layer clothing carefully: merino base, insulating mid layer, and a windproof waterproof outer plus warm hands, feet and head.
- • Keep kit simple: small panels, a limited palette and a stable pochade or tripod for quick setup.
- • Paint values by blocking in darks first, mix blue-violet shadows, and work in short bursts to stay safe and productive.
Snow transforms a familiar landscape into something almost unrecognisable. The clutter disappears, values simplify, and the light does things you simply won't see at any other time of year. For outdoor painters, a proper snowfall is genuinely exciting, and plein air painting in snow is one of the most rewarding challenges the British seasons can offer.
The catch, of course, is that UK snow doesn't hang around. In most parts of lowland England and Wales, you might get one to three days of lying snow in a typical winter, sometimes less. That means the approach here is less "plan a dedicated trip" and more "be ready to move when it arrives." This guide gives you everything you need to do exactly that: stay warm, work efficiently, and come back with something worth looking at.
Why Snow Makes a Compelling Painting Subject
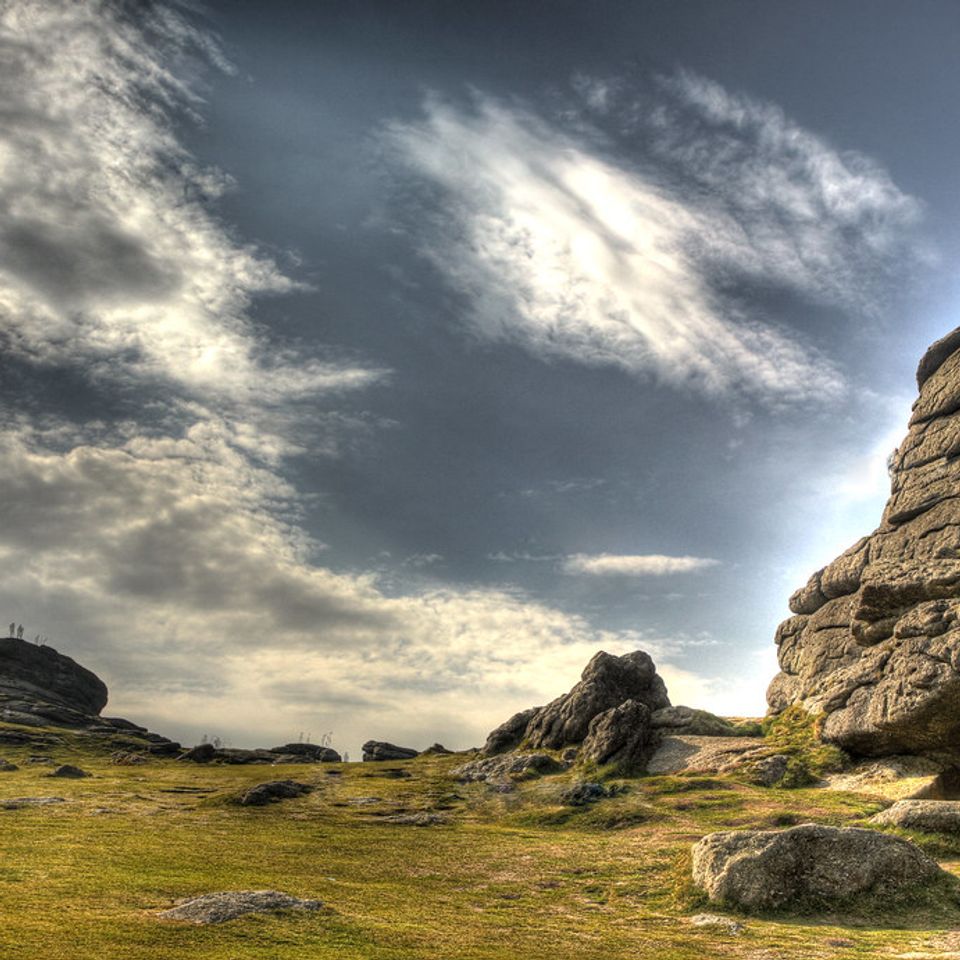
Most of what makes outdoor painting difficult is also what makes it interesting. Snow takes that principle and turns it up. It strips a scene down to its essentials: a few dark tree trunks, a pale sky, a strong shadow running across an open field. The visual noise of grass, foliage, and ground detail vanishes. What's left is a study in tone and temperature.
The painters who understood this instinctively were the Impressionists. Pissarro and Sisley returned to snow subjects repeatedly, drawn by exactly these qualities: the stark contrasts, the reflected light, the colour in the shadows. Closer to home, Lowry's winter townscapes use snow to create the same stripped-down clarity, the urban clutter reduced to silhouettes against a light ground. These aren't paintings about hardship. They're paintings about seeing more clearly.
That's the case for going out. Now for the practicalities.
Snow Is Never Just White
This is the single most important perceptual shift for painters approaching snow for the first time. Snow in direct winter sunlight is not white. It contains warm golden or peachy notes where the low sun catches it, and the colour temperature shifts noticeably as you move into shade.
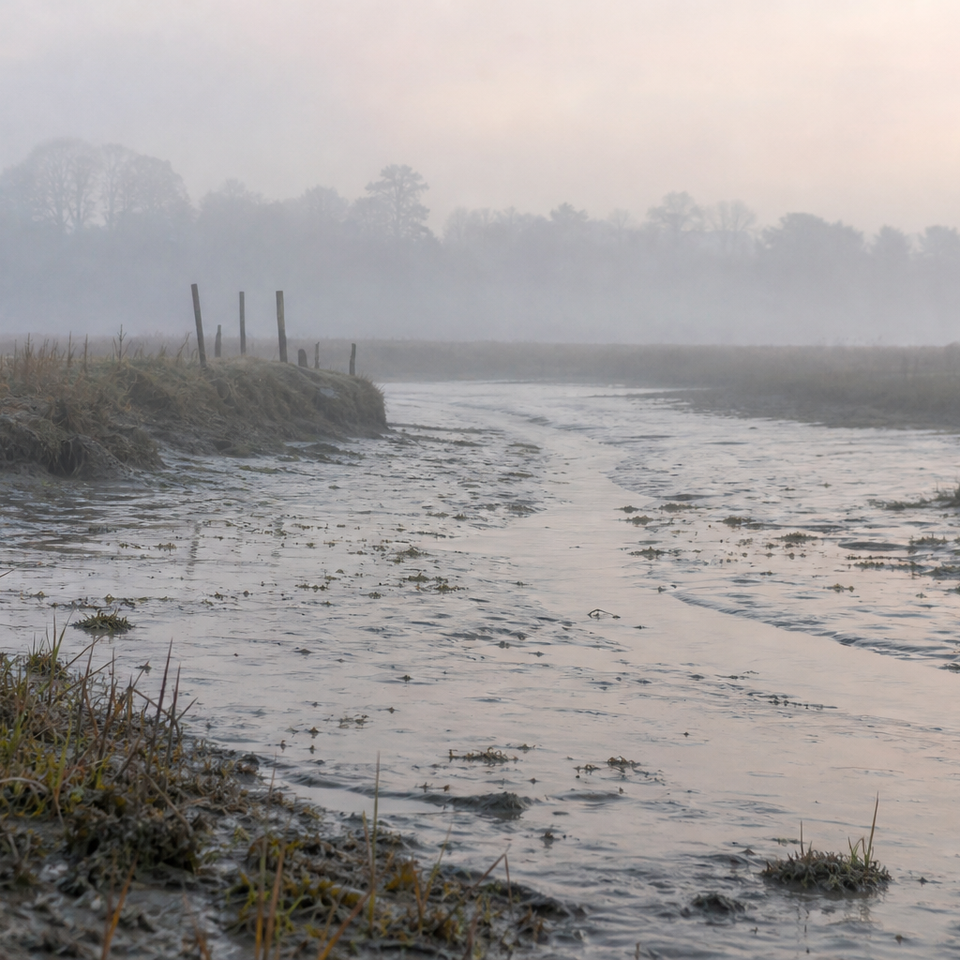
Snow in shadow picks up colour from the sky above it. On a clear day, that means distinctly blue or blue-violet shadows. On an overcast day, the shadows are softer, tending toward neutral violet or cool grey. Ground-level snow can also pick up reflected warmth from nearby brick walls, dead grass, or even the pale orange of a street lamp. None of this is white.
Save your titanium white for the single brightest moment in the painting: the glint off a snow-covered rooftop, a crisp edge catching direct sun. Use it sparingly for those moments and mix everything else. This is what separates a snow painting that reads as real from one that looks chalky and flat.
A useful exercise before you go out
On a grey day, look at a patch of snow in shade and one in open sky light. They will not be the same colour. The shaded area will tend toward blue-violet; the lit area toward a warm neutral or pale yellow. Train your eye to see this difference before you start painting it.

Planning Your Snow Painting Session in the UK
A good snow session in the UK starts the night before, when you check the forecast. The Met Office is more reliable than general weather apps for short-range winter predictions, particularly for precipitation type and overnight temperatures. If there's a reasonable chance of lying snow by morning, get your kit ready before you go to bed.
Check Conditions Before You Leave
In mid-winter, usable painting light in the UK runs roughly from 9:30 to 15:30. The sun stays low throughout the day, which means long, fast-moving shadows and a very different quality of light compared to summer. That roughly six-hour window narrows further if skies are heavy or if you're working near trees or buildings that block the low sun.
Check road and path conditions before you head out, not just the snow forecast. A rural lane that looks fine on a weather map can be impassable after overnight frost. If you're driving to a location, check whether the car park or access road has been treated. A session abandoned because you can't get there is nobody's idea of a good morning.
Choosing Your Location
Resist the temptation to head for the most dramatic view if it means compromising on safety or access. In UK winter conditions, the practical calculus is simple: the closer you are to warmth, shelter, and solid footing, the longer you can actually paint.
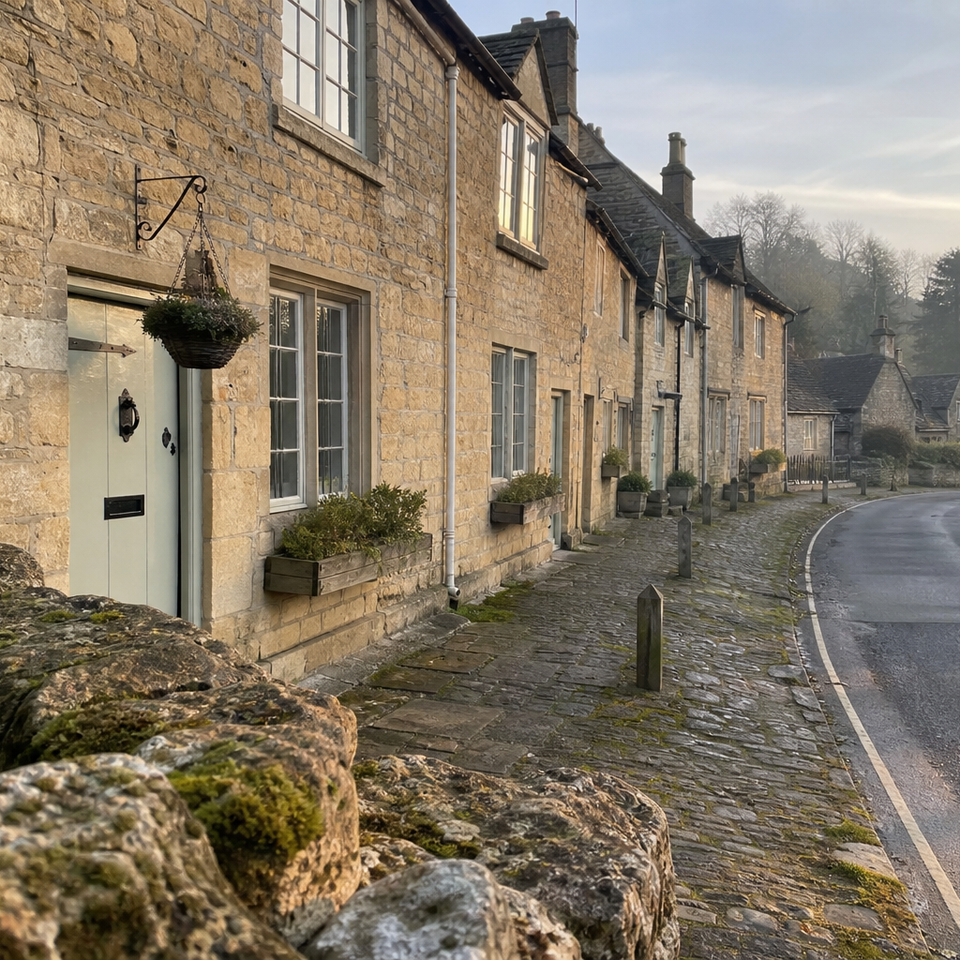
Urban parks are significantly underrated as snow venues. A snow-covered path through bare oaks, a bench with a white cap of snow, a pond with a thin skim of ice: these are strong, paintable subjects. Staying near a café or your car means you can work in short bursts and return to warmth without cutting the session short entirely.
If you prefer countryside, local hills and field edges accessible from a lay-by or car park are a practical middle ground. Well-maintained paths through National Trust sites or local authority countryside are usually safer than open moorland, where path surfaces can be hidden and conditions change quickly.
A note on remote locations: moorland, mountain, and open fell in serious winter conditions carry real risks. If you want to paint in those places in snow, be an experienced and properly equipped hillwalker first, and a painter second. For most UK readers in most UK snowfalls, that level of commitment isn't necessary.
Wherever you go, stick to public rights of way, open access land, or locations where you have permission. Follow the Countryside Code. Don't position your easel or tripod in a way that blocks gates, stiles, or narrow paths.
Think urban first
An urban park after overnight snow can be just as pictorially compelling as moorland — and far safer and more comfortable. A snow-covered bench, bare trees against a pale sky, and the stillness of an empty path make excellent subjects. Staying near shelter makes it easier to work in short bursts.
Staying Warm Enough to Actually Paint
This is where most people give up before they've started. Cold hands won't paint. Numb feet end a session in minutes. Getting the clothing right is not a peripheral concern: it's the foundation everything else rests on.
Layering for Winter Plein Air
The three-layer principle is well established and genuinely works. A moisture-wicking base layer draws sweat away from your skin so it doesn't chill you as you cool down. Merino wool is excellent here: it wicks effectively, insulates even when slightly damp, and doesn't smell after a few hours of wear. The thing to avoid absolutely is cotton, including cheap cotton thermals. Cotton holds moisture against your skin and loses its insulating value fast. It's the wrong choice even on a dry cold day.
Your mid-layer provides insulation. A fleece or a down gilet works well. Down compresses into a bag or jacket pocket, which is useful if you warm up during the session. Your outer layer needs to be windproof and waterproof, even on a dry day: wind chill in open country or an exposed park is significant, and snow can turn to sleet without much warning.
Hands, Feet and Head
These are the three points where cold wins if you let it.
Hands: Paint in fingerless gloves. They give enough dexterity for brushwork while keeping your palms warm. When you're walking to and from the location, add an over-mitt or a ski glove on top. Keep a chemical hand warmer in each pocket: disposable ones work well, and reusable versions (the kind you click to activate) are a greener option. Heated gloves are increasingly available and worth considering if you paint through the winter regularly.
Feet: Two pairs of socks work better than one thick pair: a thin liner sock next to the skin and a thicker wool sock over it. Insulated and waterproof boots are important, but equally important is what you stand on. Concrete, frozen ground, and compacted snow all conduct heat away from your feet very efficiently. An old piece of carpet offcut, a foam kneeling pad, or even a folded carrier bag under your feet makes a noticeable difference to how long you can stand comfortably.
Head and neck: More heat is lost here than most painters account for. A hat that covers your ears, plus a buff or neck gaiter, are both worth packing. If it's genuinely cold, wear the buff from the moment you leave the car.
Winter comfort basics
- Base layer
- Merino wool preferred
- Mid-layer
- Fleece or down gilet
- Outer layer
- Windproof and waterproof
- Hands
- Fingerless gloves + over-mitt
- Feet
- Insulated boots + insulating mat
- Hot drink
- Thermos of tea or coffee
Avoid cotton entirely
Down compresses well under a shell
Even on a dry day, wind chill matters
Keep a handwarmer in each pocket
Standing on frozen ground is a fast way to end a session
Non-negotiable in sub-zero conditions

Working in Short Bursts
Many experienced painters approach cold weather sessions in passes rather than one continuous stretch. Set up, paint for 20 to 30 minutes, return to the car or a nearby café to warm through properly, then go back for another pass. This is not a compromise or a sign of inadequate commitment. It's a sensible, widely used approach that also happens to work well creatively: you return to the painting with fresh eyes each time, which makes it easier to judge what's working.
If conditions are at or below freezing, this approach isn't optional: it's how you stay safe and keep painting productively.
Simplifying Your Kit for Snow Sessions
Fumbling with clasps, locks, and tube caps with cold fingers is miserable. The less time you spend on setup and maintenance, the more time you spend painting. For snow sessions, paring back is a genuine practical advantage.

Go Small
A 5x7" to 9x12" panel or board is the right scale for a snow study. You can complete a credible study in the time before your hands cool, before the light shifts, and before the snow begins to melt or turn to slush. Treat these sessions as reference studies rather than finished works. Some of them will be excellent in their own right, but releasing yourself from the expectation of a gallery-ready piece makes for better, freer painting.
A Limited Palette for Snow
A reduced palette means fewer decisions and less time spent mixing. For oils, a workable snow palette might include:
- Titanium white
- A warm blue (ultramarine)
- A cool blue (cerulean or Prussian blue)
- A warm earth (yellow ochre or raw sienna)
- A strong dark (ivory black, or a mix of ultramarine and burnt umber)
With this range you can mix every value and temperature shift you'll encounter in a typical snow scene, from the warmest lit passages to the deepest shadow. Watercolour painters will find that a small travel palette already limits the range usefully; the same logic applies.
Lay out your palette before you leave home
Pre-loading your palette indoors means you can start painting almost immediately on location, without exposing your hands for long periods right at the start of the session. In cold conditions, the difference between a warm and a cold start matters more than you'd think.
Stable, Simple Support
A tripod-mounted pochade box suits winter work well. It sets up faster than a traditional easel, sits stable in wind, and keeps your painting surface at a height where you can step back and assess without crouching. Bring three to five brushes at most for a small study. Keep wipes or a rag in an outer pocket so you're not hunting through a bag with cold hands. Everything you need regularly should be reachable without rummaging.
How to Paint Snow: Technique Tips for Plein Air Snow Painting
Plein air snow painting rewards patience and preparation in equal measure. The technique adjustments are straightforward once you understand why the standard approach doesn't work for snow.
Block In the Darks First
Snow covers the largest area of your canvas with the lightest values. If you start by laying down white, you immediately lose your sense of tonal structure: everything looks the same, and you have no reference point to judge against. Start instead with your darkest accents: tree trunks, branches, cast shadows under eaves and hedgerows, fence posts, any strong darks in the scene. Establish your mid-tones next. Once those are in place, the snow tends to fill itself in; its value becomes easier to judge because you have something to compare it to.
Mixing Snow in Shadow
Shadow on snow is one of the most beautiful and most commonly misjudged effects in winter painting. It should almost always contain blue or violet. A mix of ultramarine and white with a small touch of a warm colour (a hint of raw sienna or burnt umber to stop it going too cold) is a reliable starting point. Avoid grey shadows built from black and white: they read as dirty and flat and kill the light in the painting.
The exact hue depends on the sky. A clear blue sky throws distinctly blue shadows. A heavy overcast produces softer, more neutral violet-grey. Look carefully and match what you see rather than applying a formula.
Managing Glare
Bright snow in direct sun is genuinely dazzling, and the glare makes it difficult to judge values accurately. A few practical adjustments help: angle your painting surface so it's not catching direct reflected light from the snow; wear a hat with a brim to shade your eyes; polarised sunglasses reduce glare effectively, though be aware they affect colour perception slightly, so take them off occasionally to check your colour mixing. If the glare is severe, move into open shade and paint the lit scene from there.
Squint more than usual
In high-contrast snow scenes, squinting to reduce detail and see just the broad value masses is especially useful. Snow tends to trick the eye into seeing everything as lighter than it is. Squinting hard will often reveal that the "white" snow in shadow is actually a mid-tone value.
Medium-by-Medium Notes for Cold Conditions
Each medium has specific cold-weather behaviours worth knowing before you head out.
| Medium | Cold weather behaviour | Key tip |
|---|---|---|
| Oil paint | Becomes stiffer but rarely freezes | Pre-warm paint in a pocket; use a little extra medium |
| Water-mixable oil | Risk of freezing water thinner below 0°C | Use dedicated fast-drying medium instead of water in cold weather |
| Watercolour | Paint can freeze on the palette in sub-zero conditions | Work quickly; consider a small glycerin addition to slow freezing; keep the palette close to your body |
| Gouache | Similar to watercolour; re-wets less reliably when frozen | Treat as watercolour; work in short sessions |
| Pastel | Well-suited to cold; no liquid to freeze | Fingerless gloves recommended; pack boards and boxes securely to avoid breakage |
A note on watercolour and glycerin: some painters add a small amount of glycerin to their water to reduce the risk of freezing on the palette. It's an old trick and worth trying in genuinely sub-zero conditions, though it does slow the drying time, which can work for or against you depending on your technique.
Pastel painters are probably the best placed of any medium for snow work. There's nothing to freeze, nothing to stiffen, and the limited palette constraint doesn't apply in the same way. The main practical concern is protecting your boards and pastel sticks from knocks and drops in the cold, when fingers are less reliable.
After the Session: Finishing in the Studio
For most UK painters, a snow plein air study is a starting point rather than a finished work, and that's a perfectly sound approach. The study captures what you can't easily replicate indoors: the specific quality of the cold light, the colour temperature in the shadows, the tonal key of the whole scene. Take reference photographs on location as well, particularly of any details you didn't have time to resolve, but trust the painted study over the photograph when it comes to colour.
Back in the studio, you can refine edges, adjust composition, and develop the piece at a more considered pace. The one thing to resist is overworking the snow passages. The places where you mixed something close to what you saw outdoors, where you made a confident decision about that blue-violet shadow, are the places that give the painting its life. Grey mush applied at the studio easel will not improve them.
Take a few minutes after each session to note what worked and what didn't, in terms of clothing, kit, and approach. A short log on your phone is enough. UK snow may not return for weeks or months, and when it does, you'll be glad you wrote down that the hand warmers ran out after two hours, or that the tripod legs needed a firmer footing in slush.
Finally: take your hand warmer packets and any other wrappers home with you rather than leaving them on the ground. Stick to established paths where you can, and keep easels and tripod feet away from fragile winter vegetation near path edges. Snow plein air painting is a pleasure worth protecting, for yourself and for the people and landscapes you share it with.
FAQ
Frequently Asked Questions
How should I mix snow shadows when painting outdoors?
Use blue or violet as the base, for example ultramarine plus white with a tiny touch of a warm earth to stop it going too cold. Avoid mixing shadows from black and white. Match the shadow hue to the sky and local reflections.
What clothing keeps me warm enough to paint in UK snow?
Use a three layer system: a moisture-wicking base (merino preferred), a warm mid layer such as fleece or down gilet, and a windproof waterproof outer. Add fingerless gloves with over-mitts, two sock layers, an insulated boot, and a hat and buff for head and neck.
What size support and palette should I take for snow studies?
Keep it small and simple. A 5x7 to 9x12 panel or board is ideal. Pre-load a reduced palette such as white, a warm blue, a cool blue, a warm earth, and a strong dark to speed mixing and decision making.
How do I manage cold hands and freezing gear during a session?
Work in short bursts of 20 to 30 minutes, returning to the car or a café to warm up. Use hand warmers, pre-warm paint in a pocket if needed, lay an insulating pad under your feet, and keep frequently used items in outer pockets for quick access.
Is it safe to paint in remote snow locations in the UK?
For most UK snowfalls choose accessible locations near shelter such as urban parks or well signed country paths. Remote moorland and mountain terrain carry real risks and should only be attempted by experienced and properly equipped walkers.
Author

PleinAirPainting Editorial Team
PleinAirPainting.co.uk helps artists paint outdoors with confidence through UK-focused guides, equipment advice, resources and plein air inspiration.