Woodland Plein Air Painting: How to Work with Trees, Paths and Filtered Light
Practical guide to woodland plein air painting: seasons, picking a spot, mixing greens, handling dappled light and the kit and permissions you need for UK woods.

Key takeaways
- • Woodland offers deep tonal range and filtered light that reward small panels and simplified composition.
- • Choose your season: early spring for readable structure, summer for dappled light, autumn for colour and low sun, winter for exposed tree architecture.
- • Spend time selecting a spot with a clear light source and legible value structure; use paths to lead the eye and separate tonal planes.
- • Tackle dappled light by squinting and painting large light and shadow masses first, then add selective detail and lost or found edges.
- • Pack compact kit, plan for mud and insects, check access rules and have a system for transporting wet panels.
There's a particular feeling that comes from arriving at the edge of a wood with your kit in hand. The light is already doing something interesting between the trunks, the path curves away into shade, and for a moment it looks utterly paintable. Then you step inside and the complexity hits: green everywhere, shapes overlapping shapes, light flickering across the ground and gone again before you've even uncapped a tube. Woodland plein air painting can feel more demanding than an open hillside or a stretch of coast, and in some ways it is. But it's also one of the most rewarding environments to work in once you understand what you're dealing with. This guide gives you a practical, season-by-season breakdown of what to expect in UK woodland, alongside specific technique and logistics guidance to help you get more out of every session among the trees.
Why Woodland Makes Such a Compelling Plein Air Subject
Open landscape painting gives you sky, horizon, and space. Woodland gives you something different: depth, enclosure, and a quality of filtered light you simply can't find anywhere else. The contrast between near-black shadow under a dense canopy and a bright gap where a path opens to the sky can span the full tonal range of your palette within a single small panel. That drama is what makes forest plein air so visually rich.
There's also an intimacy to woodland that suits the smaller formats most plein air painters work in. You're not competing with a vast view. The scene comes to you in sections, and a 25 x 30 cm panel can hold a complete and satisfying composition. The challenge is not lack of subject matter. It's learning to select from abundance rather than searching for something worth painting.
Choosing the Right Time of Year for Your Woodland Session
UK woodland changes more dramatically across the seasons than almost any other painting environment. The same stand of oak trees will offer four genuinely different pictures depending on when you visit.
Spring: Fresh Greens and Open Structure
Early spring is the most forgiving time for painting trees outdoors. The canopy hasn't closed in yet, which means light reaches the woodland floor more evenly and the tree structures are still readable through the emerging foliage. The greens are at their freshest and most varied: translucent yellow-greens in new growth, darker greens lower in the hedgerows, and the soft grey-brown of bare branches still showing through. Bluebells and wild garlic add foreground interest and colour contrast that can anchor a composition beautifully. For anyone trying woodland painting for the first time, late March to mid-April is close to ideal.
Summer: Dappled Light and Dense Canopy
By midsummer, broadleaf woodland in the UK is a different proposition altogether. The canopy closes completely, deep shadows pool beneath, and the dappled light effect becomes both the most appealing and most frustrating element of the scene. Sessions work best early morning or late afternoon when the sun's angle creates longer, more defined shafts of light rather than the flat, overhead brightness of midday. Insects are a real issue from June onwards, particularly near water and in ancient broadleaf sites. Cover your arms and legs regardless of the temperature.
Autumn: Colour, Mist and Low Sun
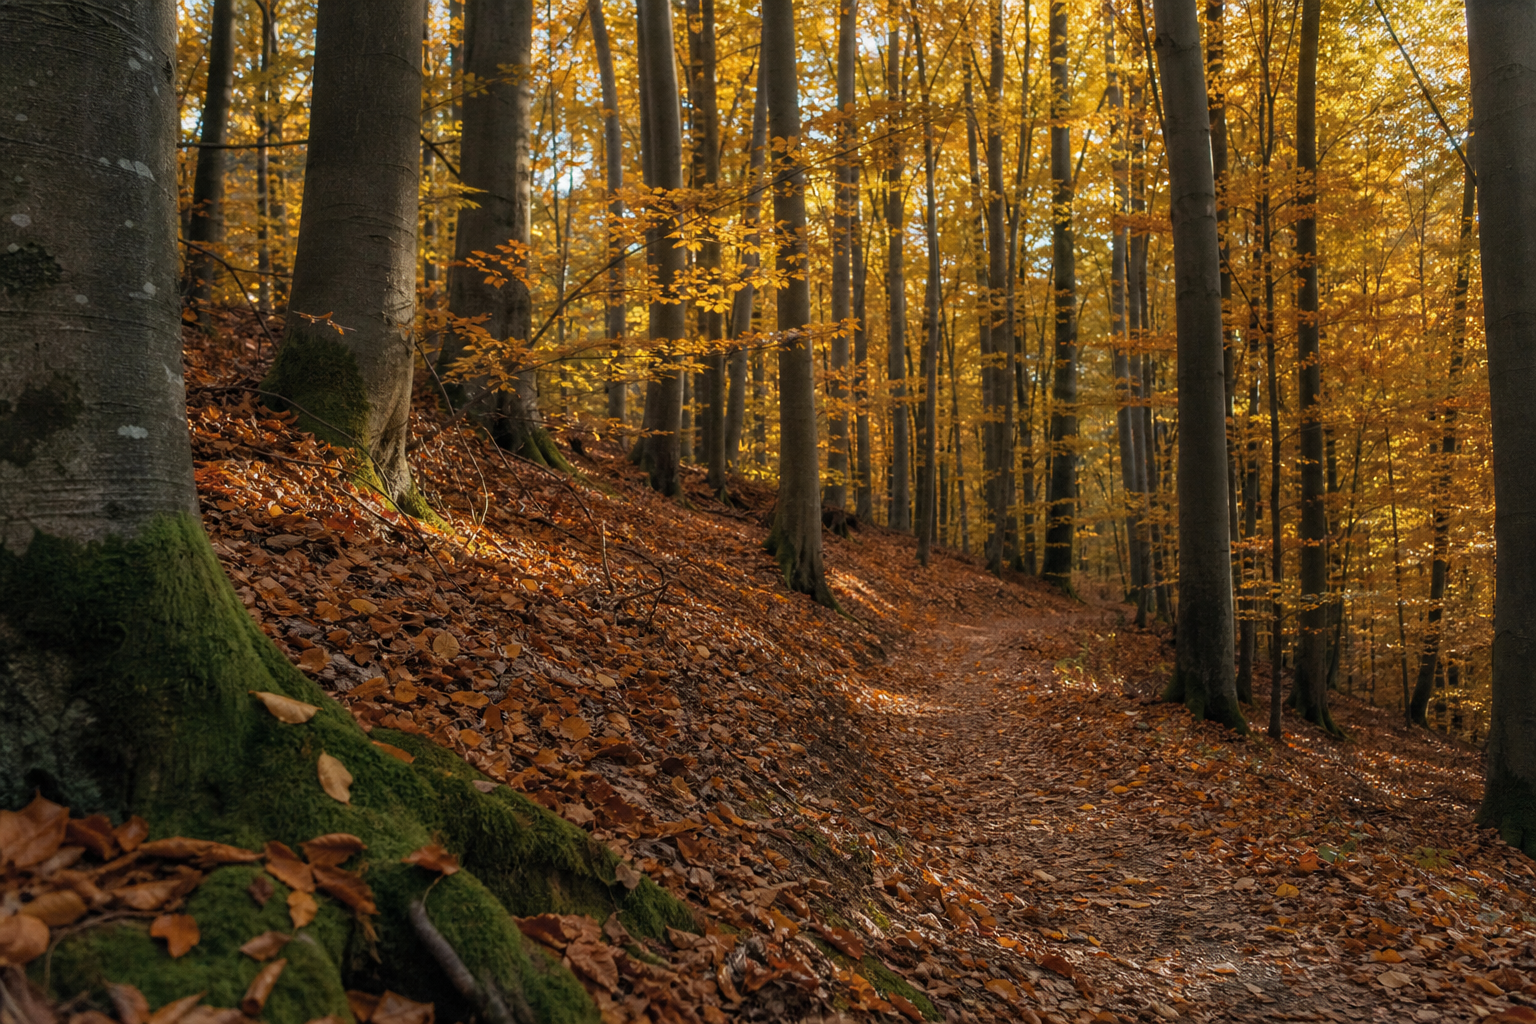
Autumn is many painters' favourite woodland season, and for good reason. The colour range expands dramatically: ochre, burnt sienna, warm red, raw umber and deep bronze all appear together on a single beech tree. Low sun angles mean long shadows even at mid-morning, and early autumn mist creates atmospheric aerial perspective that deepens the sense of recession. Conditions underfoot start to deteriorate from October onwards. Mud is not a minor inconvenience in wet autumn woodland; it's something to plan around properly.
Winter: Trunks, Branches and Quiet Drama
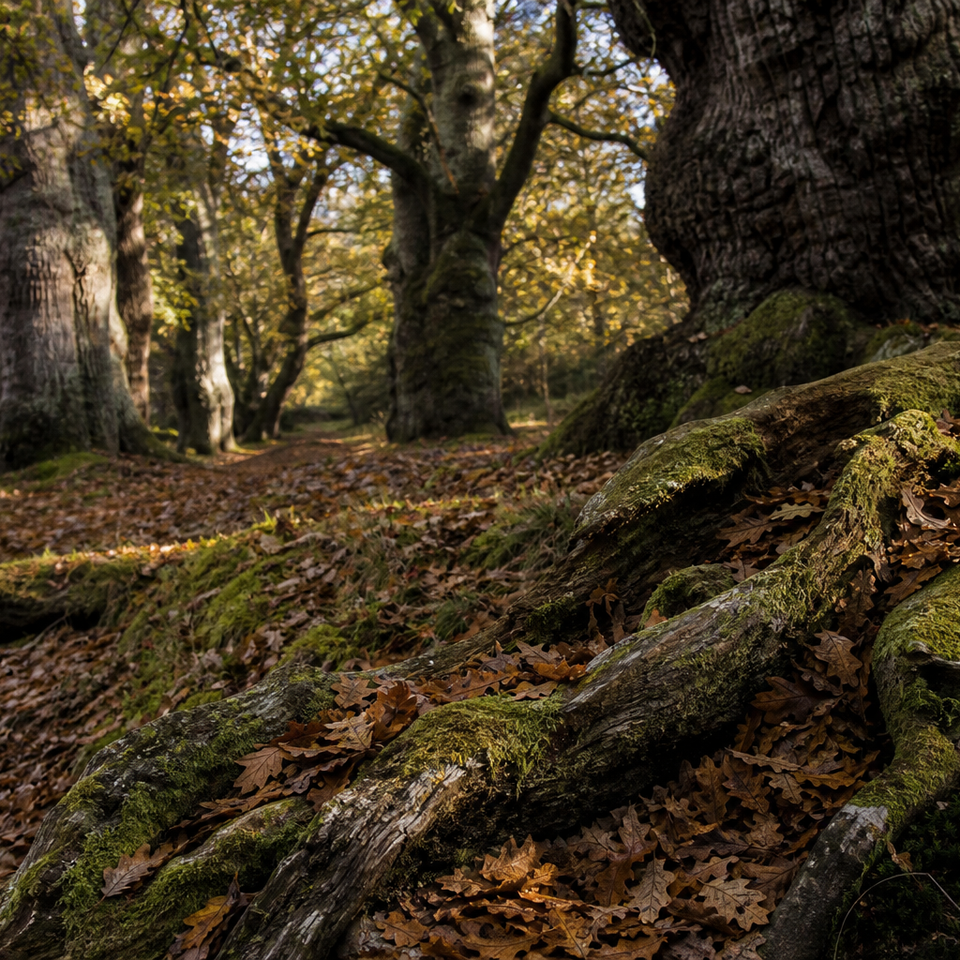
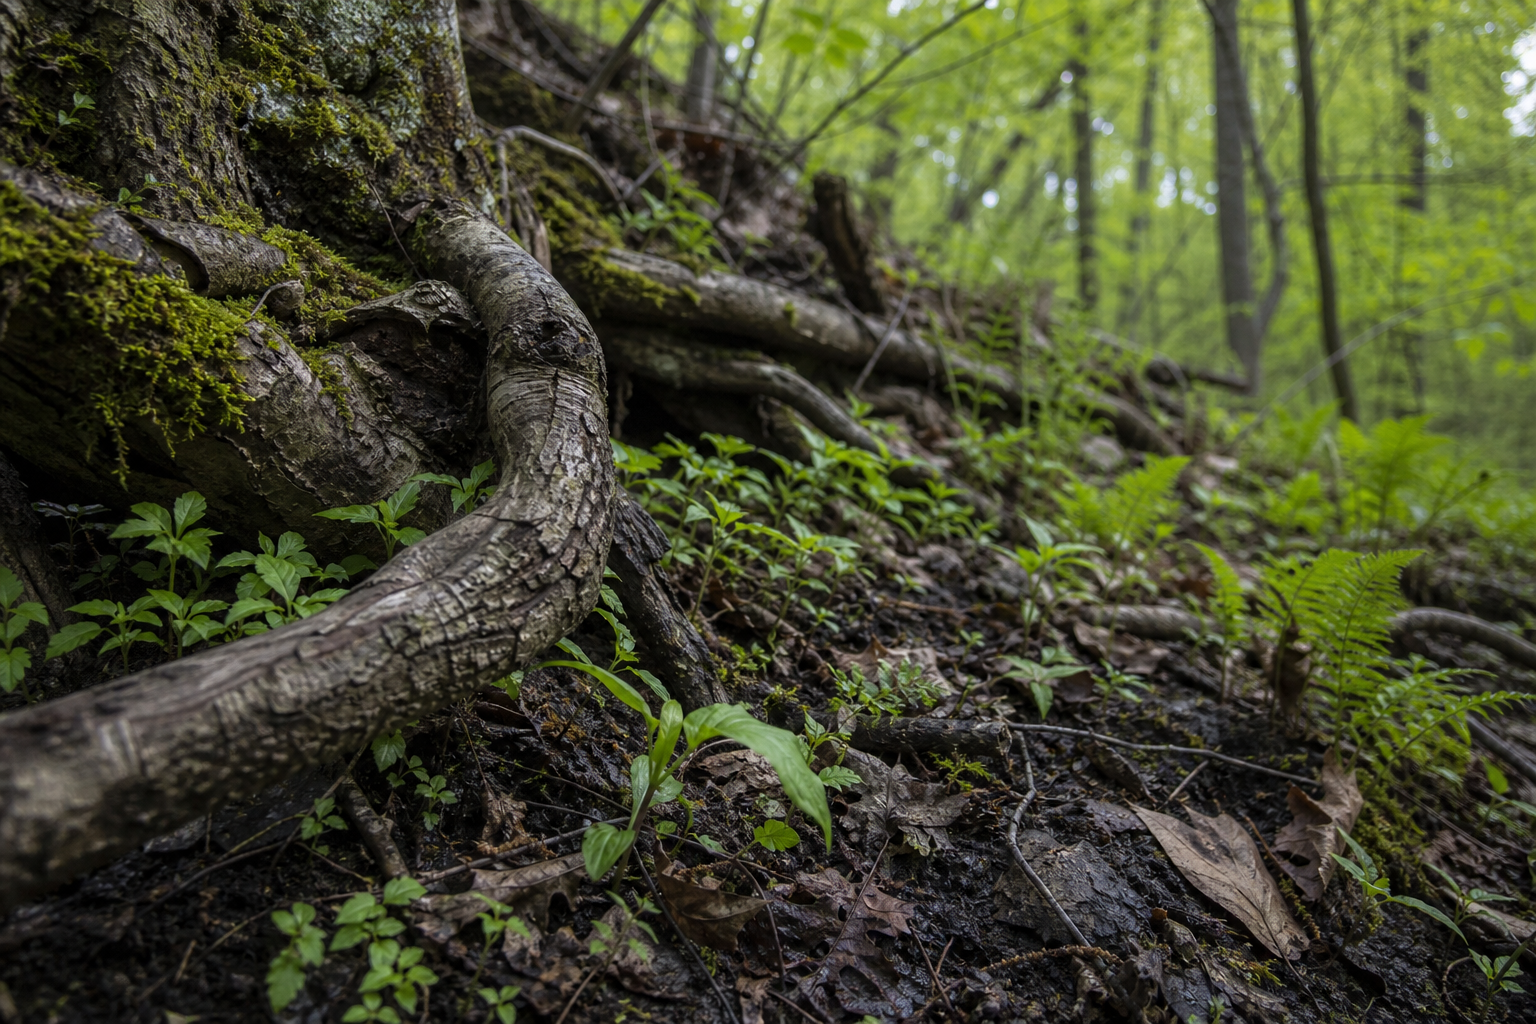
Winter woodland is genuinely beautiful and genuinely difficult. With no foliage to soften them, tree structures are completely exposed: the architecture of branching, the texture of bark, the way roots grip the ground. The palette shifts towards warm greys, muted ochres, and the deep violet-brown of wet bark. Daylight hours are short, sessions need to be planned tightly, and the cold demands layers that allow your painting arm to move freely. It's a more advanced season for woodland oil painting, but the monochrome and near-monochrome studies it produces can be among the most striking.
Match your ambition to the season
If you're new to woodland painting, start in early spring before full leaf-out. The tree structure is visible, the greens are manageable, and the light is cleaner. Save high summer for when you're more confident with value contrast and green mixing.
What to Look For When You Arrive: Choosing Your Spot
The temptation on arriving in woodland is to walk in, find it all beautiful, and set up wherever you stop. Resist this. Spend ten minutes walking before you commit to a spot. What you're looking for is a clear light source and a legible tonal structure. Without those two things, the scene will read as flat.
Look for a gap: a bend in the path where light falls from an opening ahead, a clearing visible through the trunks, a stream catching the sky. That gap becomes your light anchor. Everything else organises itself around the relationship between dark interior and that bright zone. Painting at the edge of the wood rather than deep inside it gives you access to strong contrast between the dark interior and open sky, which is one of the most paintable transitions in woodland. Inside the wood, you need to find that contrast another way.
Avoid spots where every plane reads at the same tonal value. Even in deep woodland, there's usually a light and shadow side to each trunk, a patch of brighter ground where light reaches, a glimpse of sky. If you can't find any tonal variation, move.
Use the path
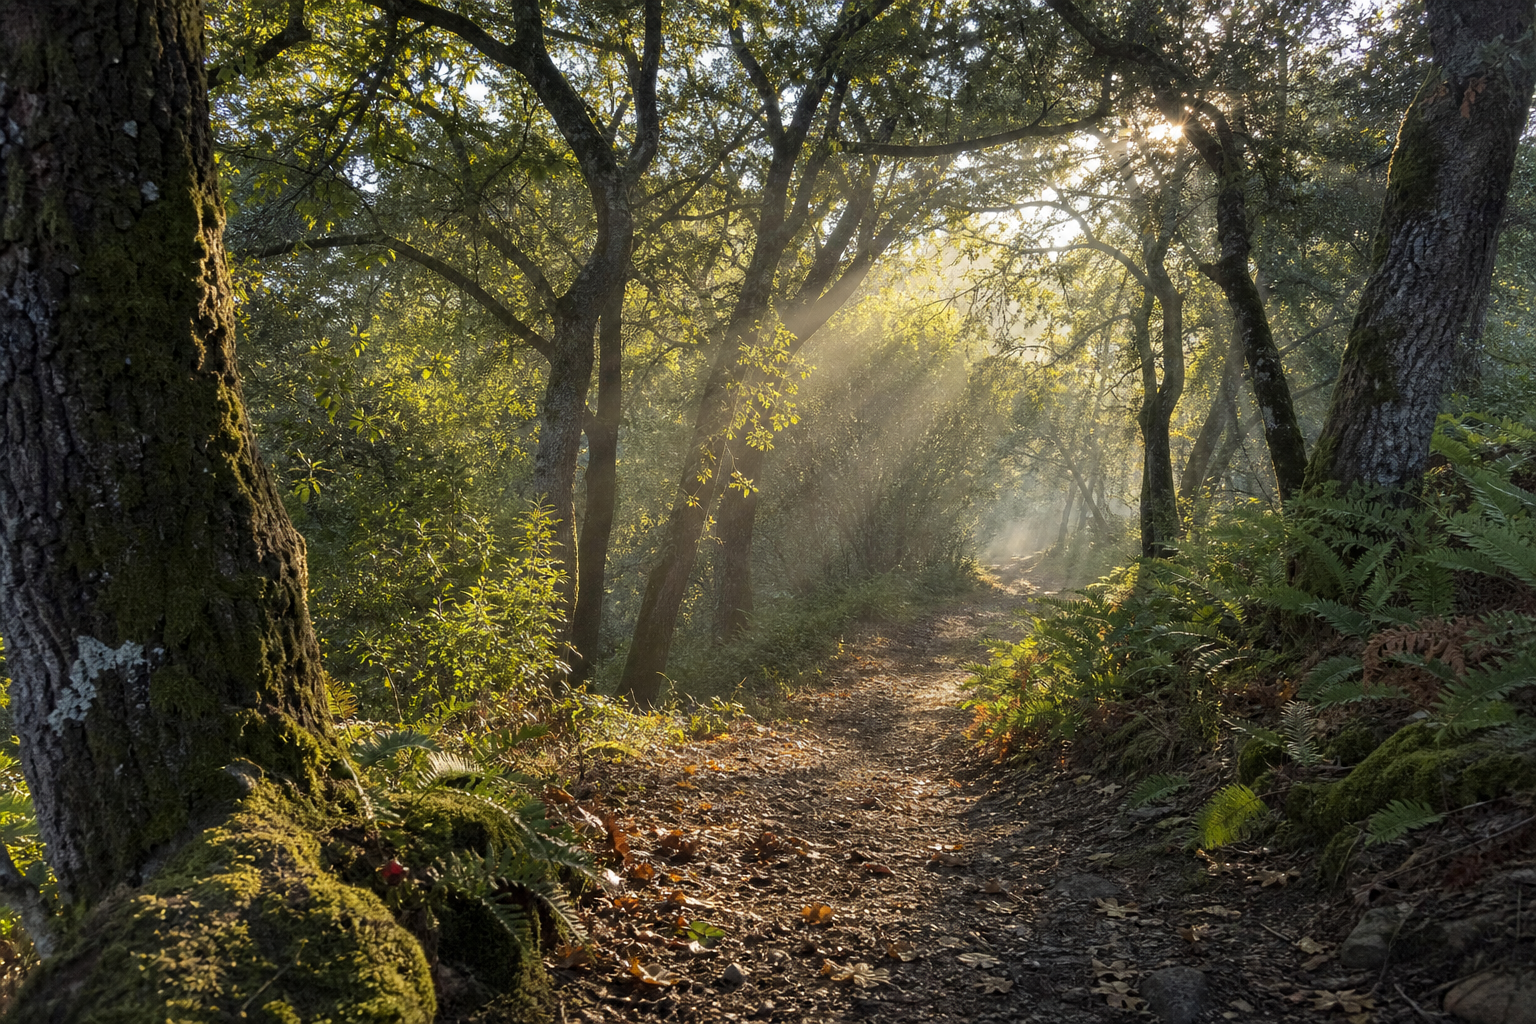
A woodland path does two things at once: it gives you a natural line leading the eye into the picture, and it separates the tonal planes of the forest floor clearly. If you're unsure where to start, find a path and let it do the compositional work.
The Colour Challenge: Painting Greens That Don't Go Flat
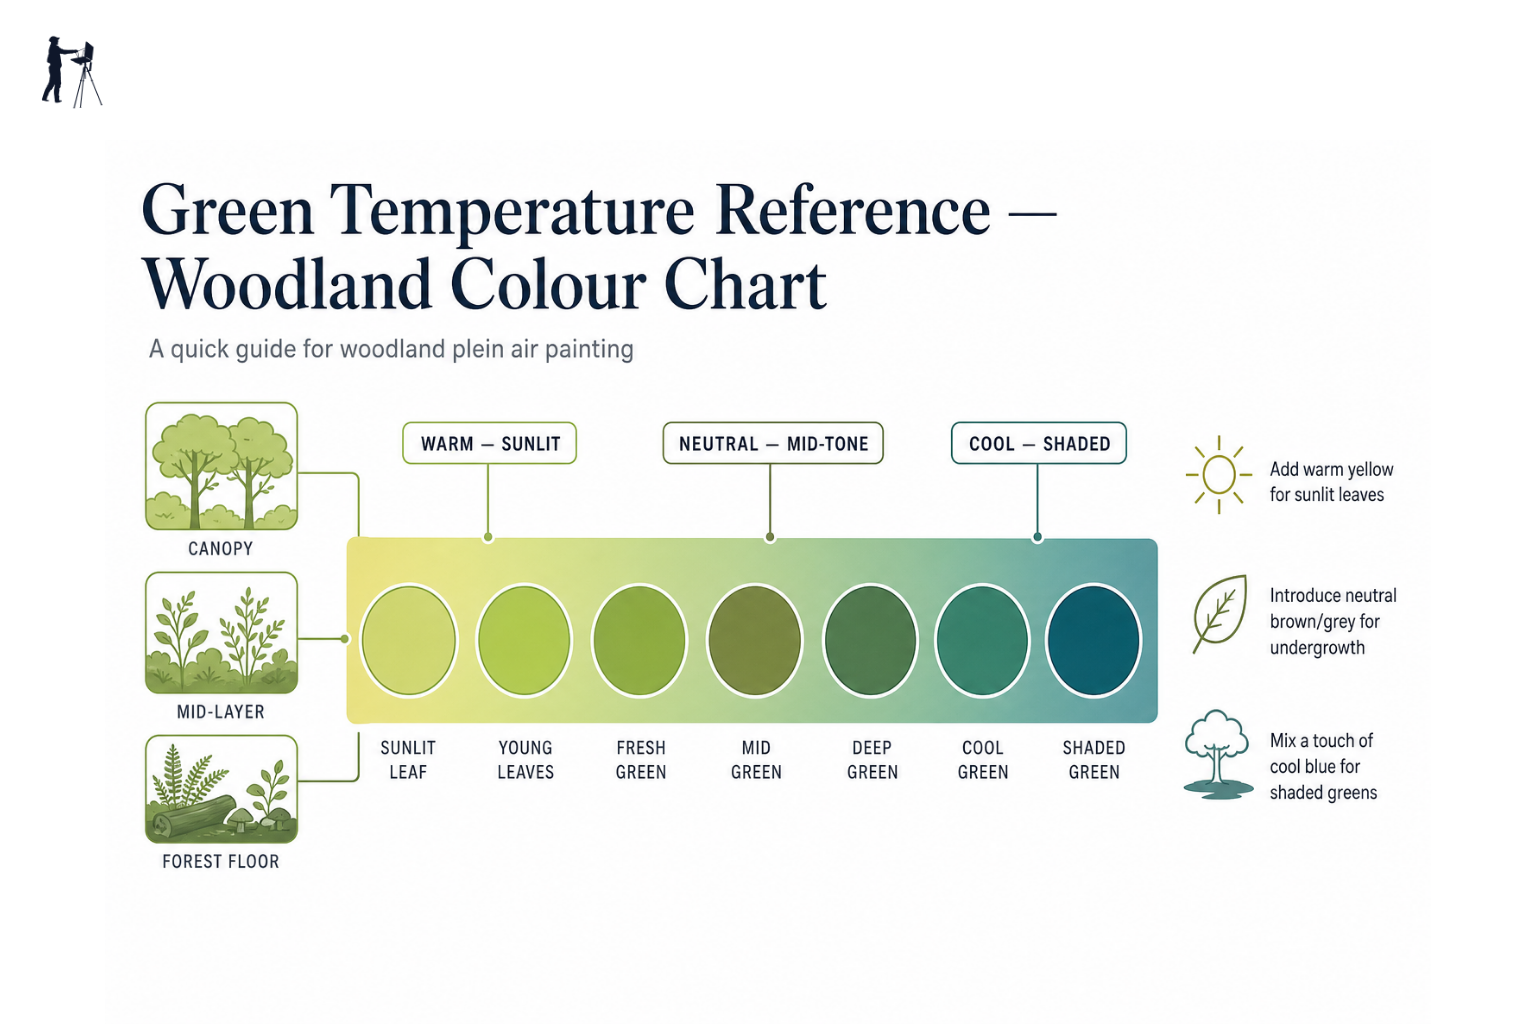
The single biggest mistake in woodland oil painting is treating green as a fixed colour. There is no such thing as a universal woodland green. What looks like "green" across a stretch of canopy is actually a temperature range running from warm yellow-green in the sunlit upper foliage to cool blue-green in the shaded middle distance to dark, almost olive-brown in the deep shadow underneath.
The way to hold a woodland scene together is not to match each section individually. It's to use value contrast as the underlying structure, then use temperature variation within that structure to add depth. Sunlit areas get warmer greens; shadowed areas get cooler, darker ones. This distinction, consistently applied, creates the sense of light moving through the scene.
Keep your palette limited. A woodland session does not need ten colours. Cadmium yellow or yellow ochre for warm bias, a reliable blue for cool mixing, viridian or a blue-green for shadow greens, raw umber for deepening without muddying, and titanium white. Mixing deliberately from that limited range produces far more coherent results than reaching for a pre-made convenience green.
Green temperature at a glance
- Sunlit canopy top
- Warm yellow-green
- Mid canopy in shade
- Neutral or cool green
- Deep shadow, ground
- Dark cool green/brown
- Sunlit path/clearing
- Warm yellow
- Trunk in shadow
- Warm grey or violet
Push towards cadmium yellow or yellow ochre
Shift towards viridian or blue-green
Introduce raw umber or ultramarine
Strongest warm note in the scene
Avoid raw grey; lean warm or cool deliberately
Handling Dappled Light: The Woodland Painter's Biggest Challenge
Dappled light is what makes woodland paintings sing. It's also what makes them fall apart. The reason is movement: as the sun shifts and the canopy stirs in any breeze, those flickering patches of light on the ground and trunks change constantly. If you try to chase them, you end up with a surface covered in unconnected light spots that read as chaotic rather than luminous.
The solution is to make a decision early and commit to it. Look at the scene when you arrive, note where the light is strongest and where the main shadow masses fall, and fix that in your mind before you mix a colour. That decision becomes the truth of the painting, regardless of what happens over the next two hours. The light will shift. Your painting shouldn't.
When blocking in, merge the dappled patches into large, simple masses: this is light, this is shadow. If a flickering pattern breaks a shadow into twenty small pieces, paint the shadow as one piece at this stage. You can suggest the pattern later with a few selective lighter notes, but the mass comes first. Lost and found edges do a lot of the work here. A hard edge between light and shadow reads as structure; a soft or lost edge suggests the light filtering through and fading. Use the two deliberately rather than letting edges happen by accident.
Squint and simplify
Dappled light is one of the most seductive and most dangerous effects in woodland painting. Squint hard at the scene until the flickering patches merge into large light and shadow masses. Paint those masses first. Only then consider whether you need to hint at the pattern within them — and usually, a little goes a long way.
Practical Considerations for a UK Woodland Session
Access: What to Check Before You Go
Most UK woodland painting is completely straightforward, but a few situations are worth understanding before you arrive.
National Trust and Forestry England land is generally open to members of the public, and painting for personal use is almost universally fine. Local authority woodland and country parks follow the same principle. These are your lowest-hassle options, and there's plenty of excellent painting across all of them.
Privately owned woodland is different. A public right of way through a wood gives you the right to pass along the footpath, not to set up an easel and spend two hours painting. If you want to paint in private woodland, contact the landowner first. Most are perfectly happy to accommodate an artist; a short email or phone call is usually all it takes.
Sites of Special Scientific Interest (SSSIs) and nature reserves may carry restrictions on where you can leave the footpath and how long you remain in one spot. This matters particularly during nesting season, which runs approximately from March through August. Check the Natural England guidance for the specific site, or contact the reserve manager directly.
If you're painting with the intention of selling work produced on site, some venues, particularly National Trust properties and managed estates, require a commercial licence or prior agreement. It's a distinct situation from painting for personal use, and worth flagging when you make contact.
When in doubt, ask
Most landowners — including National Trust wardens and Forestry England rangers — are happy to accommodate artists painting for personal use. A quick call or email before you go takes two minutes and removes all uncertainty. It also sometimes opens doors to places you wouldn't have found otherwise.
Kit Considerations in the Woods
Compact kit earns its place in woodland more than almost anywhere else. Paths can be narrow, ground is often uneven, and you may need to carry your setup a meaningful distance before finding a good spot. A pochade box on a tripod handles all of this more gracefully than a large field easel: it's lighter, lower to the ground, and easier to reposition quickly.
Stable footing for your tripod is worth taking time over. Roots, slopes, and soft ground can all make a tripod unpredictable. Press each leg firmly down and check the surface before you commit to a position. If you're on a slope, adjust leg lengths individually rather than fighting with the load.
Transporting wet oil panels out of the wood needs a system. Two panels face-to-face with a small spacer at each corner, or the kitchen roll and panel rotation method, are both reliable. Have your transport solution ready before you start, not when you're standing in mud with a wet painting in one hand.
Waterproofs belong in your bag for every woodland session. The canopy catches rainfall before it reaches you, which means the weather signal is delayed. By the time you feel rain, it may have been falling for several minutes. A packable waterproof jacket takes up almost no space and removes a significant worry.
Insects, Mud and Physical Comfort
Insects in summer broadleaf woodland are not a minor irritation. Covering your arms and legs is the most effective single measure. Insect repellent helps but transfer onto your hands and then onto your painting surface is a real risk: apply it before you start and keep your painting hand away from your face and neck.
Mud in autumn and winter is not optional to deal with. Wellies or waterproof walking boots are the correct choice, not a precaution. Waterproof trousers are worth considering for longer sessions in wet conditions. If you set your bag down on wet ground, use a bag designed for it or place it on your folded waterproof.
Remote woodland sessions require some basic safety awareness. Tell someone where you're going and when you expect to be back. Mobile signal is often poor or absent under a dense canopy. In winter especially, plan your session length so that you're back at your car before the light disappears.
There are no facilities in most woodland. Plan water and toilet stops before you arrive and be realistic about session length.
A Simple Woodland Painting Sequence
A simple approach to a woodland study
Choose your focal point
Don't try to paint the whole wood. Pick one thing — a bend in the path, a group of trunks, a shaft of light — and let everything else support it.
Identify the dominant light
Decide where the light is coming from and where the strongest shadow falls. Commit to this before you mix a single colour.
Establish your value structure
Block in the large shadow and light masses first, using a thin mix. Keep it simple: two or three values at most at this stage.
Work into the colour
Bring in temperature variation across your greens — warmer in sunlit areas, cooler in shadow. Resist the urge to match every leaf individually.
Add selective detail
A few sharp edges, some texture in the foliage, a suggestion of bark. Less than you think. The viewer's eye fills in the rest.
Good UK Woodland Locations to Explore
UK woodland is enormously varied, and different types offer genuinely different painting experiences.
Ancient beech woodland, found in the Chilterns and the Forest of Dean, offers some of the most dramatic interior light in the country. Tall, smooth grey trunks and a high canopy create a cathedral quality that rewards working inside the wood rather than at its edge.
Oak and mixed broadleaf sites are the most widespread across England and Wales. The New Forest in Hampshire is particularly rewarding, with its combination of open heath, ancient oak, and varied access. Wyre Forest on the Shropshire-Worcestershire border and Epping Forest in Essex both offer productive painting across the seasons. These sites have good access infrastructure, which matters when you're carrying kit.
Highland birch and pine woodland in Scotland, particularly in the Cairngorms and the Trossachs, has a completely different character: lighter, more open, with a silvery quality to the light and a sparse, graphic quality to the birch trunks in winter that is unlike anything you'll find in southern England.
National Trust estates with managed woodland are found across the UK and generally offer easy access, parking, and well-maintained paths. Check the National Trust website for woodland access at specific properties before visiting.
A smaller, less-visited local wood will often give you a better painting session than a famous destination. Less footfall means more peace, easier spot selection, and a greater sense of discovery. If you have woodland within twenty minutes of home, try it first.
Woodland rewards patience and a willingness to simplify. The complexity that feels overwhelming when you first arrive is actually an asset: once you stop trying to account for every leaf and start reading the scene as masses of light and shadow, the wood begins to make sense as a painting. Go out on a quiet grey morning in early spring, find a path, and see what you notice. The light will be doing something, even then.
FAQ
Frequently Asked Questions
What season is best to start woodland plein air painting as a beginner?
Start in early spring, roughly late March to mid April. The canopy is not fully closed, light reaches the floor more evenly, tree structure is readable and fresh greens make colour mixing easier.
How do I handle dappled light without chasing every flicker?
Decide where the dominant light and main shadow masses are, block those in first, and treat dappled patches as larger masses. Suggest a few lighter notes later rather than painting every small spot.
How can I mix greens that do not look flat?
Use a limited palette. Favor a warm yellow or ochre for sunlit greens, a blue or viridian for cool shadow greens, and raw umber or ultramarine to darken without muddiness. Prioritize value contrast, then temperature.
What kit is most useful for painting in woodland?
Choose compact kit like a pochade box on a tripod, stable tripod footing, waterproofs, insect protection, sturdy footwear, and a wet panel carrier. Pack light and plan transport for wet work.
Do I need permission to paint in UK woodland?
Public woods managed by National Trust, Forestry England and local authorities are usually fine for personal painting. For private woodland contact the owner. SSSIs and reserves may have rules and commercial sales often need a licence.
Author

PleinAirPainting Editorial Team
PleinAirPainting.co.uk helps artists paint outdoors with confidence through UK-focused guides, equipment advice, resources and plein air inspiration.