How to Start Plein Air Painting: A Step-by-Step Guide for Complete Beginners
Practical guide to oil painting for beginners. Learn what to pack, how to mix a limited palette, set up outdoors, and complete short plein air studies.

Key takeaways
- • Start with a small, portable oil kit and avoid buying too much equipment at once.
- • Use a limited palette to learn mixing and create harmonious colour across a study.
- • Work alla prima on small panels: tone, sketch, block in shapes, establish values, then add accents.
- • Choose simple, readable subjects and accept changing light by committing to a single observation.
- • Use low odour solvent, protect wet panels face to face, and paint regularly to improve quickly.
Maybe you've walked past someone painting in a park and felt a quiet pull of curiosity. Maybe you've stood at the edge of a field or a canal and thought: I'd love to capture this somehow. Whatever brought you here, you're in the right place.
Oil painting for beginners can feel like an intimidating prospect, especially when you're also thinking about doing it outside, in public, in British weather. But plein air painting, which simply means painting outdoors, directly in front of your subject, is one of the most satisfying ways to start. You don't need a studio. You don't need expensive kit. And you certainly don't need to have painted before.
This guide will walk you through everything, from picking your first supplies to finishing your first painting session outdoors. By the end, you'll have a clear, practical picture of what to buy, where to go, and what to do once you get there.
What Is Plein Air Painting? (And Why Start with Oils?)
Plein air is a French phrase meaning "in the open air". It simply refers to painting outside, directly from life, rather than from photographs or memory in a studio. The Impressionists made it famous in 19th-century France, but artists have been painting outdoors for centuries before and since.
What makes oil paint particularly well suited to outdoor painting is its working time. Unlike acrylics, which dry quickly, or watercolour, which demands confident, decisive marks, oil paint stays workable for hours. You can adjust, blend, correct, and rework as you go. For a beginner still finding their way, that forgiveness is genuinely valuable.
Oil paint also produces rich, luminous results even when handled roughly. A confident but imperfect brushstroke in oil can look vibrant and alive in a way that encourages you to keep going. The medium rewards boldness, which is exactly what beginners need to discover.
Watercolour and acrylics are both used outdoors too, and brilliantly so. But this guide focuses on oils, because they give beginners the most room to breathe.
One honest note: oils do involve solvents, and wet panels need careful handling for transport. We'll cover both of those things below, and neither should put you off.
What You Actually Need to Get Started
The number one mistake most beginners make before they’ve even picked up a brush is buying too much. You do not need a full studio setup to get started. You need a small, focused kit that you can carry to a park or canal and use comfortably on your first few sessions.
Here's what actually matters.

Paints
Start with student-grade paints. Winsor & Newton Winton and Daler-Rowney Georgian are both widely available in the UK, affordable, and perfectly good for learning. Artist-grade paints are better quality, but the difference won't matter on your first ten paintings. Save that investment until you know you're committed.
Brushes
You don't need many. Three to five hog bristle brushes in a range of sizes (a couple of larger flats, a medium filbert, and a small round for any detail work) will cover everything you need to do. Hog bristle holds paint well and moves it around the surface with energy. Softer synthetic brushes are better suited to studio detail work.
Surface (panels vs canvas)
For outdoor painting, rigid panels are more practical than stretched canvas. They don't flex, they don't catch the wind, and they're easier to pack. Canvas boards (canvas glued to a firm backing) are a good affordable option. Gesso-primed wooden panels are excellent but pricier. Start with canvas boards in a small size: 6x8 or 8x10 inches. Small panels are faster to complete, far less intimidating, and much easier to carry.
Something to hold your palette and paints
A tear-off paper palette is the simplest option: no cleaning required, just tear off the used sheet when you're done. A small wooden or glass palette works well too, though it needs cleaning at the end of each session.
A way to support your work
A basic sketching easel from a high street art shop (Cass Art usually has these) is perfectly adequate for starting out. Pochade boxes are compact, purpose-built for plein air work, and genuinely useful, but they're not essential for your first sessions. Start simple.
| Item | What to look for | Approximate cost (UK) |
|---|---|---|
| Oil paints | A basic set of 6 to 8 colours, student or artist grade | £20 to £50 |
| Brushes | 3 to 5 hog bristle brushes in different sizes | £10 to £25 |
| Panels or canvas boards | Rigid panels are easier outdoors than stretched canvas | £10 to £20 (pack) |
| Palette | Tear-off paper palette or a small wooden/glass palette | £5 to £15 |
| Solvent | Low-odour mineral spirits or Zest-it for cleaning brushes | £5 to £12 |
| Easel or board support | A simple sketching easel or pochade box | £30 to £150+ |
| Rags or paper towel | For wiping brushes between colours | £1 to £3 |
A brief word on solvents: if you're painting in a public space, near other people, or at home between sessions, choose a low-odour option. Zest-it is a UK-based brand that's widely used by plein air painters and produces far less fume than traditional white spirit. It's available from Jackson's Art, Ken Bromley, and Great Art.
Choosing the Right Colours for Your First Palette
A limited palette is not a compromise. It's a genuinely better way to learn.
When you have fewer colours, you're forced to mix, and mixing is where you actually learn how colour works. A smaller selection also creates natural harmony across a painting, because all your colours share a common ancestry. And of course, less to carry.
Here's a solid starting palette for outdoor landscape work:
- Titanium White: Your most-used paint. Mixes into almost everything.
- Yellow Ochre: A warm, earthy yellow. Essential for fields, stone, late light.
- Cadmium Yellow Hue: A brighter yellow for sunlit greens and warm sky passages. "Hue" versions are more affordable and work well.
- Cadmium Red Hue: For earthy reds, autumn tones, and warming up mixes.
- Ultramarine Blue: A deep, slightly warm blue. Mixes beautiful violets and cool darks.
- Burnt Sienna: Earthy, transparent, and versatile. Excellent for warm shadows, tree trunks, and toning your panel before you paint.
- Viridian or Phthalo Green (optional): A useful starting point for foliage mixes, though both are strong and need careful handling.
That's seven colours. You can mix almost any landscape colour you'll encounter outdoors from this list.
Start with six colours, not sixteen
A limited palette forces you to mix, which is where real learning happens. Six or seven well-chosen colours will cover almost any landscape you encounter outdoors. Adding more paints too early usually creates muddy colour mixing, not better results.
How to Set Up for Your First Session Outdoors
Where to paint
You do not need dramatic scenery. In fact, quieter, more ordinary locations are often better for a first session because they're less distracting and easier to simplify.
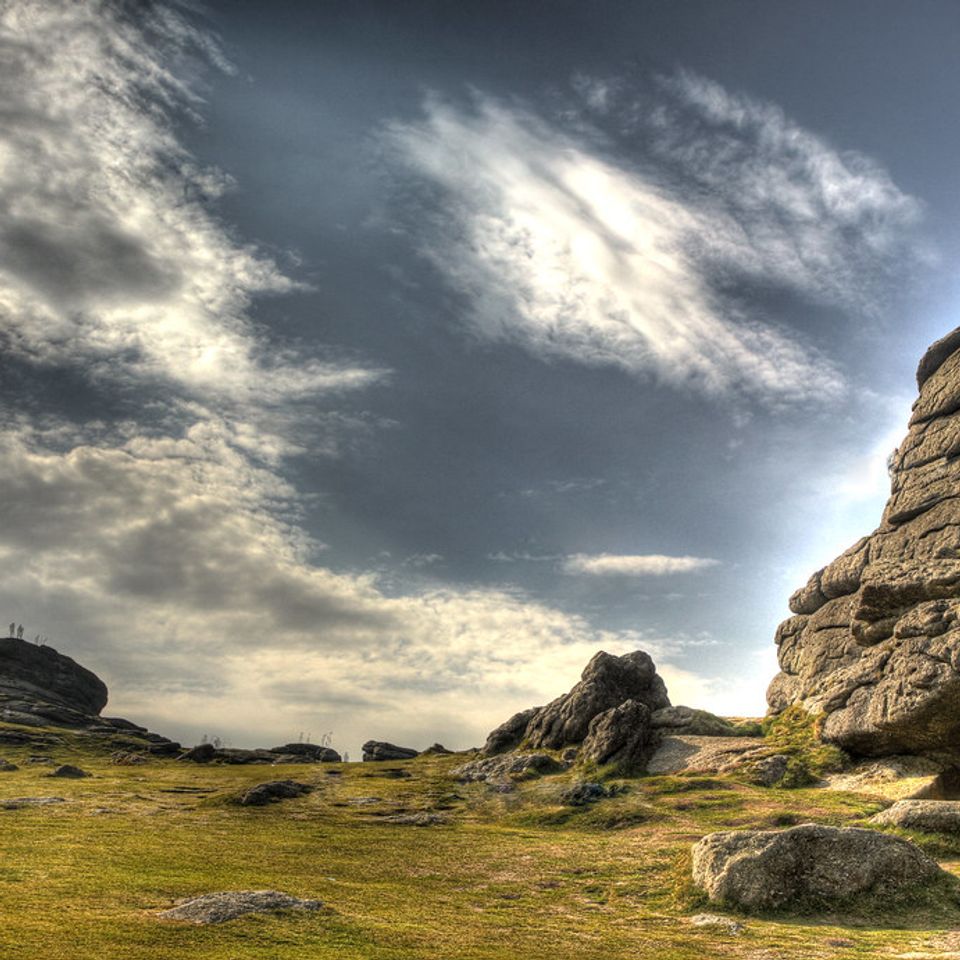
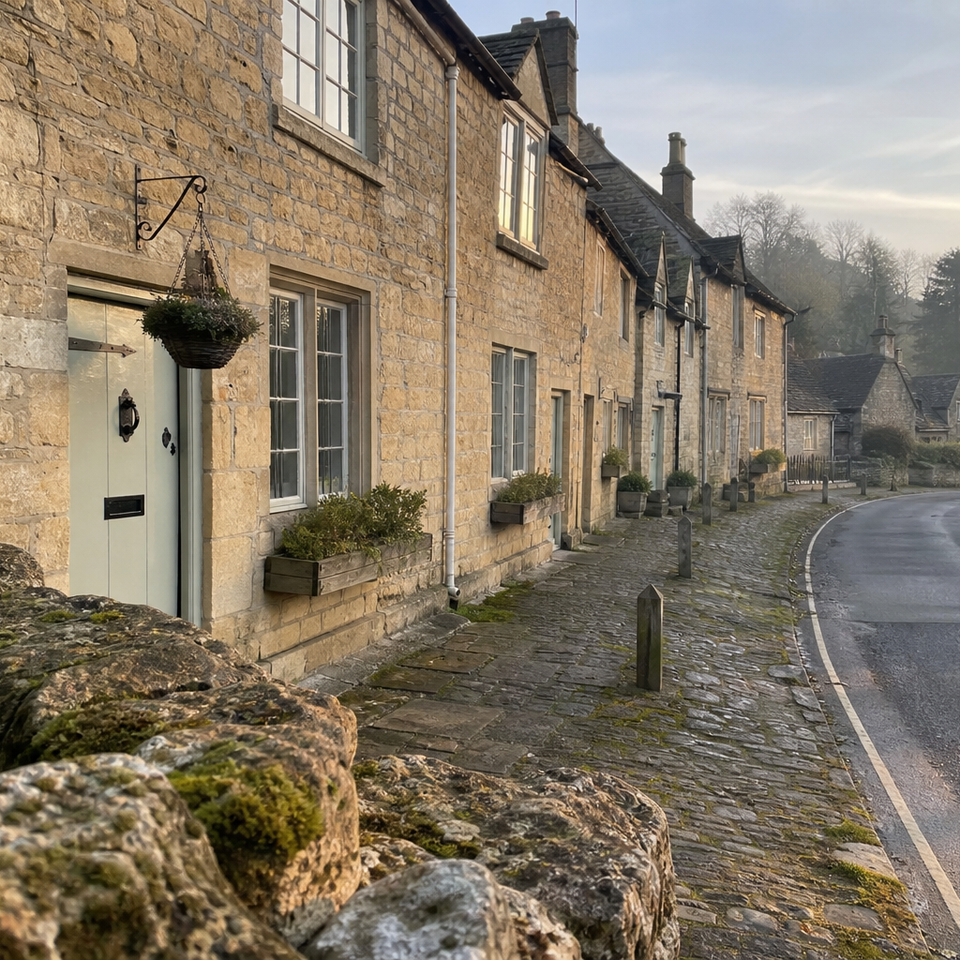
A local park, a garden, a canal towpath, a village street, a farmyard gate, a stretch of moorland edge: all of these are excellent starting points. What matters is that you can set up comfortably without feeling rushed or in the way, and that you have something in front of you with a clear sense of distance (a foreground, a middle ground, and a background, however simple).
How to choose a subject
Pick something small and readable. A single large tree. A gate and a hedge. A section of wall with a shadow falling across it. A boat moored on a canal. One building corner, not an entire street.
The instinct to capture everything in front of you is natural, but resist it. A simple subject painted with focus and attention will always teach you more than a complicated one you struggle to organise. Look for clear light direction: you should be able to identify roughly where the light is coming from before you begin.
Set your panel size to match your ambition. An 8x10 inch panel is about right for a 60 to 90 minute first session. Aim to finish within that time, not because rushing is good, but because completing something, even something rough, does more for your development than an unfinished larger piece.
Setting up your easel and palette
Arrange yourself so you are not facing directly into the sun. Squinting at your subject for an hour while your eyes struggle to adjust is uncomfortable and makes it harder to read colour accurately. A position where the light comes from one side, or slightly behind you, is easier to work with.
Set up so your palette, brushes, and solvent are all within easy reach without you needing to step away from the easel. Spend two minutes getting comfortable before you open a single tube of paint. It's worth it.
How to Paint Your First Plein Air Study: Step by Step
This is where it all comes together. The process below is designed for a complete beginner working on a small panel in a single session (what painters call alla prima, meaning painted in one go, wet into wet). Follow these steps in order and you'll have a finished study by the end of your session.
Your first plein air painting session

Tone your panel
Use a thin wash of burnt sienna and solvent to knock back the white surface. Wipe off the excess with a rag. A toned panel gives your colours a neutral mid-tone to work against and immediately makes the whole surface easier to read.
Sketch in your composition
Using a thin mix of burnt sienna, loosely sketch the main shapes. Keep it light and simple. You are just mapping where things go: where the horizon sits, where the main masses are, where your darkest areas fall. This is not a drawing; it's a plan.

Block in the large shapes
Work across the whole panel with broad, flat patches of colour. Do not attempt any detail yet. Identify the sky, the ground, and the main masses (trees, buildings, water) and get colour into all of those areas. Keep the paint thin at this stage: you're building a foundation, not the finished surface
Establish your values
Values, in painting terms, means the lightness or darkness of a tone, separate from its colour. Identify the lightest lights and the darkest darks in your scene. Get these in early so you can judge everything else against them. This is one of the most important steps and one that beginners most ofte
Build up colour and form
Work from thin to thick, and from dark to light. Start adding more specific colour observations: the particular warmth in a shadow, the greenish cast of sky light on water, the difference between sunlit and shaded foliage. Keep stepping back from the panel to check how it reads from a distance. What
Add final accents
Calligraphic brushmarks, bright highlights, a few stronger darks. Add detail only where the eye needs to go. The instinct to refine everything is strong, but resist it. Overworked oil paint goes flat and grey. A few confident final marks usually do more good than another twenty minutes of adjusting.

Common Mistakes Beginners Make (And How to Avoid Them)
Every painter who starts outdoors makes roughly the same set of mistakes. Knowing what they are in advance doesn't mean you'll avoid them entirely, but it does mean you'll recognise what's happening and know what to do about it.
The single most common mistake
Beginners almost always try to paint too much detail too soon. Start with the biggest shapes and work towards detail only at the very end. If the large masses look right, the painting works. If they do not, no amount of detail will save it.
Overworking the paint. Once oil paint has been worked back and forth too many times, it loses its freshness and becomes muddy. If an area isn't working, it's often better to wipe it back with a rag and repaint it cleanly than to keep pushing the same paint around.
Choosing too complex a subject. A busy harbour scene or a tree-lined avenue can feel appealing but they're genuinely hard to organise. The simpler your subject, the more clearly you can focus on learning to observe and mix colour.
Ignoring the changing light. Outdoors, the light is always moving. Shadows shift, the colour temperature of the sky changes, and the scene that looked so appealing at 10am may look quite different by noon. Make a clear decision about the light conditions at the start of your session and stick to that decision, even as it changes around you. Look at your subject hard in the first ten minutes and paint from that observation.
Using too much solvent. Beginners sometimes thin their paint heavily with solvent to make it easier to apply. Very thin, solvent-heavy paint is hard to control and doesn't mix well with subsequent layers. Keep your paint workably thin but not watery.
Trying to finish too much. A small study completed in an hour is a success. A larger, more ambitious painting abandoned after two hours because the light changed and you ran out of energy is much harder to learn from. Keep your expectations proportionate to your session length.
Plein Air Painting Tips for Your First Outdoor Session
The British weather has a reputation, and it's not entirely undeserved. But it's also much more manageable than it sounds, and in some ways it actively works in your favour.

Overcast days are your friend as a beginner
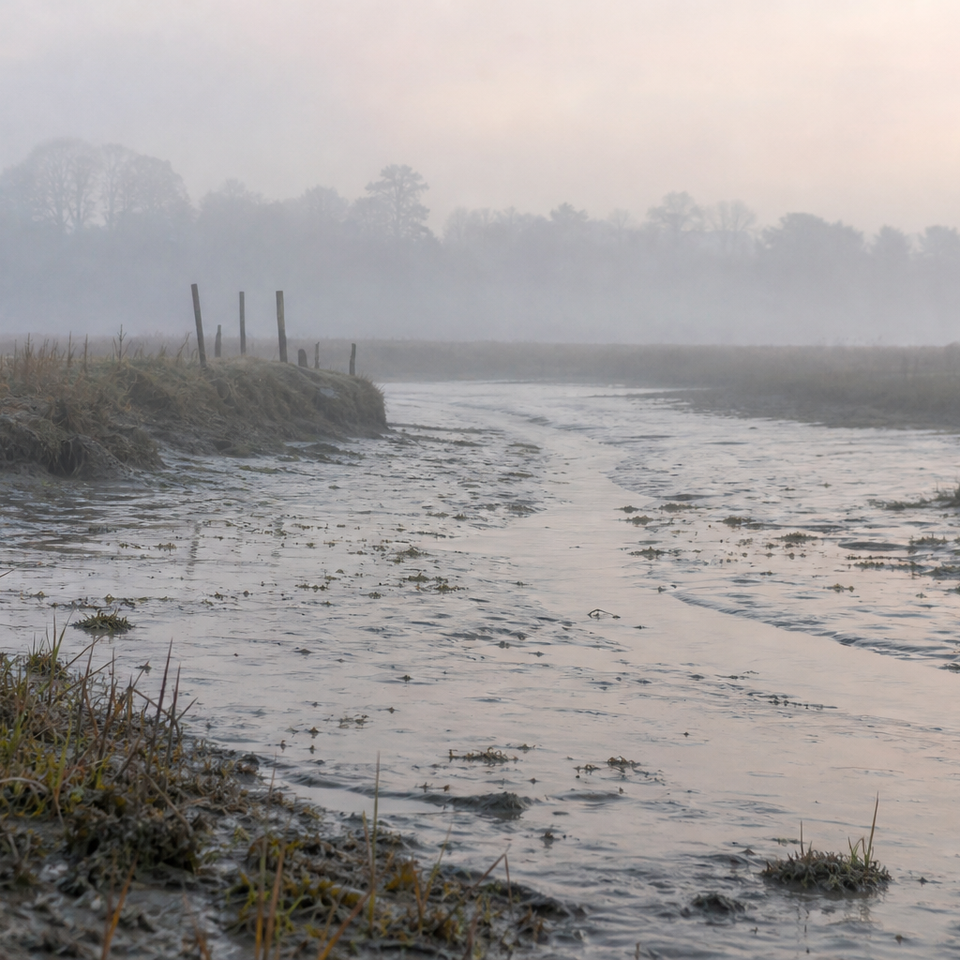
On overcast days the light is even, shadows are soft, and colours are easier to read. Clear bright sunshine creates hard shadows that shift quickly, which is harder to handle when you are learning. A grey British day is not a bad day to paint. It is often a very good one.
If it starts to rain: A small brolly clipped to your easel (clip-on umbrella attachments are available from most art suppliers) gives you a surprising amount of cover. Alternatively, painting under the roof of a bandstand, the eaves of a building, or even a large tree can shelter you enough to carry on. Light drizzle is often fine; heavy rain is the time to pack up.
Keeping warm: Even in summer, a morning painting session in an exposed spot can get cold quickly. Dress for a temperature a few degrees below what you expect, and keep a spare layer in your bag. Cold hands make it hard to hold a brush comfortably, which affects your mark-making more than you might expect.
Transporting wet panels: Oil paint stays wet for a long time after a session. The simplest solution is to carry two panels of the same size and place them face-to-face with small rubber bands or coins at the corners acting as spacers, keeping the surfaces apart. Dedicated panel carriers are also available if you plan to paint regularly.
Working quickly as light changes: The light will change. Accept it. The answer is not to paint faster, but to make your core observations early and commit to them. Decide at the start where your main light source is, where your darkest shadow falls, and what the overall mood of the scene is. Then paint from that decision rather than constantly chasing the shifting reality in front of you.
Where to Go Next
The most useful thing you can do after reading this is go outside and paint. Not next week. Not once you've got better brushes or found the perfect location. Now, or as close to now as you can manage.
Your first session will be imperfect. That's exactly as it should be. You'll learn more in ninety minutes in a park with a small panel and a handful of colours than you will from any amount of reading, including this article.
Once you've done your first session, do another. Then another. The progress in outdoor oil painting comes from repetition more than from technique: your eye gets sharper, your mixing decisions get quicker, and your confidence with the medium grows every time you set up.
Consider painting once a week if you can manage it. Short, regular sessions are far more effective for development than occasional long ones. A one-hour sketch every Sunday will transform your painting over a year in a way that one full day per month simply won't.
If you'd like company, look for a local art group or plein air painting society. Many areas across the UK have them, and painting alongside other people, whatever their level, adds motivation, accountability, and often a great deal of enjoyment. The Plein Air Painters of the UK and various regional watercolour and oil painting societies are good starting points.
The landscapes, canals, coasts, and streets of the UK are ready whenever you are. All you need is a small panel, a few colours, and the willingness to begin.
FAQ
Frequently Asked Questions
Do I need expensive materials to start plein air oil painting?
No. Begin with a small, portable kit: student grade oils, 3–5 hog bristle brushes, small canvas boards or panels, a simple palette, and low odour solvent.
What colours should a beginner buy first?
Use a limited palette: Titanium White, Yellow Ochre, Cadmium Yellow Hue, Cadmium Red Hue, Ultramarine Blue, and Burnt Sienna. Add Viridian or Phthalo Green if needed.
How do I set up for my first outdoor session?
Choose a simple subject, use a small panel (6x8 or 8x10), tone the panel with burnt sienna, sketch shapes loosely, then block in large masses before refining.
How can I handle changing light and weather in the UK?
Work from a clear decision about the light and commit to it. Overcast days are ideal. Bring a clip on umbrella and dress in layers to stay comfortable.
How do I transport wet oil panels safely?
Carry two same size panels face to face with small spacers at the corners or use a dedicated panel carrier to keep wet surfaces apart during travel.
Author

PleinAirPainting Editorial Team
PleinAirPainting.co.uk helps artists paint outdoors with confidence through UK-focused guides, equipment advice, resources and plein air inspiration.