Plein Air Painting Safety: Practical Tips for UK Sessions
Practical tips for plein air painting safety in UK locations covering weather and lightning, sun and heat, chemical handling, solo working and a quick pre session checklist.

Key takeaways
- • Check the Met Office hourly forecast for wind, temperature, UV and thunder risk before you leave.
- • If you hear thunder or see lightning, pack up and shelter in an enclosed building or vehicle and wait 30 minutes after the last thunder.
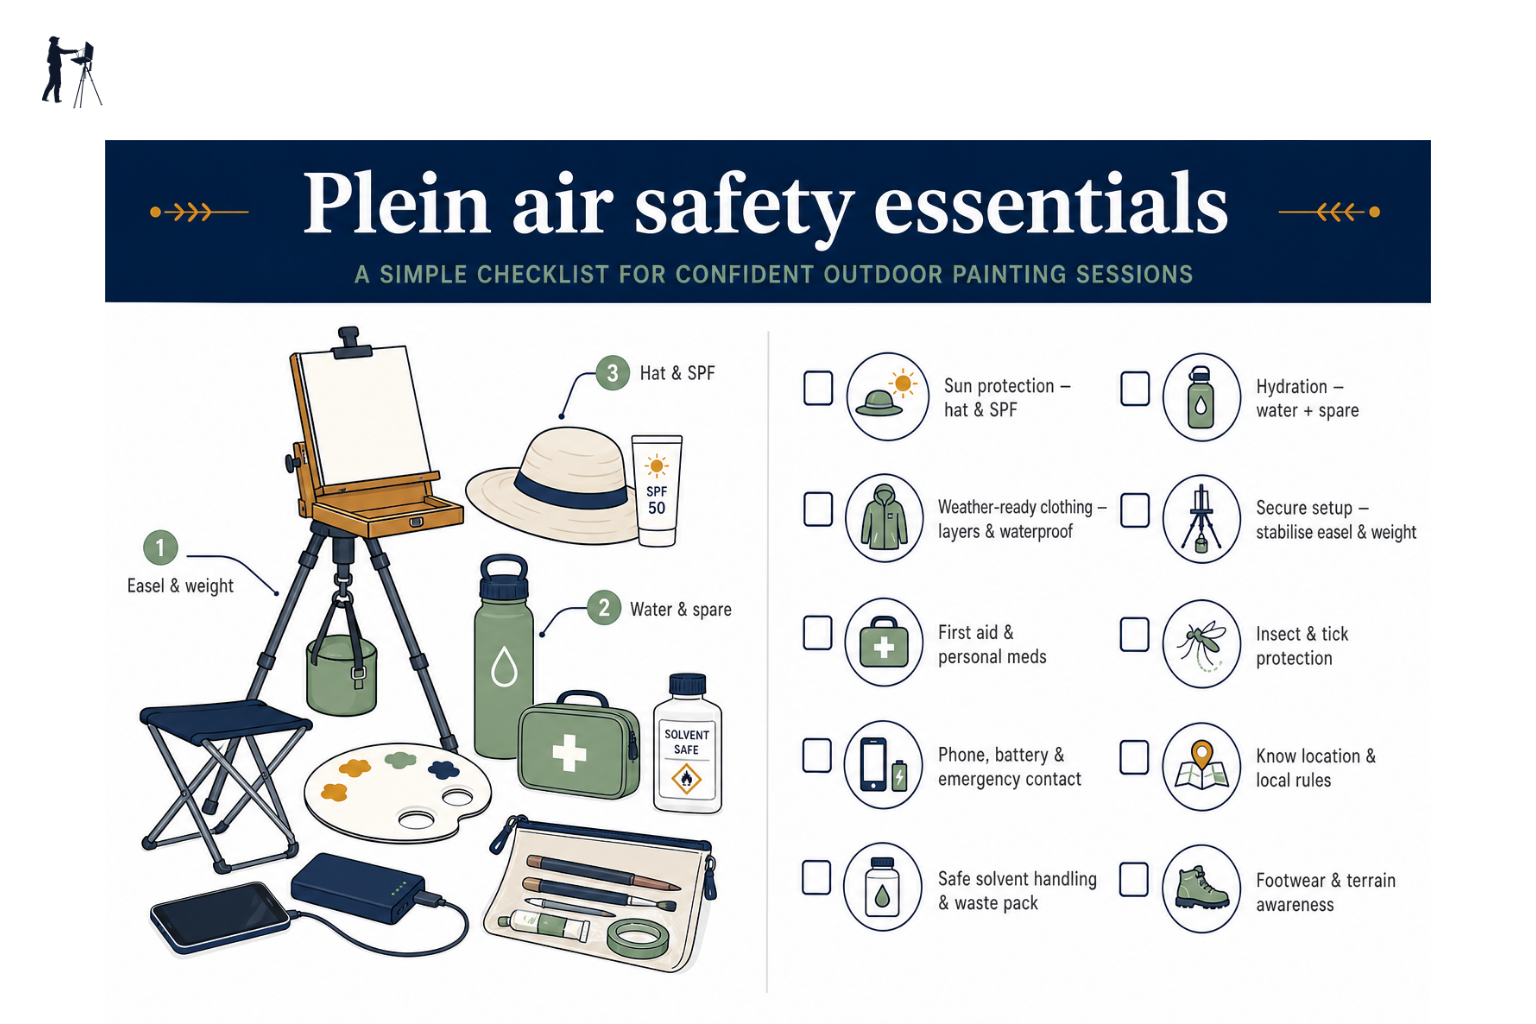
- • Pack safety basics: charged phone, water, SPF 30+, nitrile gloves and a small first aid kit. Know your exit route before you set up.
- • Minimise solvent risk with sealed travel jars, downwind placement, gloves or water mixable oils and hand washing before eating.
- • For solo work tell someone your plan, scout ground stability and access, and avoid exposed high ground or unstable setups in high wind.
Most plein air painters think about safety after something goes wrong. A thunderstorm that appeared from nowhere over the moors. A jar of white spirit that tipped in the bag. A dizzy spell on a warm afternoon that crept up before you'd noticed. Plein air painting safety doesn't need to be complicated, but it does deserve more than a quick check of the weather app before you head out. This article covers the four areas that matter most: weather and lightning, sun and heat, materials and chemicals, and working alone. It's a quick read, and it'll make your sessions noticeably safer.
Before You Leave the House: The Checks That Matter
Most problems that happen outdoors trace back to a gap in preparation rather than bad luck. A five-minute check before you leave the house covers the majority of what could go wrong. Here's what that looks like in practice.
Weather forecasting for painters
There's more to a useful forecast than knowing whether it'll rain. Before a session, look at wind speed (anything above around 20 mph will make easel stability a genuine problem), temperature, UV index, and specifically whether thunderstorms are in the forecast. That last one matters more than most painters realise.
The Met Office is the best source for UK locations. Their hourly forecasts give you a genuinely granular picture for specific areas, including the kind of afternoon convective storm activity that can develop on what looks like a perfectly reasonable morning. If thunderstorms are forecast for your area during the time you plan to be out, rearrange. Don't try to work around windows in the forecast or hope the risk passes early. It's not worth it.
Telling someone where you are going
This is the single most impactful thing a solo painter can do, and it costs nothing. Before you leave, tell someone where you're going: the location, where you plan to park, and when you expect to be back. Then send a quick text when you arrive and another when you're heading home.
If you paint regularly and solo, make this a habit rather than an occasional gesture. It matters most for remote and coastal locations where a twisted ankle or a sudden weather change could leave you in difficulty without easy access to help. You don't need a formal plan, just a consistent one.
What to bring beyond your kit
A charged phone is obvious but worth saying. Beyond that, the additions are small: a basic first aid kit (plasters, an antiseptic wipe, a blister cover), more water than you think you'll need, and a clear mental note of the nearest substantial building or car park before you set up. That last point is easy to skip when you're focused on finding the right viewpoint, but knowing your exit route before you start painting is the kind of preparation that really pays off if conditions change quickly.
Lightning and Thunderstorms: The Risk UK Painters Underestimate
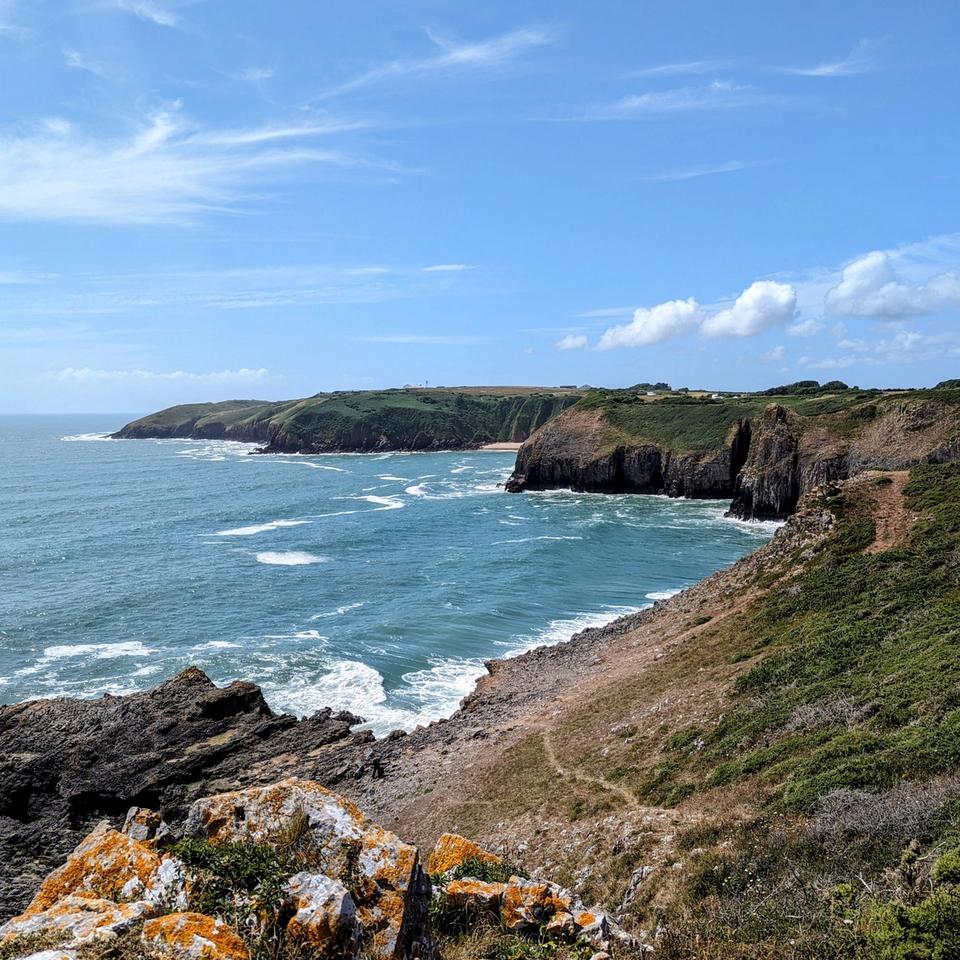
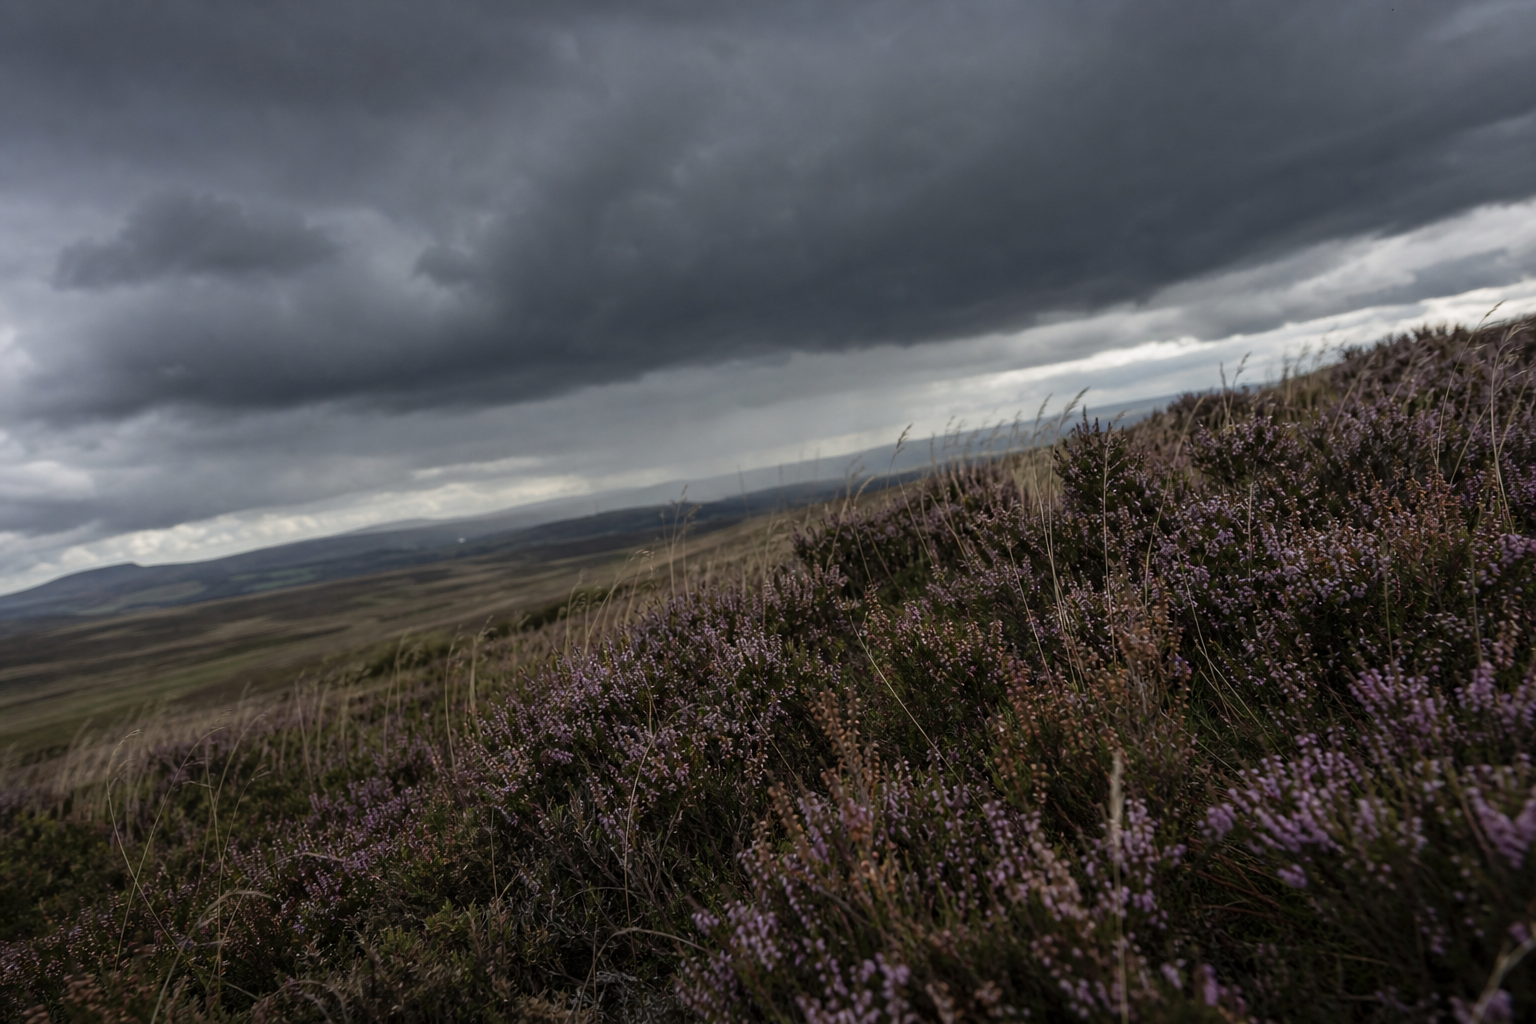
This is the area where existing safety guidance most often falls short for plein air artists, so it's worth going into some detail. UK painters regularly work on exactly the terrain that carries the highest lightning risk: open moorland, coastal clifftops, hilltops, and exposed ridges. These are beautiful painting locations. They're also the places you most need a clear plan if a storm develops.
Recognising the warning signs early
The key rule is simple: if you can hear thunder, the storm is already close enough to be dangerous. Thunder is audible at roughly 10 miles from a storm. That's not a comfortable margin when you're on an open hillside with no shelter nearby. If you see lightning, the time to act has already passed.
The earlier signals are darkening skies, a sudden drop in temperature, and a noticeable rise in wind. None of these guarantees a storm is coming, but all of them are worth taking seriously. They are your cue to start packing down and moving toward shelter, not to wait for confirmation.
Where not to shelter
This is the part that catches people out, because the instinct in a storm is to find something overhead. Under an isolated tree is one of the most dangerous places you can be in a lightning storm. The same applies to caves and cliff overhangs, open-sided structures like bus stops, bandstands, or open barns, and any location near or on water. High ridges, moorland tops, and clifftops should be evacuated, not sheltered on.
These instincts feel protective but they aren't. An isolated tree, a rocky overhang, or a metal-framed open shelter can all conduct or concentrate risk rather than reduce it.
Where to go and when
The safest option is a substantial enclosed building, ideally one with wiring and plumbing (both of which help conduct charge safely away). A fully enclosed vehicle with the windows up is also effective. These are meaningfully different from a tent, a wooden shed, or an open-sided structure. If you're in doubt about whether a building counts, an enclosed car is the more reliable option.
Once you're in shelter, stay there. The 30-minute rule applies: wait at least 30 minutes after the last rumble of thunder before heading back outside. Not 30 minutes after the last flash you saw, but 30 minutes after the last sound you heard. Storms can appear to pass and then re-intensify, and lightning can strike well ahead of the visible storm centre.
If you're caught in the open with no shelter accessible, move off high ground, get away from tall isolated objects, and crouch low with your feet together and hands over your ears. Keep your contact with the ground minimal. This is a last resort, not a strategy, and it's worth knowing only because sometimes there is no better option.
The 30-minute rule
Once you hear thunder or see lightning, stop painting and get to proper shelter. Stay there until at least 30 minutes after the last rumble of thunder before heading back outside. Not 30 minutes after the last flash you saw — 30 minutes after the last sound.
Practical rules for plein air painters in storm-risk conditions
Don't set up on exposed ridges, open moorland, or clifftops on days when afternoon storms are possible. Scope your escape route before you start painting, not when the sky is already darkening. And keep your kit packable at all times: if packing down takes 10 minutes, that's 10 minutes you're exposed while conditions are deteriorating. Travelling light and setting up simply becomes a safety consideration as well as a practical one.
Sun, Heat, and Cold: The Slow Risks
These are the risks that build over a session rather than arriving suddenly. UK artists tend to underestimate them because the climate doesn't feel extreme, but UV exposure, dehydration, and cold can affect your painting long before they cause noticeable symptoms.
Sun protection
SPF 30 minimum, broad-spectrum with UVA protection. Apply it 20 minutes before going out and reapply during a long session. This applies in the UK even on overcast days: UV radiation penetrates cloud cover significantly, and you don't need direct sun to accumulate meaningful exposure over a three or four hour session.
A hat is practical as well as protective. It reduces glare and squinting, both of which distort colour perception. Sunglasses serve the same double purpose. If you're finding that your colour judgement drifts over the course of a session, sun exposure is often part of the reason.
Heat and hydration
The useful framing for painters is that dehydration affects your work before it affects your health noticeably. Concentration, colour sensitivity, and fine motor control all suffer when you're mildly dehydrated, often well before you feel thirsty. Drink water regularly through a session in warmer months rather than waiting for thirst to prompt you.
If you feel lightheaded, cold and clammy, or unusually fatigued during a session, stop and get into shade. These are the early signs of heat exhaustion. Rest, rehydrate, and don't push through.
Cold and manual dexterity
Cold hands are a safety issue as well as a frustration. Reduced grip means dropped brushes, tipped jars, and unstable kit. At a coastal or exposed hillside location in autumn or winter, wind-chill can make conditions significantly colder than the air temperature suggests.
Layer properly for these sessions. Fingerless gloves or thin liner gloves let you maintain grip and control while keeping your hands warm enough to work. Keep a pair in your bag year-round: a cold morning in April on the North York Moors is not the time to discover you left them at home.
| Condition | Key risk | Quick action |
|---|---|---|
| Hot sunny day | Sunburn, dehydration | SPF 30+, hat, regular water breaks |
| Overcast UK day | UV exposure (still real) | SPF 30+ regardless |
| Cold or windy | Numb hands, dropped kit | Liner gloves, extra layers |
| High wind | Easel instability | Secure or pack away; reduce kit weight |
| Approaching storm | Lightning, flash rain | Know your exit, check forecast first |
Paints, Solvents, and Chemical Safety Outdoors
Being outdoors does reduce your chemical exposure compared to a studio, but it doesn't eliminate it. The habits that protect you in a studio matter just as much outside.
Solvents and mediums
White spirit, turpentine, and oil-based mediums all carry risks through skin contact, ingestion, and inhalation. Outdoors, ventilation is much better than in an enclosed room, which genuinely reduces the inhalation risk. But wind direction matters: if your solvent jar is positioned upwind of you, vapour will blow directly into your face. Keep it downwind or to the side.
Use small travel jars rather than large open containers, and keep them sealed when you're not actively using them. This reduces both exposure and the risk of spillage in your bag. If you'd prefer to avoid solvents outdoors altogether, water-mixable oils are a practical alternative that work well in field conditions.
Wearing gloves
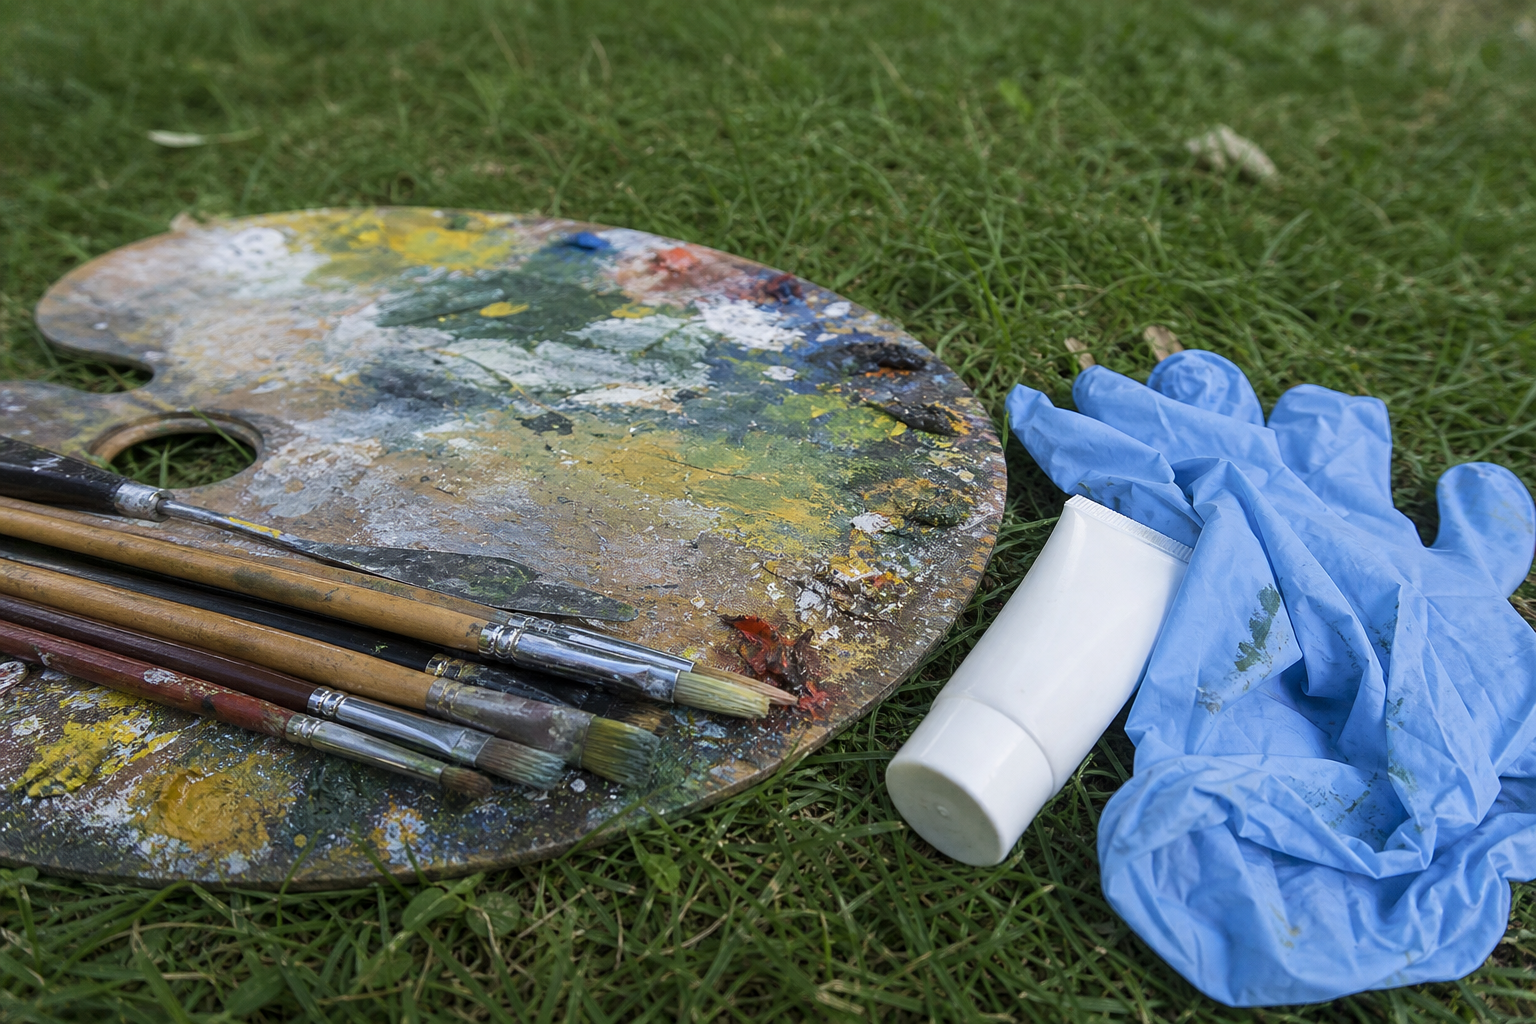
Nitrile gloves are the lowest-effort, most practical option for most plein air painters. They're lightweight, inexpensive, and fold into any kit bag. The habit of washing hands before eating or touching your face matters outdoors exactly as it does in a studio. A food break mid-session is a common route for inadvertent ingestion of paint residue, and it's easily avoided.
If cadmium colours or lead white are in your kit, gloves move from sensible to important. Both have specific toxicity concerns with prolonged skin contact. You don't need to stop using them, but handling them without gloves and then eating a sandwich is a habit worth breaking.
Painting near birds and environmental contaminants
Urban squares, waterside locations, and spots under bridges often have significant bird dropping accumulation. It's easy to overlook when you're focused on the view. Avoid setting your bag or materials directly on heavily soiled surfaces. A mask is worth wearing if you're working in a heavily contaminated area, particularly if dust or dry material is disturbed by wind. Wash your hands thoroughly after sessions in these locations.
Solo Working and Location Safety
This is the aspect of plein air painting safety that almost no existing guidance addresses. Most safety content is written for professional decorators or group activity leaders. Solo artists in the field have a specific set of practical considerations that are worth taking seriously.
Simple pre-session risk assessment
Think of this as a two-minute mental check before you set up, not a form to fill in. Is the ground stable? Check for loose edges near cliff tops, tidal rocks, or steep banks near water. Is there a clear exit route that doesn't cross dangerous terrain? If you're at a tidal location, check the tide times before you go and factor them into your session plan: being cut off by an incoming tide is a real risk at some UK painting spots.
Is this location accessible to emergency services if something goes wrong? A remote hillside is a different situation to a managed country park, and that difference is worth noting before you leave home rather than when you need help. Is there a phone signal at your intended spot? If you're not sure, check before you commit to painting there solo.
Personal security in urban and semi-urban locations
Painting in public urban spaces attracts attention, and most of it is friendly and welcome. A few practical habits help with the rest. Keep your bag close and secured where possible. Don't leave kit unattended for long periods. Trust your instincts about where to set up: a spot that feels uncomfortable or exposed tends to produce worse painting as well as less enjoyable sessions. Choosing spots near other people in popular parks, harbours, or tourist areas naturally reduces isolation without requiring any formal precaution.
Carrying and setting up kit safely
Heavy packs on uneven ground are a trip hazard. A balanced backpack distributes weight better than a shoulder bag on any terrain that isn't flat. Lift with your legs when setting up a tripod or pochade box on a slope. It's easy to forget basic mechanics when you're focused on finding the right angle, but a strained back cuts a painting session short and causes more than one.
In wind, a lightweight easel is a real liability. Weight the feet where you can, use a bungee cord or a hanging weight if you have one, and don't walk away from an unweighted set-up. If the wind has picked up to the point where your easel is unstable, that's a clear sign the session is probably done. Packing down at that point isn't giving up; it's the right call.
Quick pre-session safety check
Check the forecast
Look at Met Office hourly detail. If thunderstorms are forecast, reschedule.
Tell someone your plan
Share your location, parking spot, and expected return time. Arrange a check-in text.
Scout your exit
Before you set up, identify the nearest shelter and your route to it.
Assess the ground
Check footing around your planned spot. Note edges, slopes, tidal zones, and any loose surface.
Pack your safety basics
Charged phone, water, sun protection, gloves, and a basic first aid kit.
A Quick Word on Painting Safely in Specific Conditions
A few conditions come up regularly for UK painters and carry their own specific considerations.
Rain: Wet ground and slippery surfaces are the most immediate physical risk, alongside the question of keeping your materials dry. Wellies or waterproof boots with grip matter more than most painters expect on a wet, grassy slope.
Night painting (nocturne): Solo working after dark raises the stakes on most of the considerations in this article, particularly navigation, ground assessment, and letting someone know your plan. The low-light environment also makes trip hazards and unstable ground harder to spot before you've set up.
Getting started outdoors: If this article has made outdoor painting feel like a logistical undertaking, it's worth saying clearly: it isn't. Most sessions are uneventful, enjoyable, and everything that makes outdoor painting worth doing. The preparation described here is genuinely quick once it becomes habit. Treat it the same way you'd treat packing the right brushes: a small, sensible part of getting ready to do something you enjoy.
FAQ
Frequently Asked Questions
What should I do if I hear thunder while painting outdoors?
Stop painting immediately, pack up, and move to a substantial enclosed building or a fully enclosed vehicle. Stay sheltered at least 30 minutes after the last rumble of thunder.
How can I reduce solvent exposure when painting outside?
Use small sealed travel jars, keep solvent jars downwind, wear nitrile gloves, and consider water mixable oils to avoid solvents altogether.
What basic items should I pack for a safe plein air session?
Charged phone, water, SPF 30+ sunscreen, hat, nitrile gloves, basic first aid kit, and a clear plan for your nearest shelter or exit route.
How do I plan for solo painting sessions safely?
Tell someone your location and expected return, check tide and access if coastal, assess phone signal and emergency access, and identify an exit route before setting up.
How can I protect my hands and performance in cold or hot conditions?
In cold use liner or fingerless gloves and extra layers to keep dexterity. In heat, drink regularly, rest in shade if lightheaded, and use SPF and a hat.
Author

PleinAirPainting Editorial Team
PleinAirPainting.co.uk helps artists paint outdoors with confidence through UK-focused guides, equipment advice, resources and plein air inspiration.