Nocturne Plein Air Painting: How to Paint Outdoors at Night in the UK
Practical advice for nocturne plein air painting in the UK: timing, kit, lighting, limited palettes, simple workflow and safety tips to help you paint outdoors after dark.

Key takeaways
- • Nocturne plein air painting captures the simplified structure and mood of night scenes that studio work cannot reproduce.
- • Plan timing carefully: twilight sessions are easiest; full nocturnes suit autumn and winter in the UK.
- • Use modest, warm-toned lighting that matches between palette and canvas and switch lights off every 15–20 minutes to check values.
- • Work with a limited palette and treat the value range as compressed; use a warm ground and paint slightly lighter than it appears at night.
- • Prioritise safety: start in urban or organised locations, tell someone your plans, and consider painting with others.
There is a particular kind of painting that stops people in their tracks at exhibitions. Deep blues, a single glowing lamp, the suggestion of water or wet stone. Nocturne plein air painting produces work with a mood that is simply impossible to replicate in a studio from memory or from photographs. The compression of values, the stillness, the way artificial light carves shapes out of darkness: these are things you have to be there for.
It does take a bit more preparation than a daytime session. But it is well within reach of any painter who has already spent time working outdoors, and the results tend to be worth every extra minute of planning.
Why Nocturnes Are Worth the Extra Effort
Whistler made the nocturne famous, but the tradition of painting outdoors at night runs through plein air practice right up to the present day. The appeal is not nostalgia. It is the fact that darkness does something to a landscape or a cityscape that daylight cannot: it simplifies. The clutter falls away. What remains is structure, light, and atmosphere.
A well-observed nocturne painted on location carries a quality of presence that studio reconstructions rarely achieve. The values are more honestly compressed, the colours more unexpected, the composition forced into simplicity by what is actually visible. That is a productive constraint, not a limitation.
The practical overhead is real but manageable: a bit more kit, earlier planning, and a willingness to work more decisively. Once you have done it once, the process becomes straightforward.
Planning Your First Night Painting Session
Timing: Twilight vs True Dark
These are not the same thing, and knowing the difference changes how you plan a session.
Civil twilight is the period just after sunset when the sky is still bright enough to read by. The horizon holds colour, detail is visible in the landscape, and the mood is already shifting toward evening. Nautical twilight follows, when the sky deepens to a purple-blue and artificial lights begin to compete with the ambient glow. Astronomical twilight ends when the sky is fully dark and stars are visible overhead.
For painting purposes, twilight sessions (painting from sunset into the first hour of darkness) are more forgiving and a sensible starting point. True nocturne work, with deep shadow masses and a fully dark sky, requires astronomical twilight and beyond.
In the UK, this distinction is especially important seasonally. In midsummer, astronomical darkness does not arrive until after 11pm in northern England and may not come at all in Scotland. Autumn and winter are the practical seasons for full nocturne work. For your first attempt, target an evening in September, October, or early November, when darkness falls at a reasonable hour and conditions are often calm.
Where to Paint at Night in the UK
The safest and most accessible starting points are urban settings with existing artificial light: a lit harbour, a bridge reflected in water, a town square with lampposts, a seafront at dusk. These give you something to paint, ambient visibility, and passing people nearby. They require no special permissions and make value judgement easier because the light sources are clearly defined.
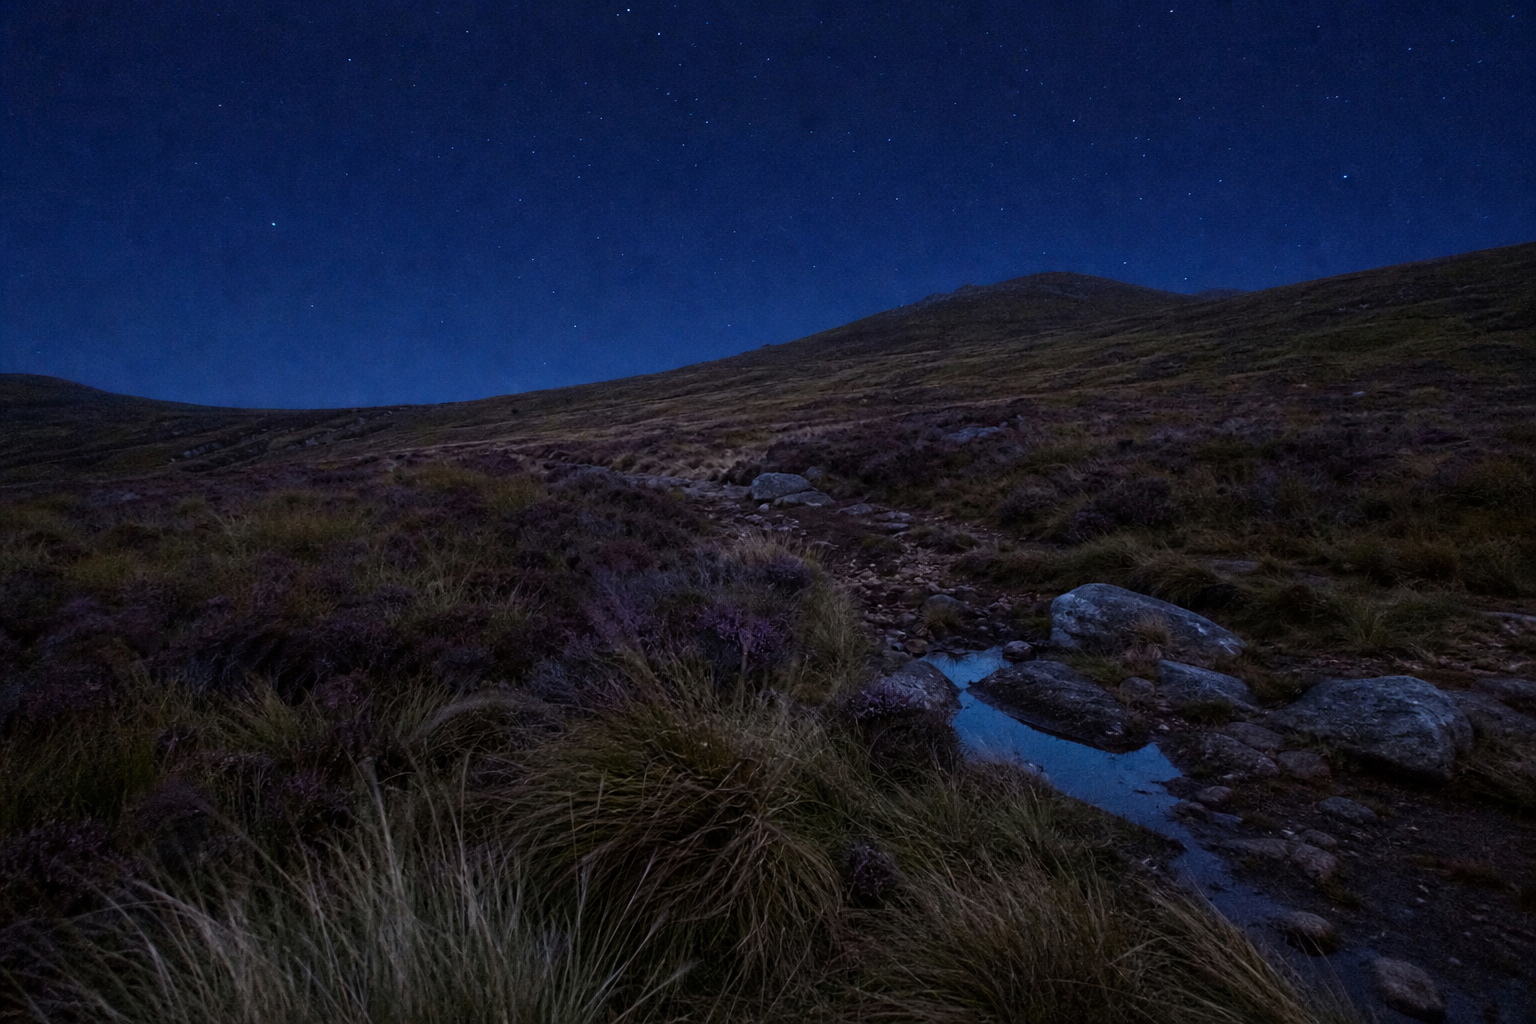
For those wanting darker skies and star-visible conditions, the UK has several excellent dark-sky locations. Northumberland National Park, Northumberland's Kielder Water and Forest Park, Exmoor National Park, the Brecon Beacons, Galloway Forest Park in Scotland, and the South Downs all hold formal dark-sky status. These offer extraordinary night scenes but require more planning around access, transport, and safety.
The Sill landscape discovery centre near Hadrian's Wall in Northumberland runs dark-sky events and provides a managed, supported context for night photography and painting in one of the UK's best dark-sky zones. The Yorkshire Dales Dark Skies Festival and similar events at Malham Tarn and Malham Cove give plein air painters a legitimate, organised route into managed dark-sky locations with other people around.
City parks can work well at dusk in well-lit areas. Check local authority websites for closing times, as many parks close to the public after dark.
For a first nocturne session, stay urban or semi-urban. Remote countryside at night is advanced territory and best approached after you have already worked out your kit and your process.
Access, Permissions and Lighting Etiquette
Many outdoor sites in the UK close at dusk by default, even those that feel publicly accessible during the day. National Trust properties, country parks, and managed nature reserves often have specific closing times. Always check in advance rather than assuming.
For independent sessions on managed land or private farmland, contact the landowner or land manager beforehand. A brief, polite enquiry is usually well received and removes any ambiguity about your right to be there after dark.
In dark-sky certified areas, the guiding principle is minimal light pollution. Small, directional, low-intensity LEDs are entirely appropriate. Avoid pointing beams across open moorland, toward roads, or into areas where other visitors might be affected. UK nuisance lighting legislation means that intrusive artificial light can constitute a statutory nuisance in law; in practice, this is a matter of common sense and consideration rather than a significant legal risk, but it is worth understanding. Be especially discreet in designated dark-sky zones: the spirit of those designations is genuine, and painting there by invitation or at organised events is a privilege worth respecting.
Setting Up Your Nocturne Kit
Lighting Your Palette and Canvas
The goal is enough light to see what you are mixing and what you are painting, without flooding your setup so brightly that you lose your ability to read the scene in front of you.
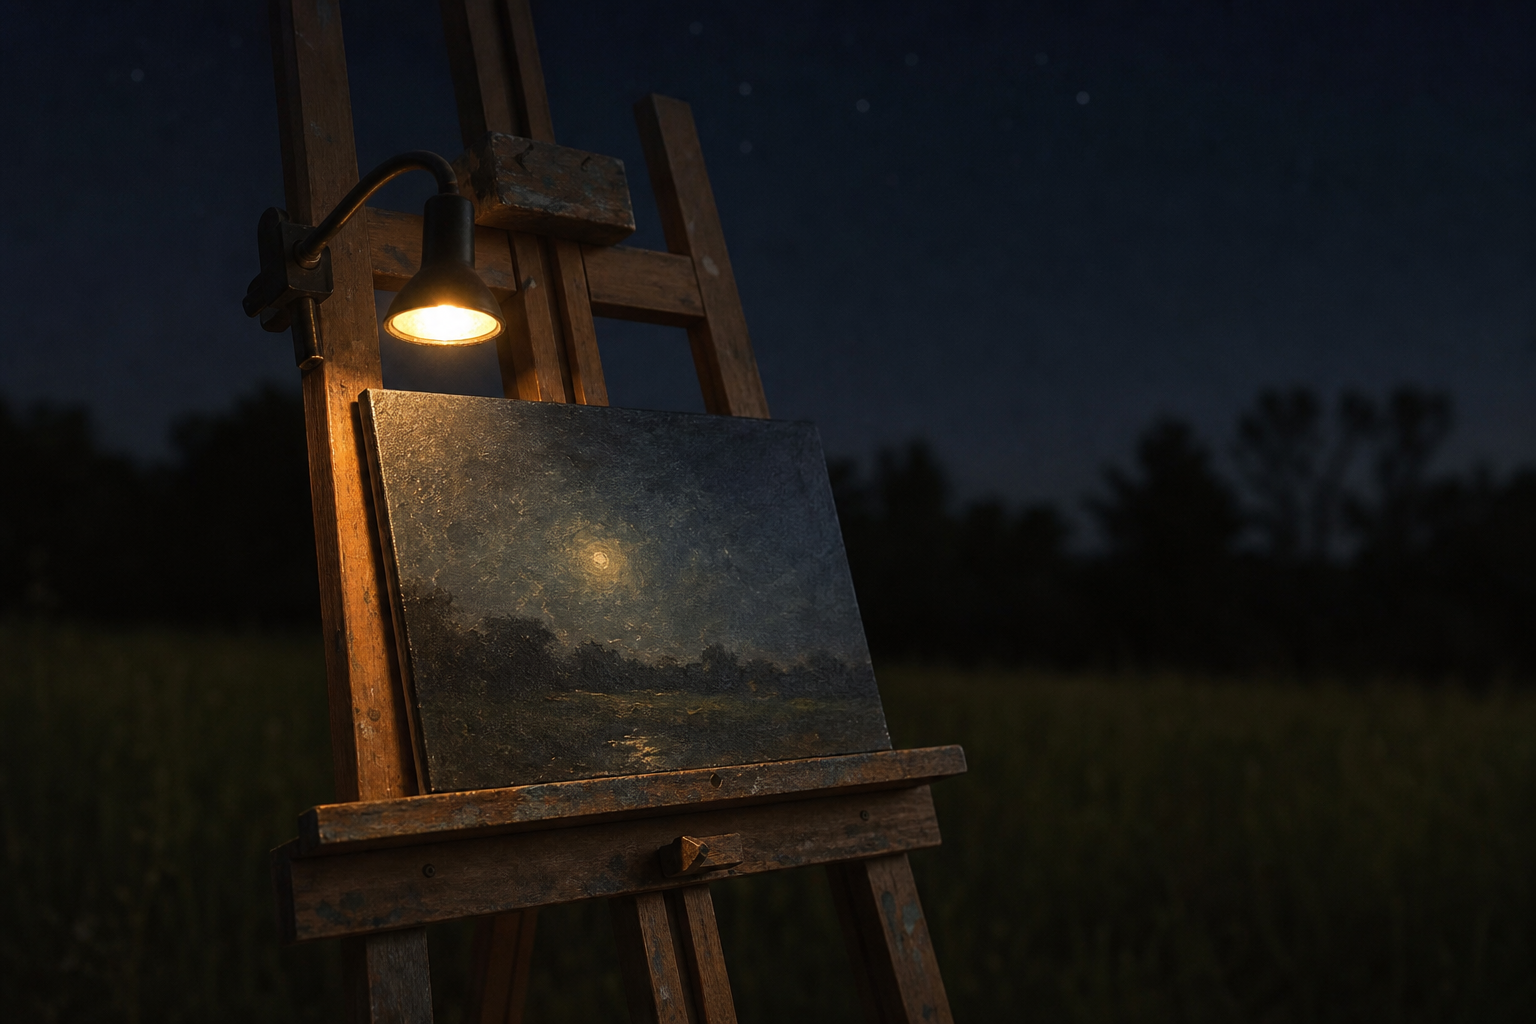
A practical arrangement for most nocturne painters: one headlamp angled downward at roughly 45 degrees, providing general working visibility, and one small clip-on LED or book light aimed directly at the palette. Keep both at low brightness. Your eyes need to move constantly between the lit palette and the dark scene, and that shift is much easier when your setup light is modest rather than blazing.
Colour temperature is worth thinking about. Warm-toned LEDs (around 2,700K to 3,000K) are preferred by many nocturne painters because they introduce less colour distortion than cool-white alternatives. Others use a gel or filter over a neutral LED to soften the tone. There is no definitive answer here: the specific scene, your medium, and personal preference all play a role. If you are unsure which light to use, our review of the best plein air lights covers the main options in detail and is worth reading before you buy.
Keep your palette and canvas under matching light, both from the same source at roughly the same distance and brightness. If one is significantly better lit than the other, your colour decisions on the palette will not translate accurately to the canvas, and you will only discover the mismatch in daylight the following morning.
Turn your lights off periodically, at least every 15 to 20 minutes, and spend a minute or two letting your eyes adjust to the actual darkness. Then compare your painting directly to the scene before switching back on. This is not optional; it is how honest value assessment works at night.
Avoid using your phone screen during a session. Phones are bright, cool-toned, and highly effective at destroying night vision. If you need to check something, do it quickly and look away from the screen before returning to your painting.
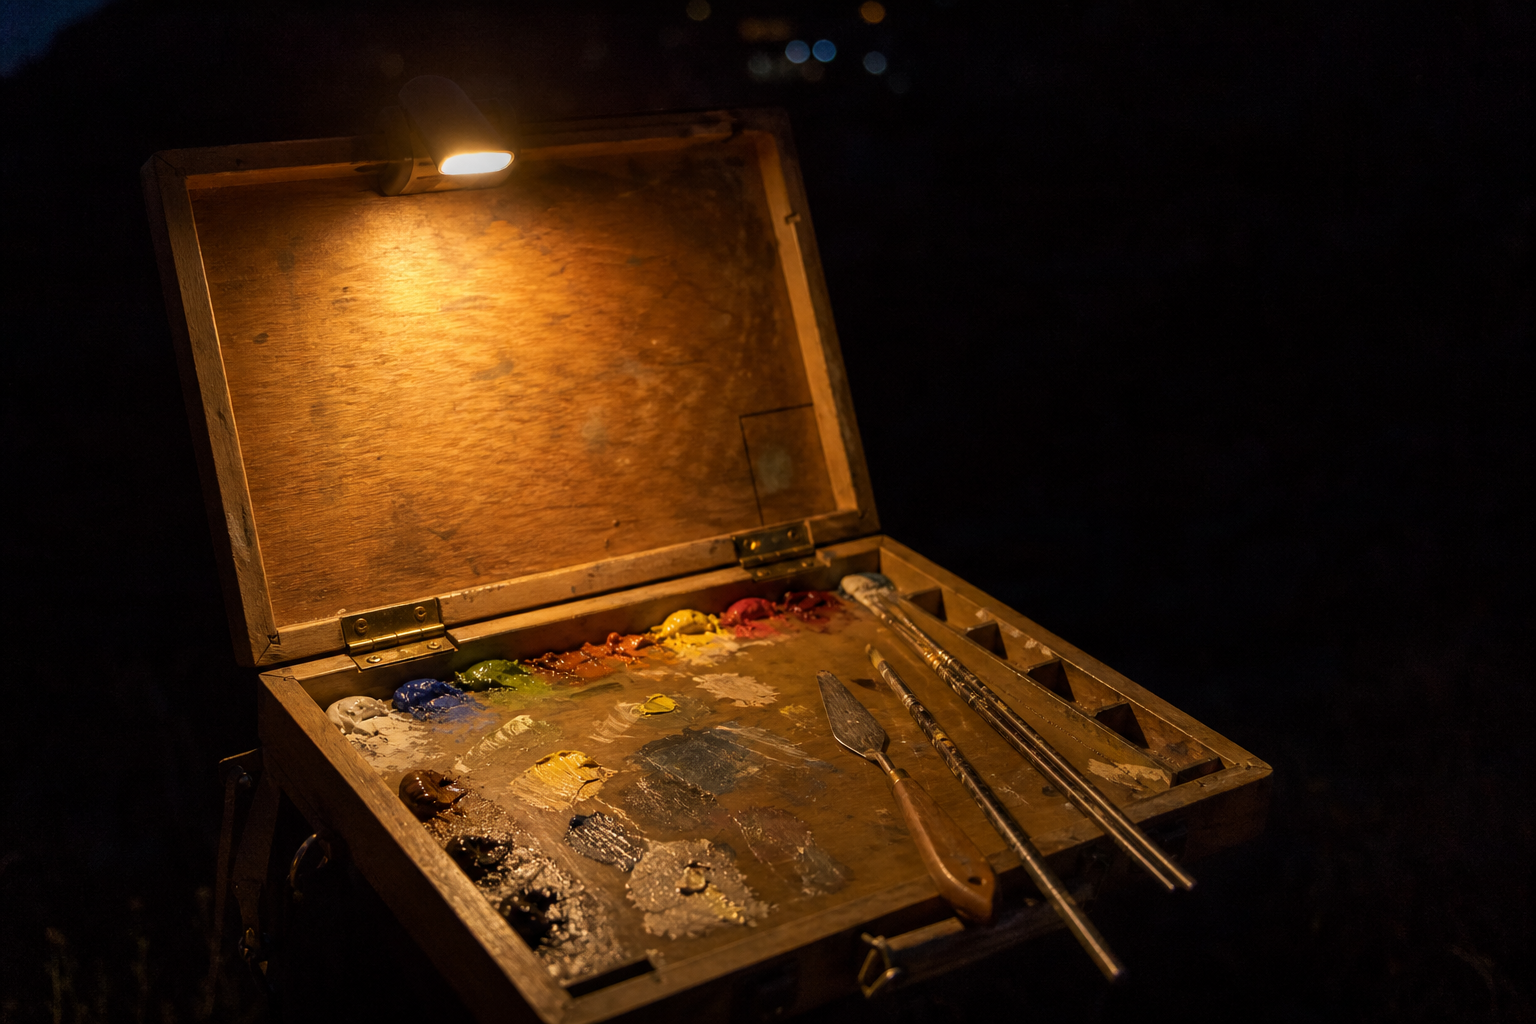
Night vision and your setup light
Keep your palette and canvas under matching light — both lit by the same source at the same distance. If one is brighter than the other, the colours you mix won't look right when you see them together in daylight. Switch all lights off every 20 minutes or so, let your eyes adjust, and compare your painting directly to the scene before switching back on.
What to Wear and Carry
Temperature drops sharply after dark, even in mild months. Layer up more than you think you need. A fleece mid-layer and a windproof or waterproof outer shell are the baseline; add a hat and scarf as soon as evening temperatures become unpredictable in autumn and winter.
Fingerless gloves let you mix and handle brushes without sacrificing too much dexterity. Keep a pair of full gloves in your pocket for breaks or on very cold evenings.
Wear something light-coloured or add a reflective band, especially near roads, car parks, or cycling paths. You are not easy to see in the dark, and this matters more than it sounds.
Keep your kit compact and well organised. Fumbling for panel clips, palette knives, or medium bottles in the dark wastes time and risks knocking things over. Think through your layout before you leave the house and pack in reverse order of need.
Carry a small head torch separately from your painting lamp, either around your neck or in an accessible pocket. You will need it for packing up and navigating back to your car or transport. A warm drink in a flask is not a luxury on a cold night; it is straightforwardly practical.
Values and Colour at Night
The Value Compression Problem
In daylight, the full tonal range from brightest highlight to deepest shadow spans a wide scale. At night, that range collapses. The darkest darks are very dark, the light sources are the only true highlights, and almost everything else falls into a relatively narrow band of mid-dark to dark values.
The most common mistake beginners make is painting everything too dark. The result is a finished painting that, back in the studio under normal light, looks unreadably black. You lose the distinction between different shadow masses, mid-tones merge with darks, and the sense of luminosity disappears entirely.
The fix is to think of the nocturne's value scale as a compressed version of the full range, shifted toward the dark end but not bottomless. The light source or sources (a moon, a streetlamp, a lit window) are your only genuine whites or near-whites. Everything else sits in the middle and lower portion of the scale, with the very deepest darks used sparingly and only where the scene genuinely goes to near-black.
Many experienced painters apply a warm underpainting before starting, a thin wash of raw sienna or burnt umber across the whole panel. This warm ground energises the cool blues and near-blacks that dominate a nocturne and prevents the finished painting reading as a flat, cold grey in daylight. It is a small step that makes a significant difference.
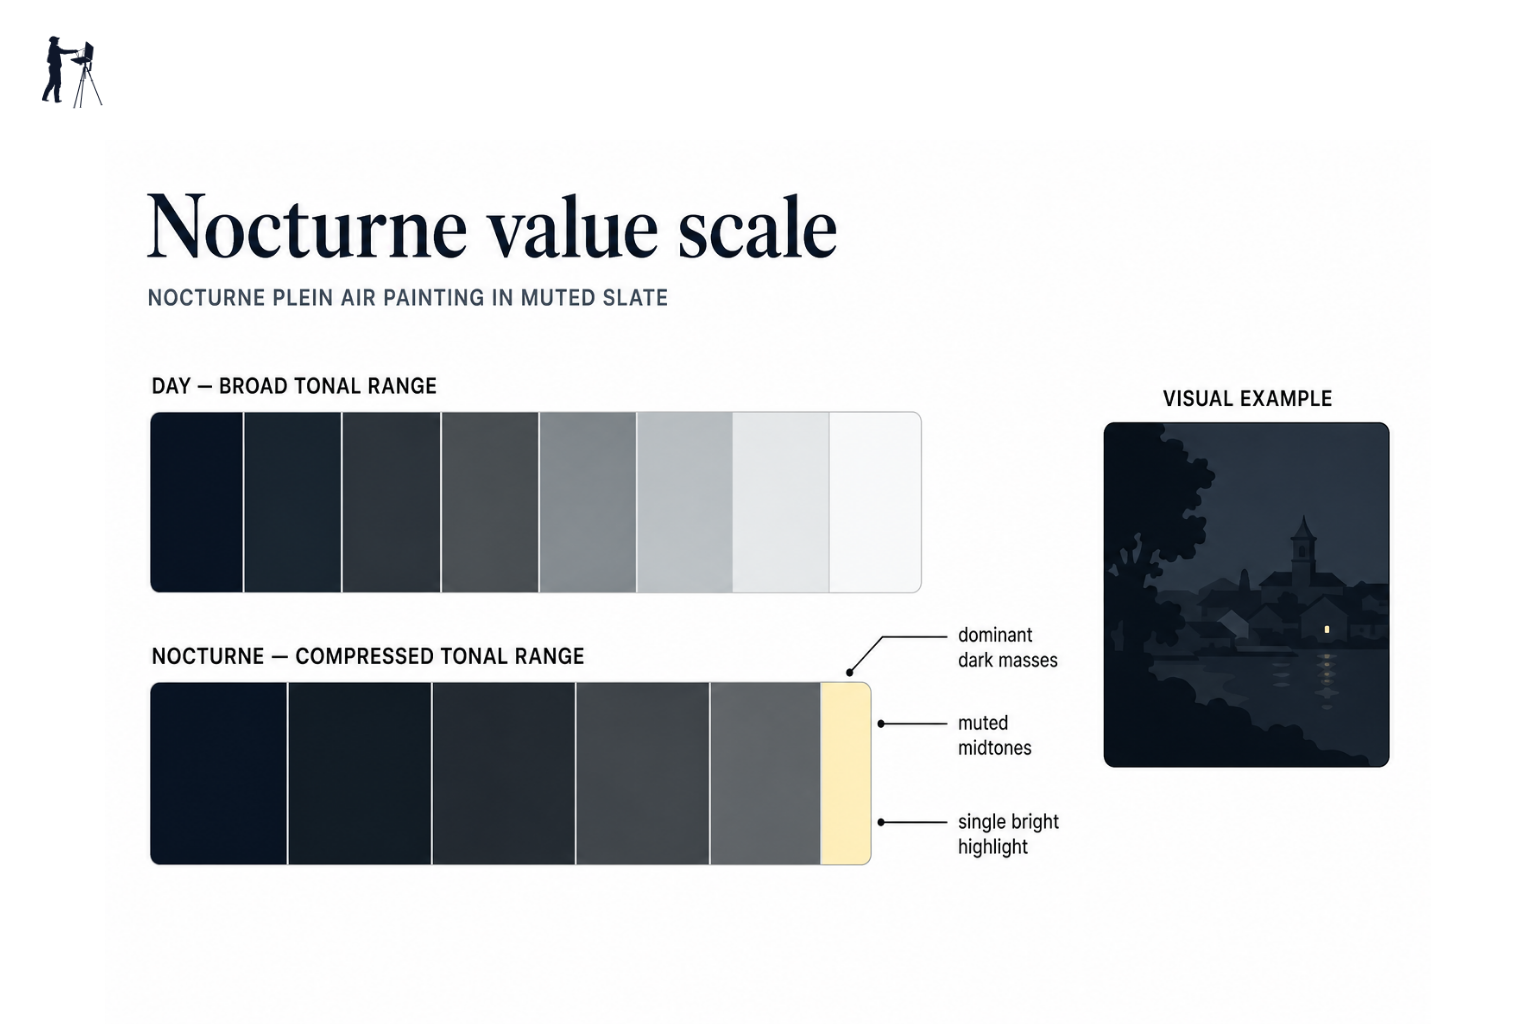
Paint slightly lighter than you think
Night scenes look darker in the studio than they do outdoors under artificial light. Aim to mix your mid-tones slightly higher in value than they appear on site. The deep darks will take care of themselves — use very little white, and reserve it for the brightest light source in the scene.
Choosing a Limited Palette for Nocturnes
A full daylight palette is more confusing than helpful after dark. The value relationships between many colours become almost indistinguishable in low light, and the range of hues in a night scene is genuinely narrow. Work with fewer pigments, not more.
Most of the painting will be mixed from a cool dark and a warm dark combined in varying proportions. White appears only at the very top of the value scale, used with real restraint. Warm accents, lamplight, reflected colour from shop fronts or neon, appear as small, decisive notes rather than broad statements.
| Colour | Role | Notes |
|---|---|---|
| Ultramarine blue | Cool darks and sky tones | Dominant cool in most night scenes |
| Burnt umber | Warm darks and shadow mix | Mix with blue for near-blacks |
| Titanium white | Reserved for brightest highlights only | Use sparingly |
| Yellow ochre | Lamplight and warm accents | Keeps warms subtle |
| Cadmium red light (or Indian red) | Rare warm punctuation | Add only where needed |
For watercolourists, the night scene presents its own set of considerations. Granulating pigments, particularly French ultramarine, Prussian blue, and neutral tint, work well for rich, textured darks. The main challenge is managing wet paint in cool, still air: wet watercolour at night risks unwanted blooms and tide marks, and cold temperatures slow drying considerably. Keep your paper dry and work with less water than you might in daylight. A small travel hairdryer (battery-powered) is an option some watercolourists use for accelerating drying between washes.
A Simple Nocturne Workflow
A brief note before the steps: the workflow below assumes you are painting on location from setup to finish. Many nocturne painters also do quiet, minor adjustments in the studio afterwards, particularly to value relationships, and there is nothing wrong with that approach.
A simple nocturne workflow
Arrive before dark
Reach your location during the last 30–40 minutes of daylight. Scout the scene, set up your easel, and block in your main compositional lines while you can still see clearly.
Lay in key masses at twilight
Use twilight to establish your largest value areas — sky, ground, mid-tones. The light is still readable, but the mood of the night scene is already emerging. Work quickly and loosely.
Switch on your lights as darkness falls
Clip on your palette light and adjust your headlamp to around 45 degrees downward. Keep both at low brightness. Let your eyes adapt for a few minutes before you start mixing.
Work in broad, simplified masses
Forget fine detail. Find the three or four dominant value zones — the light source, the lit surfaces, the mid-tones, and the deep darks — and get those relationships right before anything else.
Switch lights off and compare
Every 15–20 minutes, turn off your setup lights and stand back. Let your eyes adjust to the actual night scene and compare what you see to your painting. Correct value relationships before switching back on.
Photograph and note colours for studio work
Before you pack up, take a few phone photos of the scene and jot down any colour observations. Many nocturnes benefit from quiet final adjustments in the studio under low, controlled light.
Staying Safe Painting Outdoors at Night
This is not a long list of warnings. Night painting is a normal, achievable activity and the risks are manageable with straightforward preparation.
Tell someone where you are going and when you expect to be back. This takes thirty seconds and matters whether you are in a city or on a moor.
For your first nocturne, paint with at least one other person. Beyond the practical benefit of having company when something goes wrong, it is simply more enjoyable. Several UK plein air groups run evening or night sessions that are an easy, social entry point. London Plein Air Painters (LPAP) holds regular monthly meet-ups across the city and is one of the most accessible groups for painters at any level. British Plein Air Painters is active for those working at a more professional level. Local art societies across the UK are increasingly including outdoor evening sessions as part of their programme; it is worth checking what is available in your area.
Choose your first few locations carefully. A well-lit harbour, a town bridge, a seafront with ambient lighting and passing people: these are ideal. They offer natural visibility, public presence, and interesting subject matter without any of the complications of remote or rural settings.
Keep your phone on your person, charged, and not buried in your bag. If you are in an area with poor signal, check coverage before you leave and plan accordingly.
If you are working near water, roads, or uneven ground, take extra care with your footing when moving between your setup and the scene, particularly when your eyes are adjusted to the dark and your setup lights are off.
UK Seasons and Night Painting: What to Expect
Autumn is the most consistently rewarding season for nocturne plein air painting in the UK. Darkness arrives at a reasonable hour from late September onwards, conditions are often calm and still, and the atmospheric quality of autumn light suits the nocturne palette beautifully. Mist, damp air, and rich tonal contrasts are assets rather than obstacles.
Winter offers long dark windows from mid-afternoon onwards, which gives you maximum flexibility in timing. The challenge is temperature and weather: cold, wet, and windy conditions are common, and remote countryside becomes genuinely difficult territory. Urban and coastal settings fare better, sheltered from the worst of the wind and offering ambient light and warmth from nearby buildings.
Summer is counterintuitive territory for night landscape painting in much of the UK. True astronomical darkness does not arrive until very late, and in Scotland or northern England in June and July, it may barely arrive at all. Twilight sessions (painting from golden hour into the first hour or so of dusk) are more practical than full nocturnes during the summer months. If you travel north in summer, plan for very late evenings or consider the long twilight itself as the subject.
Spring is transitional. From April onwards, evenings become mild enough to make outdoor sessions comfortable again, and darkness arrives progressively earlier as the season moves toward autumn. April and May offer useful evening windows from around 9pm onwards, and conditions are often better than winter without the truncated darkness of high summer.
| Season | Darkness arrives | Conditions | Notes |
|---|---|---|---|
| Winter (Nov–Feb) | 4–5pm | Cold, wet, windy | Long windows but harsh; city spots and sheltered harbours work well |
| Spring (Mar–May) | 7–9pm | Changeable, milder | Good transitional season; dusk sessions become practical again |
| Summer (Jun–Aug) | 10pm+ in England; near midnight in Scotland | Often dry, mild | True darkness very late; twilight sessions rather than full nocturnes |
| Autumn (Sep–Oct) | 6–8pm | Cooler, atmospheric mist | Excellent season; early darkness, often still conditions, rich tones |
Your First Nocturne: Keeping It Simple
Do not aim for a masterpiece on your first night session. Aim to understand how values and colours behave after dark: that is the only goal worth setting.
A good first attempt: a small harbour or a lit bridge on a clear, still evening in September or October. Arrive at dusk, spend the first twenty minutes settling your composition and blocking in the broad shapes while there is still some ambient light, then work into the first hour of darkness. One headlamp, one clip light on the palette, a 6x8 or 8x10 panel, and a stripped-down palette of the kind described above.
If things do not go quite right on the first attempt, that is useful information, not failure. You will come back knowing what to adjust: the brightness of your setup light, the position of your easel relative to the scene, the value level of your mid-tones. Night landscape painting has a learning curve, but it is a short and interesting one.
The experience of standing outdoors in the dark with a painting in front of you and the scene glowing quietly beyond is, genuinely, something you will want to repeat.
FAQ
Frequently Asked Questions
What is nocturne plein air painting and why try it?
Nocturne plein air painting is working outdoors at night to capture the compressed values, artificial light and atmosphere of a night scene. It yields presence and simplicity that studio reconstructions rarely match.
When is the best time and season in the UK to paint at night?
Start at twilight into early darkness. For full nocturnes aim for autumn or winter when astronomical darkness arrives earlier. Midsummer rarely gives true darkness in northern areas.
What basic kit and lighting should I use?
Use one headlamp angled down and a small clip-on LED for the palette, both warm toned and set low. Keep lights matched for palette and canvas, carry a spare head torch, and avoid phone screens.
How do I handle values and colour in a nocturne?
Expect a compressed value range. Paint slightly lighter than you think, reserve white for the single brightest light source, and consider a warm underpainting to lift cool nocturnal tones. Use a limited palette.
How can I stay safe while painting outdoors at night?
Tell someone your plans, paint with a companion for your first sessions, choose well-lit urban or managed dark-sky events, wear reflective clothing, and keep your phone accessible and charged.
Author

PleinAirPainting Editorial Team
PleinAirPainting.co.uk helps artists paint outdoors with confidence through UK-focused guides, equipment advice, resources and plein air inspiration.