Alla Prima Plein Air Painting: How to Complete a Landscape in One Sitting
A practical guide to finishing landscape paintings in one outdoor session using alla prima plein air painting. Includes setup, palette, brushes, light handling and common mistakes.

Key takeaways
- • Complete the painting wet on wet in one outdoor session and match panel size to available time.
- • Prepare carefully before you start: pre set palette, secure panel holder and pre mix key tones.
- • Work dark to light and lean to fat, block in darks, build mid tones across the whole panel, and load lights heavily.
- • Use long handled hog bristle brushes and keep the brush clean between colour changes to preserve fresh colour.
- • Commit to the initial light, avoid chasing changes, and stop before you feel finished to retain freshness.
Alla prima plein air painting is one of the most rewarding approaches you can take outdoors. Work fast, commit to your marks, and walk away with a finished piece in a single session. No returning to the same spot at the same time of day, no waiting for layers to dry, no half-finished panels gathering dust in the car boot. What you start, you finish.
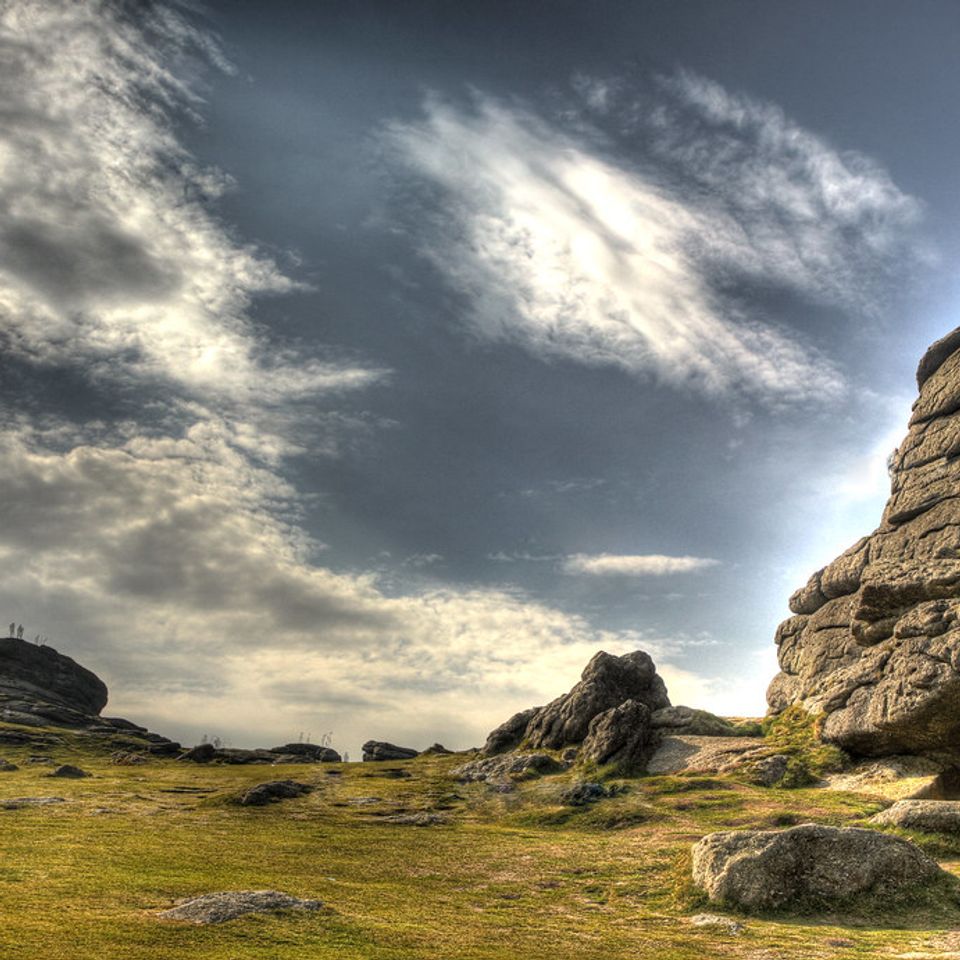
For painters working in the UK, where the light shifts without warning and a two-hour window can close in forty minutes, alla prima isn't just a stylistic choice. It's often the most practical one available.
What Alla Prima Actually Means (and Why It Suits Outdoor Painting)
The phrase is Italian: roughly "at the first attempt." In practice, alla prima means completing a painting wet-on-wet in a single session, without waiting for any layer to dry before applying the next. Every mark goes into wet paint. The finished piece is the result of that one sitting, not a series of revisits.
The method has a long history. Velázquez used it in the seventeenth century. Van Gogh embraced it with obvious force. The Impressionists, many of whom painted outdoors regularly, relied on alla prima precisely because it suited the conditions they were working in: changing light, finite time, no second chances at the same moment.
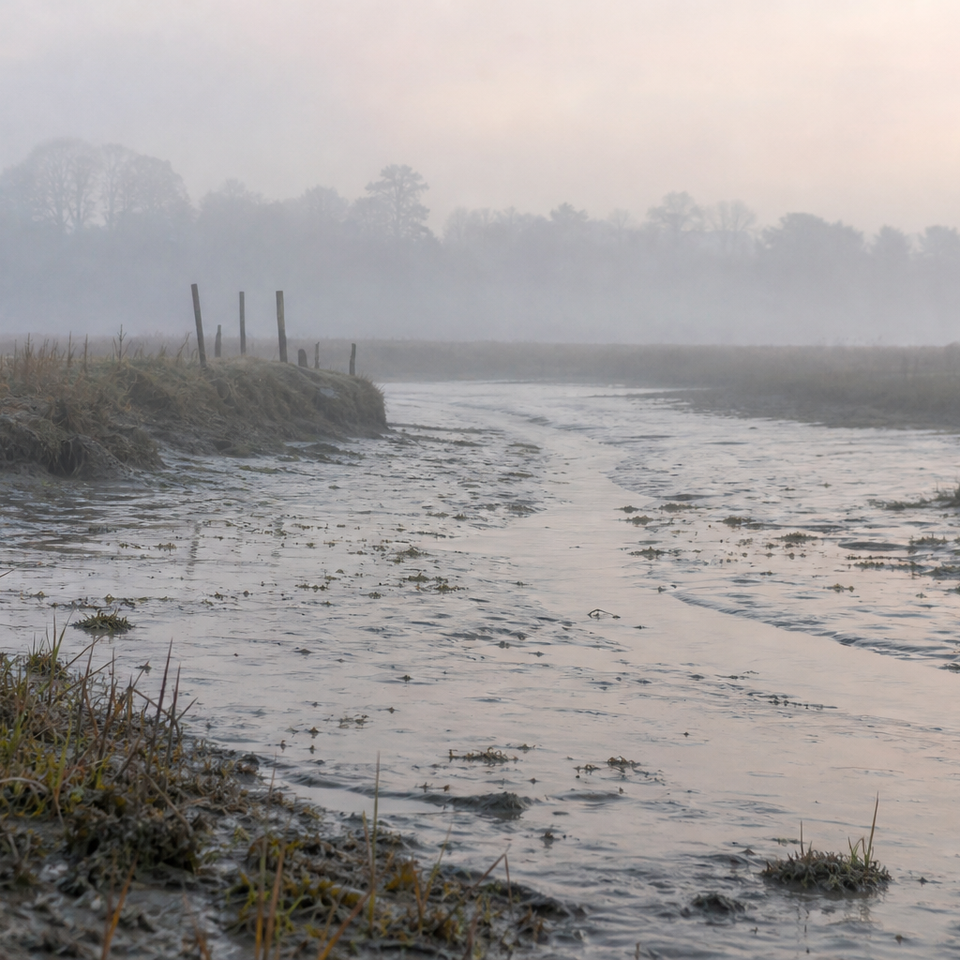
Those conditions haven't changed. If anything, they describe outdoor painting in Britain rather well. The light here is rarely static. A bright morning can become overcast within the hour. A clear afternoon can dissolve into flat grey before you've resolved your mid-tones. Multi-session plein air work, where you return to the same spot at the same time hoping for the same light, is genuinely difficult in this country. Alla prima removes that dependency entirely. You work with what's in front of you, you finish, and you leave.
That's not a compromise. It's the method working as intended.
Setting Up for Success Before You Start
Alla prima gives you less room to recover from poor preparation than most other approaches. In studio work, you can stop, rethink, and come back. Outdoors, mid-session reorganisation costs you time you don't have. Get the setup right before you leave the car.
Choosing the Right Panel Size
The single most common reason painters don't finish alla prima work outdoors is choosing a panel that's too large for the session. An unfinished alla prima piece is, by definition, not an alla prima piece. Match your panel size to the time you realistically expect to have, not the time you're hoping for.
| Panel Size | Typical Session Length | Best For |
|---|---|---|
| 6x8 inches | 45–90 minutes | Quick studies, uncertain weather |
| 8x10 inches | 60–120 minutes | Most outdoor sessions |
| 9x12 inches | 90–150 minutes | Settled conditions, experienced painters |
When in doubt, go smaller. A resolved 6x8 painting is more valuable to your development than an ambitious 9x12 that ran out of time. Linen panels or gesso-primed wood boards, available from suppliers like Jackson's Art and Ken Bromley, are well suited to alla prima work. They provide enough tooth for paint adhesion without absorbing paint too quickly the way raw canvas can.
A secure panel holder matters more than many painters realise when working alla prima outdoors. A panel that shifts mid-session while the paint is wet causes real problems. If you're using a pochade box, make sure the panel sits firmly before you start.
Laying Out Your Palette in Advance

In alla prima work, your palette is a tool you should barely have to think about once you're painting. Stopping to search for a colour, squeeze more paint, or reorganise your layout breaks the rhythm at exactly the moment you need it most: when the light is moving.
Set your palette before you leave, or at least before you sit down. Lay out your colours in a consistent order so your hand knows where to go. Squeeze more paint than you think you need. It's far better to pack away surplus than to run short of a carefully mixed sky tone halfway through.
A pre-set palette also helps you stay decisive. When everything is ready, you spend your time painting, not preparing.
What Brushes Work Best
Long-handled flats and filberts are the right tools for alla prima plein air painting. The length gives you leverage and keeps you from getting too close to the panel, which encourages tentative, overworked marks. The spring and stiffness of a hog bristle brush means it moves paint onto the surface confidently rather than dragging through it.
Soft-haired brushes, sables in particular, can lift wet paint rather than laying new paint on top of it. In wet-on-wet work that becomes a problem quickly. You end up disturbing what's already there instead of building on it. Stiff bristle brushes are more forgiving in this respect.
Winsor & Newton's range of hog bristle brushes is widely available in the UK and works well for this kind of outdoor oil work. If you're using water-mixable oils, the Artisan range is worth considering for the same reasons.
The Alla Prima Process Step by Step
Alla prima plein air process
Tone your panel
Apply a thin mid-tone wash before you begin. This knocks back the white and gives you a neutral ground to judge values against.
Identify your main shapes
Spend a minute or two looking before you touch the panel. Decide on your horizon placement and the one or two dominant shapes that give the scene its character.
Block in the darks
Use thin, transparent paint to establish your darkest areas first. Keep the paint lean at this stage so the upper layers will adhere properly.
Build the mid-tones
Work across the whole panel, not area by area. Treat the whole composition as a single problem.
Bring in the lights with body
Lights should be the most heavily loaded strokes. Impasto in the lights gives them presence and helps them sit forward in the composition.
Refine the focal point last
Save your freshest, most decisive marks for the area of greatest interest. Avoid overworking the rest of the panel once you reach this stage.

A few points worth emphasising within that sequence. You don't need a preliminary pencil drawing. Working straight with the brush keeps the marks looser and more responsive. The dark-to-light, lean-to-fat progression isn't just a rule of thumb; it's structural. Paint applied thinly in the early stages gives subsequent layers something to grip. Load your lights heavily and resist the urge to soften them.
The hardest discipline in alla prima work outdoors is knowing when to stop. A common piece of advice, and a reliable one, is to put the brush down before you feel finished. Alla prima paintings often look their best just before the painter thinks they need one more pass. That extra pass is frequently the one that kills the freshness.
Managing Wet-on-Wet Paint Outdoors

Working wet-on-wet in the studio gives you control over the environment. Outdoors, you don't have that luxury. Understanding the specific problems that arise in the field, and how to prevent them, is what separates a productive alla prima session from a frustrating one.
Avoiding Muddy Colour
Muddy paint is the most common alla prima complaint, and it nearly always comes from one of two sources: overworking strokes on the surface, or using a dirty brush.
When you push a loaded brush back and forth over wet paint, the colours beneath it churn into the new layer. The mix becomes undefined and flat. The solution is straightforward, though it takes discipline to apply: one confident stroke, and move on. If it isn't right, don't adjust it. Clean the brush, reload, and try again with a clean application.
Keep a rag or paper towel in your non-painting hand throughout the session. Wipe the brush clean between every colour change. It takes a few seconds and it makes a significant difference to the freshness of the paint surface.
What to Do When the Light Changes
This is the problem that catches most painters working outdoors in Britain, particularly those newer to alla prima. You sit down, the light is beautiful, you begin; then twenty minutes later the cloud cover shifts and everything looks different.
The answer is not to follow the light. Chase it, and you'll end up with a painting that represents no single moment convincingly. Instead, commit to the conditions as they were when you started.
Commit to your opening light
Take a mental snapshot of the light when you first sit down, or a quick phone photo for reference. When the clouds roll in (and in Britain, they will), paint from memory rather than chasing the shifting conditions.
One practical note worth adding here: overcast days are often more forgiving for alla prima than bright sunny ones. Under flat British cloud, the light changes slowly and shadows hold their position. A bright summer day with strong directional light is actually harder to work with, because shadows shift perceptibly within the hour. If you're finding alla prima difficult to manage in terms of light, overcast conditions are a good place to practise before tackling full sun.
Colour Mixing for Alla Prima Plein Air
The palette discipline that makes alla prima succeed outdoors is different from what you'd apply in the studio. There's no time to experiment, no margin for uncertainty. Your palette needs to be ready to work before you start painting.
A Simple Starting Palette
A limited palette handles landscapes efficiently and keeps your colour relationships clean. The following works well for UK outdoor conditions across most seasons:
- Titanium White
- Yellow Ochre
- Cadmium Yellow (or a hue equivalent)
- Cadmium Red (or hue)
- Alizarin Crimson
- Ultramarine Blue
- Burnt Sienna
- Viridian (optional, but useful for foliage and cool shadows)
This palette will mix a full range of landscape tones, including the subtle greens and greys that dominate British countryside in most seasons. Student-grade paints, such as Winsor & Newton Winton or Daler-Rowney Georgian, are accessible UK starting points and widely available. Bear in mind that lower pigment concentration in student-grade paints can make accurate mixing harder; you may find yourself using more paint and getting less predictable results than you would with artist-quality equivalents.
Mixing Enough Paint
Running out of a carefully constructed colour mid-stroke is a particular frustration in alla prima work, because you can't simply put the painting down and come back to it. Mix more than you think you need for each key tone.
Before you make your first mark, pre-mix three essential tones: your sky colour, your main shadow colour, and a mid-tone for distance or ground. These will be your anchors for the whole session. Having them ready means you're not improvising from scratch every time you reload.
Keep your palette clean as you work. Muddled mixing areas on the palette produce muddled colour on the panel. Give each mix its own space, and keep the edges of your mixing area clear.
Common Alla Prima Mistakes (and How to Avoid Them)
Alla prima plein air: what works, what doesn't
Pros
- + Forces decisive, confident mark-making
- + Suits the short, unpredictable sessions common in the UK
- + Produces fresh, lively results when it comes together
- + No need to return to the same location at the same time
Cons
- - Mistakes can't be corrected with glazing once paint is wet
- - Overworking is easy, especially in the early stages
- - Requires more pre-session planning than other approaches
- - Takes practice before results are consistently satisfying
Beyond the pros and cons, a few specific mistakes appear regularly when painters are getting started with this method:
Using brushes that are too soft. It's worth repeating because it causes real problems. Soft brushes lift rather than lay, and once you're into the middle stages of a painting, lifting paint means lifting everything underneath it.
Choosing a panel that's too large. The ambition to paint a bigger scene is understandable, but an unfinished alla prima session isn't a stepping stone to a finished painting later. It's just unfinished. Work within your time honestly.
Painting section by section. The temptation is to finish one area before moving to the next. In alla prima this produces disconnected passages that don't hold together as a whole. Work across the full panel at every stage.
Overworking the mid-tones. The mid-tones are where most painters spend too long and make too many adjustments. Apply them with intention and leave them. The focal point and the lights are where the painting's character lives.
Mixing too little paint at a time. Already covered in the colour section, but it's common enough to mention again. Small mixes run out. Mix in generous batches.
Taking It Further: Developing Your Alla Prima Practice
Alla prima is a method that rewards consistent, repeated practice more than almost any other approach in oil painting. Early sessions may feel rushed and the results inconsistent. That's normal, and it's part of the process.
The most effective way to improve quickly is through small, regular studies. A 6x8 panel painted in 45 minutes three or four times a week will develop your alla prima fluency faster than occasional larger sessions. The discipline of finishing in a fixed time is itself a skill worth building.
Setting a timer is a useful tool that many painters underestimate. Knowing you have 60 minutes and no more changes how you approach a panel. It removes the option of procrastination and forces commitment from the first mark.
Tonal studies, painted in a single neutral colour before attempting full colour sessions, are a good way to build confidence with the dark-to-light progression without the added complexity of colour mixing. A quick grisaille study of a scene before your main session can clarify the composition and prepare your eye for the tonal decisions ahead.
Finally, painting the same scene repeatedly under different conditions is one of the most instructive things you can do. Return to a familiar spot at different times of day or in different seasons. The compositional decisions are already made; all your attention goes to light, colour, and the alla prima method itself. Over time, you'll find that the method stops feeling like a constraint and starts feeling like the most natural way to paint.
FAQ
Frequently Asked Questions
What does alla prima plein air painting mean?
It means completing a wet on wet painting in a single outdoor session, applying marks directly without waiting for layers to dry.
What panel size should I choose for an alla prima session?
Match the panel to the time you have. 6x8 for 45–90 minutes, 8x10 for typical sessions, 9x12 only for settled conditions or experienced painters.
How do I avoid muddy colour when working alla prima?
Use one confident stroke, keep brushes clean between colours, avoid overworking wet passages, and mix generous fresh batches on a tidy palette.
Which brushes are best for outdoor alla prima work?
Use long handled hog bristle flats and filberts for confident marks and paint lay. Avoid soft sable brushes that lift wet paint.
What should I do when the light changes mid session?
Commit to the opening light. Take a mental snapshot or quick photo and continue painting from memory rather than chasing shifting conditions.
Author

PleinAirPainting Editorial Team
PleinAirPainting.co.uk helps artists paint outdoors with confidence through UK-focused guides, equipment advice, resources and plein air inspiration.