Plein Air Acrylic Painting: How to Handle Fast Drying Outdoors
Field-ready advice for plein air acrylic painting: palette care, slow-dry options, misting, transport, a practical working process and responsible wastewater disposal.

Key takeaways
- • Acrylics are ideal outdoors for no fumes, fast layering and durable dry film.
- • Control drying by sheltering from wind, shading your palette and using misting or stay-wet systems.
- • Use slow-dry/open acrylics selectively for large blended areas and retarder sparingly for short passages.
- • Follow a field process: quick thumbnail, tone the ground, block in shapes, refine in layers and save details for last.
- • Be responsible: carry rinse bottles home, bin used rags and avoid dumping acrylic water or residues on site.
If you've already spent time painting with acrylics in the studio, you'll know roughly what the medium can do. Plein air acrylic painting is a different proposition, though. The variables that make outdoor painting exciting (changing light, fresh air, the slight pressure of a finite session) are the same ones that make acrylics behave in ways your studio practice hasn't prepared you for. Paint skins over on the palette before you've mixed what you need. A passage that looked right in the wet goes dull as it dries. You push a half-dry area with a loaded brush and it lifts instead of blends.
These are solvable problems. This article works through the specific adjustments, habits, and techniques that make acrylic plein air landscape painting work in practice, with UK conditions and UK suppliers in mind.
Why Acrylics Work Well Outside
The case for acrylics outdoors is strong, and it's worth being clear about it before getting into the challenges. No solvents means no fumes, no risk of spills on sensitive ground, and no need for separate containers of mineral spirits or turpentine. For painting in National Parks, on coastal paths, or in any enclosed outdoor space, that matters. You're also working with a medium that dries to a durable, flexible film: acrylic panels travel well, stack relatively safely once dry, and don't need the extended drying time that oils require before varnishing.
Fast drying, which can feel like a problem, is also a genuine tool. Because acrylic layers set quickly, you can build up a painting in a single session in ways that aren't possible in oils. Glazes, scumbles, and crisp light accents over dry underlayers are all achievable within the span of a morning outdoors. The layering capability of the medium is one of its real strengths.
Oils still have an edge for extended wet-in-wet blending, particularly for long, seamless gradations. Modern slow-drying acrylics have narrowed that gap considerably, but it hasn't fully closed. That's worth knowing going in. The aim here isn't to convince you acrylics are better than oils; it's to help you work with what acrylics actually do well.
The Main Challenge: Drying Too Fast in the Field
In the studio, acrylics dry at a manageable pace. You have time to rework passages, keep your palette workable with occasional misting, and blend where you need to. Outdoors, that pace can compress dramatically.
Wind is the primary culprit, more than temperature. Even a gentle breeze moves air across the surface of your palette and painting continuously, accelerating evaporation in a way that still indoor air never does. A palette that would stay workable for twenty minutes in your studio might skin over in five on a breezy hill.
Direct sun contributes too, both through warmth and through the drying effect on any exposed paint. And lower humidity on warmer days removes what little buffer indoor painting gives you.
UK conditions complicate this. The assumption that Britain is always cool and damp is wrong when you're working on an exposed coastal clifftop in July, or on a south-facing moorland slope in a dry April. Conditions vary significantly by location, season, and time of day. You can't plan around a single drying rate; you need habits that work across the range.
UK weather and drying rate
Cool, overcast days can actually slow drying and work in your favour. Wind is the real enemy — even a gentle breeze dramatically accelerates skinning on the palette. Set up with your back to the wind where possible, and always keep your palette lid close.
Choosing the Right Paint for Plein Air Acrylic Painting
Standard acrylics vs slow-drying ("open") acrylics
Standard professional acrylics (heavy body or fluid) are perfectly usable outdoors. With the right palette and misting habits, many painters work with them happily for full sessions. The drying time is just something you work with rather than against.
That said, slow-drying acrylics make a real difference for passages where blending matters. Golden OPEN Acrylics are the most widely cited range in this category and are stocked by UK suppliers including Jackson's Art and Ken Bromley. They behave noticeably differently from standard acrylics, with an open time that's measured in hours rather than minutes, which brings them closer to oils for blending purposes. Other manufacturers offer their own slow-dry options: Winsor & Newton's Galeria range used with a slow-dry medium, and Liquitex slow-dry mediums are both widely available from Cass Art and Great Art.
A practical approach for plein air work is to split your palette: standard professional acrylics for most of what you're painting, and slow-dry paint reserved for skies and large areas where gradual transitions matter. This keeps costs down while giving you working time where you actually need it.
Mediums and retarders
Retarder mediums slow the drying process on both palette and painting surface. They're worth carrying, but use them sparingly. Adding too much retarder affects the integrity of the dried paint film, and it can make layers tacky longer than is useful outdoors. A few drops mixed into a colour for a specific blending passage is the right scale of use, not a general addition to every mix.
Your first line of defence should be a small misting bottle filled with clean water. A fine mist across the palette every few minutes costs nothing and makes a significant difference. For extended sessions or hot days, a very dilute solution of retarder medium in a second mister can supplement plain water misting on the palette.
| Method | What it does | Best for | Watch out for |
|---|---|---|---|
| Slow-dry ("open") acrylics | Extends open time significantly | Skies, large blended areas | Slightly more expensive per ml |
| Retarder medium | Slows drying on palette and surface | Portraits, fine blending | Use sparingly; too much affects film strength |
| Misting with water | Keeps surface and palette damp | General palette management | Over-diluting paint if used heavily on canvas |
| Stay-wet palette | Maintains paint moisture for whole session | Extended sessions, warm days | Can over-wet paint if paper too saturated |
Palettes and Palette Management in the Field
How you manage your palette outdoors has more impact on your session than almost any other single factor. This is where most acrylic plein air painters run into the most friction early on, and where better habits make an immediate difference.
Stay-wet palettes
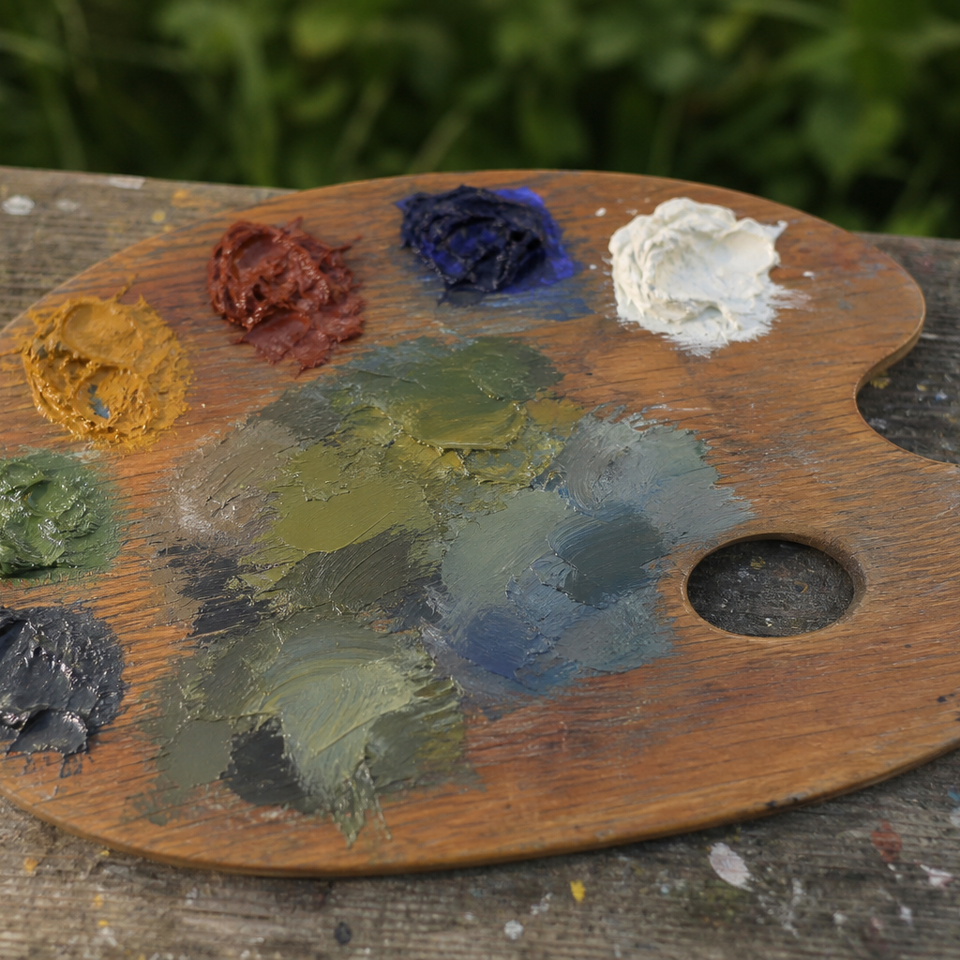
A stay-wet palette works by keeping a reservoir of moisture beneath your paint. The basic system is a shallow sealed tray with a damp paper towel or sponge insert covered by palette paper (or greaseproof paper at a pinch). Paint placed on the surface stays workable because it draws moisture from below rather than drying from the bottom up.
The Masterson Sta-Wet palette is the most commonly used option in this category and is available from most UK art suppliers. If you'd rather not buy one, a shallow plastic food container with a damp kitchen paper layer and a sheet of greaseproof paper on top does the same job for next to nothing.
A useful habit: load the damp towel and lay in your basic palette at home before you leave. You avoid the faff of setting up a wet palette in the field, and your paints are already moist when you arrive.
Closed and lidded palettes
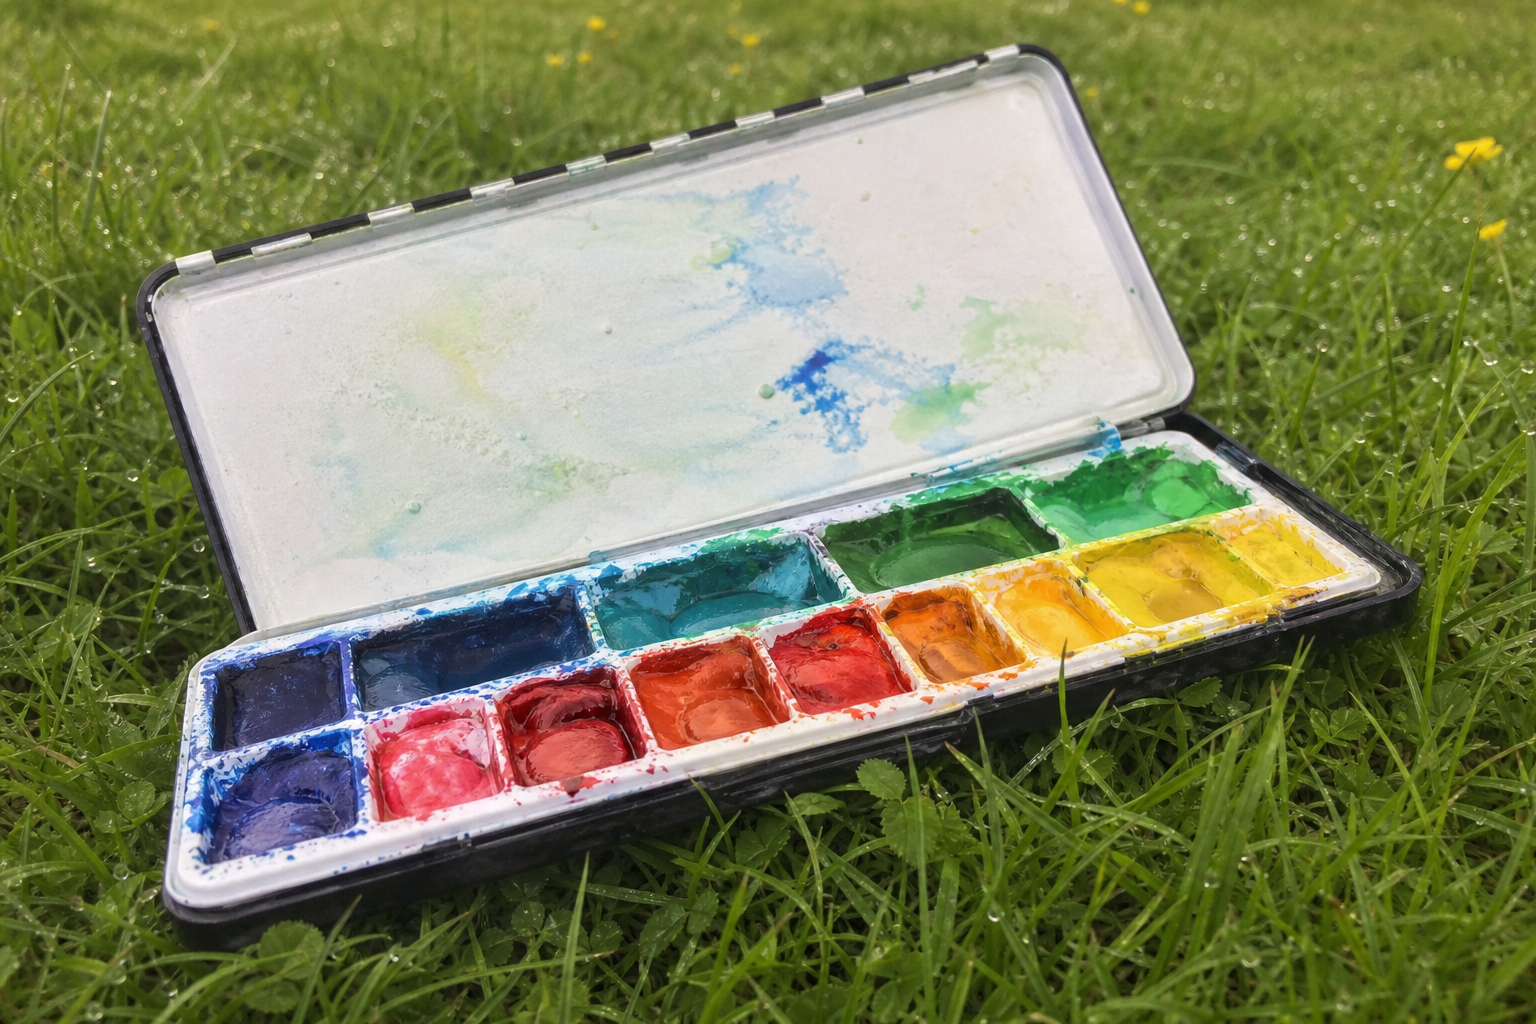
For painters who prefer a simpler setup, a hinged plastic palette with a tight-fitting lid works well. Mist regularly, close the lid whenever you're not actively mixing, and store it flat in your bag to avoid mixing colours sliding together. It won't keep paint workable as long as a stay-wet setup, but it's lighter and less fiddly.
Misting discipline
Whether you're using a stay-wet palette or not, regular light misting is one of the most effective habits you can develop. A fine mist every few minutes across the palette surface keeps colours workable. You can also mist lightly across the painting itself if you want to reopen an area slightly before working back into it.
Keep it light. Heavy misting on the canvas dilutes paint and can cause pooling. In direct sun, water evaporates almost instantly anyway, so misting is most useful in shade or on overcast days.
Keep your palette in the shade
If you can position your palette out of direct sunlight — even partially in the shadow of your body or easel — you'll extend working time noticeably. On hot or breezy days, this single habit makes more difference than any medium.
A Practical Working Process for Acrylic Plein Air Landscapes
Understanding the medium is one thing; having a working process that suits it is another. The steps below are structured specifically around how acrylics behave outdoors, not translated from oil or watercolour practice.
Working process for plein air acrylic painting
Do a quick thumbnail first
Spend 2–3 minutes sketching value masses in pencil or pen before touching paint. Decide on your dominant light and shadow pattern now, not halfway through.
Tone the ground
Thin wash of a warm mid-value colour (burnt sienna or raw umber works well) to knock back the white. Acrylics dry this almost instantly — you can start blocking in within a minute or two.
Block in the big shapes
Use your largest brush. Establish sky, land, and any major dark masses quickly. Don't detail anything yet. Aim to get the main value structure down in the first 20 minutes.
Fix the light reading
Once the big shapes are in, step back and check whether the light and shadow pattern reads clearly. Adjust values now, before you go further. The actual light will move — your painting shouldn't.
Build up layers from general to specific
Because acrylics dry fast, you can layer relatively quickly. Work thinner underlayers first, saving thicker, more opaque paint for light accents and final marks. Scumbling and glazing work especially well once underlayers are set.
Save detail and edge work for last
Hard edges can be painted cleanly over dry underlayers; soft edges are easier to achieve while the surface is still slightly damp. Keep a small mister to hand for the latter.
The specific advantage of acrylic plein air landscape painting here is the speed of the layering cycle. Once a blocked-in sky is dry (which can happen in a few minutes outdoors), you can glaze a transparent warm tone over it to shift the colour temperature, or scumble a lighter, broken texture across it for cloud. These techniques are harder to do in oils within a single session; in acrylics, they're natural.
Managing Acrylic-Specific Challenges Outdoors
Colour shift
Acrylics dry slightly darker than they appear when wet. In the studio this becomes second nature to compensate for; outdoors, with your eyes adjusting to changing light, it's easier to misjudge. A simple habit: mix values a half-step lighter than you think you need. The adjustment becomes intuitive with practice, and it prevents the flatness that comes from values that look right wet but read as too dark once dry.
Transporting wet paintings
Acrylic surfaces are tacky in the partially dry stage and will stick to anything they touch. This is different from oils, where you know a wet painting is wet; acrylics can feel dry to a light touch on the surface while still being sticky underneath. Carry panels flat with nothing touching the painted surface. A wet-panel carrier with frame slots keeps panels separated during transport and is worth having if you're regularly painting on board. Most pochade boxes include a built-in panel slot that handles this well.
Overworking
Going back into a half-dry passage with a loaded brush in acrylics rarely produces a good result. The brush lifts the partially set paint and muddies the colour underneath. The better approach is to let the area dry fully (which happens quickly outdoors) and then work over the top with a glaze or scumble. This feels counterintuitive at first, especially if you're used to oils where you can rework wet paint at any stage. But working with the medium's drying behaviour rather than against it is what makes acrylic plein air painting genuinely satisfying rather than a frustration management exercise.
Environmental Responsibility: What to Do with Acrylic Wastewater
Acrylic paint is a plastic polymer in suspension. When you rinse your brushes, the water carries microplastics with it. Outdoors, in the landscapes where most plein air painting happens, that water has to go somewhere, and pouring it on site deposits those plastics into soil and water systems.
In UK protected landscapes, including National Parks, Areas of Outstanding Natural Beauty, and coastal sites, this is both environmentally harmful and increasingly something the outdoor painting community is taking seriously. It's also a practical issue of site access: if painters are leaving visible paint residue at locations, it creates friction with landowners and land managers.
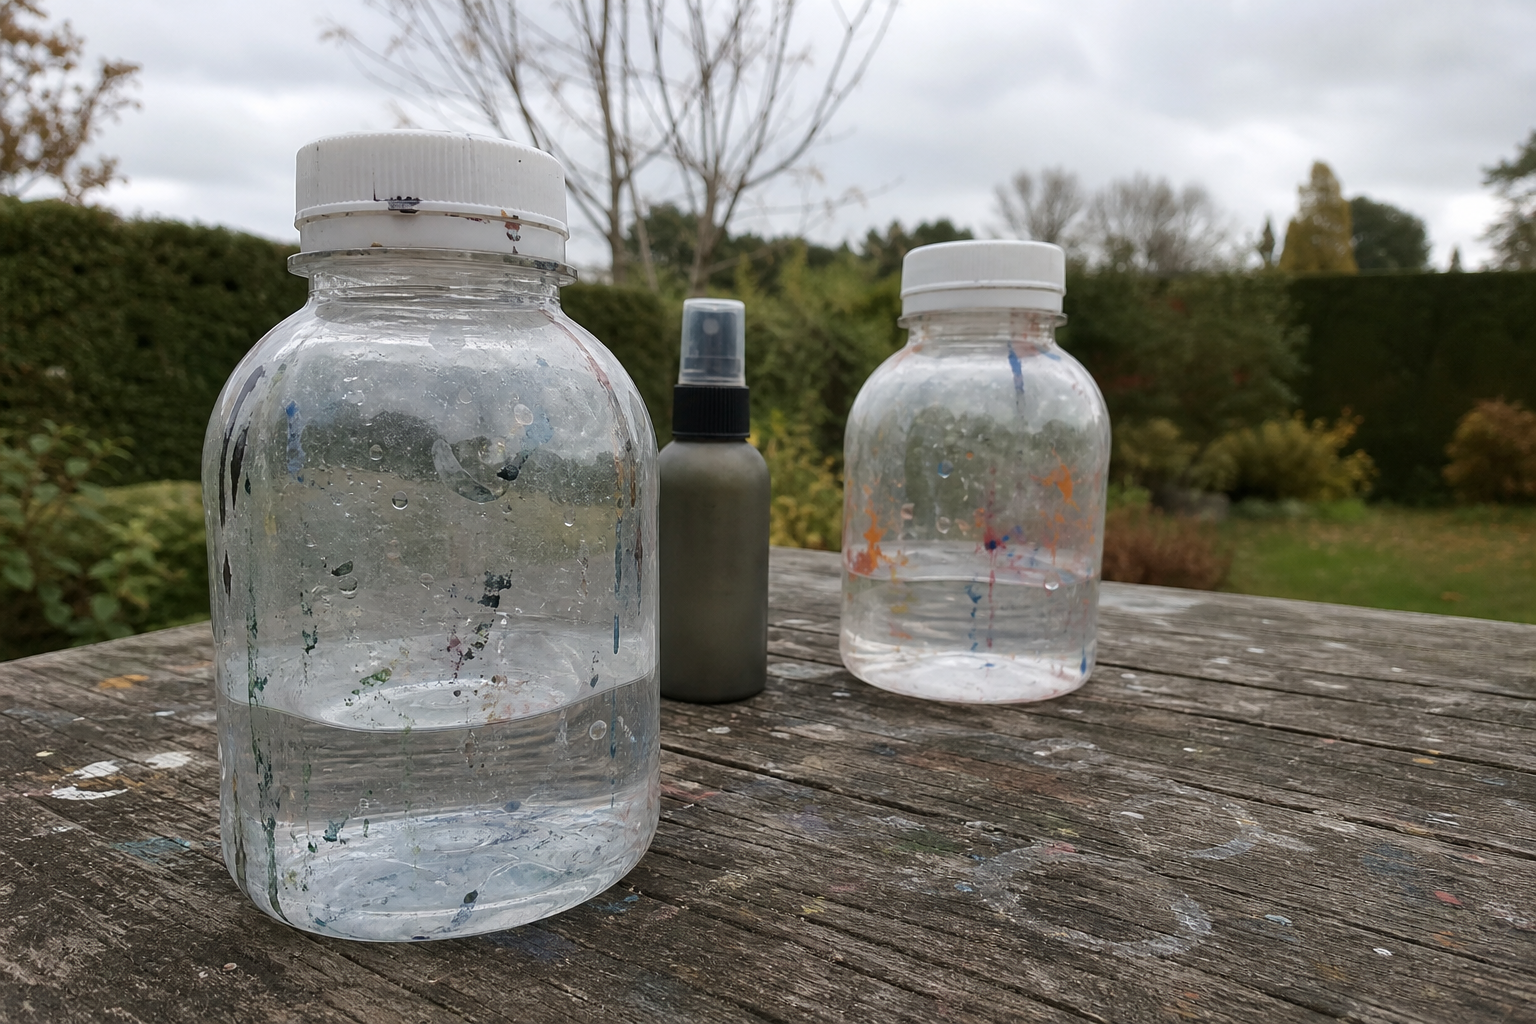
The solution is straightforward. Use two water containers with screw-top lids. The first takes rough brush rinses between colours; the second stays cleaner for final rinses before a colour change. At the end of the session, both containers go home with you sealed. Pour acrylic wastewater down a domestic drain with plenty of clean water dilution, not into garden soil or outside drains.
Dirty rags and paper towels with dried acrylic on them go into your bin bag and home. Allow paint residue to solidify before disposal in household waste rather than washing it away.
Two bottles, one habit
Carry two water containers with screw-top lids. Use the first for rough brush rinses and the second for cleaner rinses before changing colour. At the end of the session, seal both and carry them home. Don't pour acrylic water on site.
Quick Tips for UK Plein Air Acrylic Sessions
- Work small: 8x10 to 11x14 inches is the practical sweet spot for a single outdoor session. You can finish before the light changes and the scale suits the quick, decisive marks that acrylics outdoors reward.
- Overcast days are underrated. Consistent, diffuse light is much easier to work from than direct sun, colours stay accurate longer, and your palette dries more slowly. Some of the strongest plein air work gets done on grey days.
- Always bring a waterproof layer. An interrupted session is more frustrating than a slightly heavier bag. UK weather doesn't warn you.
- Keep your setup compact on popular paths and coastal areas. People will stop to watch; a brief, friendly acknowledgement is usually all it takes. A crowded pavement is not the moment for an extended chat about art, but a smile goes a long way.
- Check land access before you set up on private land or within managed nature reserves. In National Parks, footpaths don't automatically give you the right to set up an easel off the path. If you're unsure, ask. Most landowners will say yes if you're courteous.
- Consider pre-loading your stay-wet palette at home the night before. Leave slow-dry acrylics laid in on damp palette paper so you can grab the kit and go in the morning without delay.
- If you paint with a group, location knowledge spreads quickly. UK plein air groups are active and welcoming; painting alongside others makes new locations easier and the experience considerably less self-conscious.
FAQ
Frequently Asked Questions
How can I slow acrylics when painting outdoors?
Use a stay-wet palette or slow-dry (open) acrylics for longer blending. Mist the palette lightly, use a small amount of retarder for short passages, keep paints and palette in the shade and shelter the set-up from wind.
Which palette should I take into the field?
A stay-wet palette is ideal for long sessions. A lidded plastic palette is lighter and simpler. Pre-load at home, keep the palette shaded and mist lightly every few minutes.
Do I need special paints for plein air acrylic painting?
Standard professional acrylics work fine, but reserve slow-dry/open acrylics for skies and large blended areas. Splitting your palette keeps costs down while giving you extra open time where it matters.
How do I transport wet panels without damaging them?
Carry panels flat with nothing touching the painted surface. Use a wet-panel carrier or the panel slots in a pochade box so panels do not stick together or smear.
What is the right way to deal with acrylic wastewater outdoors?
Carry two screw-top containers, use one for rough rinses and the other for cleaner rinses, seal them and take them home. Dispose of the water down a domestic drain with dilution and bin solid paint waste.
Author

PleinAirPainting Editorial Team
PleinAirPainting.co.uk helps artists paint outdoors with confidence through UK-focused guides, equipment advice, resources and plein air inspiration.