Varnish for Plein Air Oil Paintings: When and How to Apply
Practical guide to oil painting varnish: when to wait, how to test for cure, choosing natural or synthetic varnishes, and step by step brush and spray application for reliable results.

Key takeaways
- • Wait for full cure before final varnish: about 6 months for thin studies, 12 months for normal films, longer for impasto.
- • Do the solvent test with low odour mineral spirit on an inconspicuous edge before varnishing.
- • Choose resin deliberately: dammar for gloss and warmth, synthetic varnishes for non yellowing and easier removal.
- • Apply one or two thin coats only, using a soft flat brush on a flat surface or light spray passes from 30 to 40 cm.
- • Care for varnished works by avoiding kitchens and bathrooms, dusting with a soft cloth, and recording varnish dates and products.
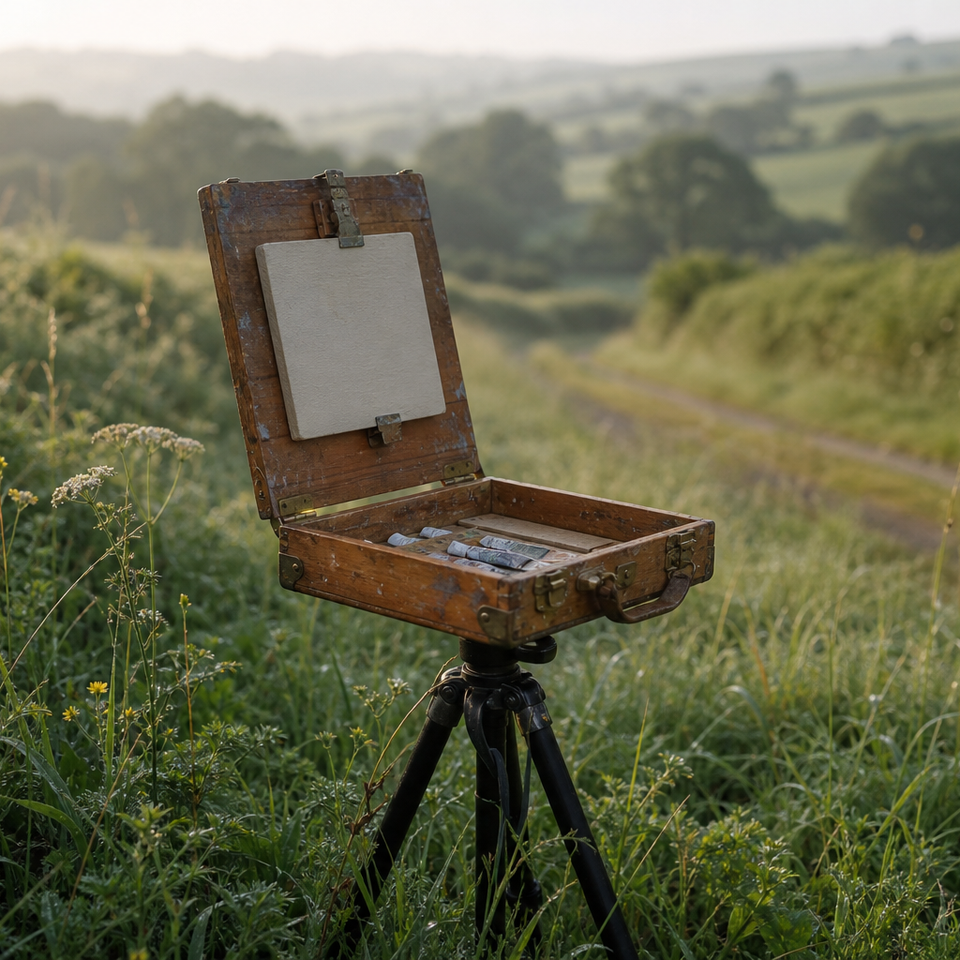
You've spent a morning outdoors working on a landscape study, brought it home, and left it to dry. Weeks pass. Months, maybe. Now it's sitting in the corner of the studio, slightly patchy in places, and you're wondering whether to varnish it and, if so, how to do it without making a mess of something you're quietly proud of. Knowing which oil painting varnish to use, and when it's actually safe to use it, can feel surprisingly uncertain. This article is here to remove that uncertainty: when your painting is genuinely ready, which type of varnish suits your work, and how to apply it correctly at home, without the common mistakes that cause clouding, blooming, or brush marks.
Why Varnish an Oil Painting at All?
Not every painter varnishes. Some contemporary artists leave their work unvarnished deliberately, and that's a valid choice. But it helps to understand what you're trading away if you skip it.
Varnish does three useful things. First, it unifies the surface sheen, those patches where paint has "sunk" and looks dull or flat compared to the rest of the painting are evened out, and the colours read as the artist intended. Second, it adds a protective layer against dust, handling, pollution, and some UV damage. Third, and perhaps most importantly from a conservation standpoint, a proper removable varnish creates a sacrificial layer over the paint surface. When the painting needs cleaning in ten or fifty years, the varnish can be removed carefully without touching the paint itself. Without that layer, any cleaning goes straight to the paint film.
The trade-off if you don't varnish is that future cleaning becomes riskier, and surface variations in sheen remain. That's an acceptable choice for some painters. For most, the benefits of varnishing outweigh the patience it requires.
To varnish or not to varnish
Pros
- + Unifies uneven sheen and revives sunken areas
- + Protects against dust, abrasion and some UV
- + Creates a removable layer for safer future cleaning
- + Gives a professionally finished appearance
Cons
- - Adds a step that requires patience (full cure first)
- - Can cloud or bloom if applied incorrectly
- - Solvent-based products need ventilation and careful storage
- - A poorly chosen varnish can be difficult to remove later
When Is Your Oil Painting Ready to Varnish?
This is the section where many painters go wrong. Getting the timing right matters more than any other aspect of varnishing, and the consequences of getting it wrong (soft paint, clouding, trapped solvents) are difficult to reverse.
The Difference Between Dry and Cured
Oil paint does not dry the way watercolour or acrylic dries. It doesn't simply evaporate. Instead, it undergoes oxidation and polymerisation: a chemical process that gradually converts the paint film from a soft, flexible layer into a harder, more stable one. "Touch dry" can happen within days for thin layers, but the paint film beneath is not finished curing. Applying a non-breathable final varnish too early can trap fatty acids and residual solvents within the layers, leading to cloudiness, wrinkling, or a soft, vulnerable paint film underneath the varnish. It's one of the most common mistakes, and entirely avoidable.
How Long Should You Wait?
The consensus from manufacturers including Royal Talens and Winsor and Newton is clear:
- Very thin layers: at least 6 months
- Normal paint thickness: around 12 months
- Thick or impasto passages: several years
For plein air painters, this is actually useful news. Outdoor studies painted alla prima in thin, single layers are at the shorter end of that range. A six-month wait is still the minimum for a final varnish, but many plein air pieces do meet that threshold sooner than a heavily worked studio painting would. If you paint outdoors regularly and intend to varnish your studies, keep a simple note of when each piece was completed. A date written in pencil on the back of a panel takes seconds and saves a lot of guesswork later.

The Simple Solvent Test
Waiting times are a guide, not a guarantee. Before applying any final varnish, it's worth doing a quick readiness check. Dip a cotton bud in a small amount of low-odour mineral spirit (Sansodor works well for this), and gently rub it on a discreet corner of the painting, down in the margin near the edge. If no colour transfers to the bud, the paint film is cured enough to proceed. If you see any pigment come away, put the painting back and wait longer, regardless of how many months it's been. Most competitor resources skip this step or mention it in passing. It takes thirty seconds and it's genuinely the most reliable test available to a painter working at home.
Not sure if it's ready?
Use the solvent test before applying any final varnish. Dip a cotton bud in a low-odour white spirit and gently rub an inconspicuous corner of the painting. If no colour transfers, you're good to proceed. If you see any pigment on the bud, give it more time — no matter how long it's been sitting.
What About Retouch Varnish?
Retouch varnish is a different product with a different purpose, and the two are often confused. It's a more dilute, permeable varnish that can be applied weeks after a painting is touch-dry, even while the paint film is still curing. Its job is to temporarily revive sunken areas and restore even sheen so you can assess the work accurately. It's not a substitute for a final varnish, and it shouldn't be treated as one. Apply it sparingly, knowing that a final varnish will go over it later.
Retouch varnishes available in the UK
Lukas : Retouching Varnish : 125ml
Old Holland : Mediums : 250ml : Retouching Varnish
Royal Talens : Retouching Varnish Spray Can : 400ml
Types of Oil Painting Varnish: How to Choose
The choice of varnish matters more than many painters realise. Resin type affects yellowing, flexibility, how the varnish ages, and how easily it can be removed in the future. Sheen finish is a separate decision that comes after you've chosen the resin type. Here's how to think through both.
Natural Resin Varnishes: Dammar and Mastic
Dammar has been the traditional painter's varnish for well over a century. It produces a rich, high-gloss finish with excellent colour saturation, and it's still used and valued by painters working in a classical tradition. Mastic is similar.
The conservation concerns with natural resins are real, though not necessarily disqualifying. Dammar tends to yellow over time, particularly in low-light conditions. It also becomes brittle as it ages, which makes it more prone to cracking. And because it requires stronger solvents to remove than modern synthetics, future cleaning becomes a more involved process. There's also a tendency to bloom (develop a white haze) in humid conditions, which is not an abstract risk in a UK climate.
None of this means dammar is the wrong choice. If you're working in a traditional style, value its optical qualities, and understand the trade-offs, it remains a perfectly legitimate option. It just means you're accepting those trade-offs with your eyes open.
Natural resin varnishes
Michael Harding : Dammar Varnish

Michael Harding : Dammar Varnish : 250ml
Synthetic Resin Varnishes: Modern, Conservation-Grade Options
Modern synthetic varnishes were developed specifically to address the problems that natural resins present over time. The best of them are formulated to be non-yellowing, non-blooming, flexible as they age, and removable with relatively mild solvents. That last point is significant: it means that a conservator working on the painting in decades to come will have an easier, safer job.
Winsor and Newton's removable picture varnish and Gamblin's Gamvar are among the most widely used options in this category in the UK. Gamvar in particular is often cited for its non-blooming formulation, which makes it well suited to the UK's variable humidity. The reason synthetic varnishes represent current conservation best practice isn't that they're fashionable. It's that they stay more stable, age more gracefully, and are safer to reverse.
Synthetic and conservation-grade final varnishes
Winsor & Newton : Artists' Removable Oil Picture Varnish

Winsor & Newton : Artist Matt Oil Picture Varnish : 250ml (Removable)
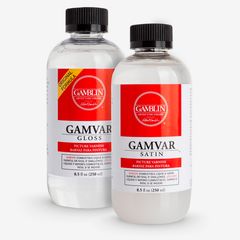
Gamblin : Gamvar Picture Varnish
Gloss, Satin or Matt: Which Finish?
Once you've chosen your resin type, you'll need to decide on finish. This is largely a matter of preference and presentation context, though there are practical considerations for each.
| Finish | Best for | Watch out for |
|---|---|---|
| Gloss | Maximum colour depth; rich, dark palettes | Reflections and surface marks more visible; challenging to photograph |
| Satin | A safe all-rounder; works for most paintings | Slightly less colour depth than gloss |
| Matt | Textured works; gallery or modern interior lighting | Can make darks look chalky if applied too thickly; risk of cloudiness |
For most plein air studies, satin is a sensible default. It preserves good colour depth without the reflective issues of a full gloss, and it reads well in most domestic and gallery lighting. Matt finishes work well on textured surfaces but need careful, thin application; applied too thickly, they can deaden the colours noticeably.
Winsor and Newton suggest one to two coats for matt or satin finishes, and up to three for gloss. In all cases, thin coats outperform thick ones.

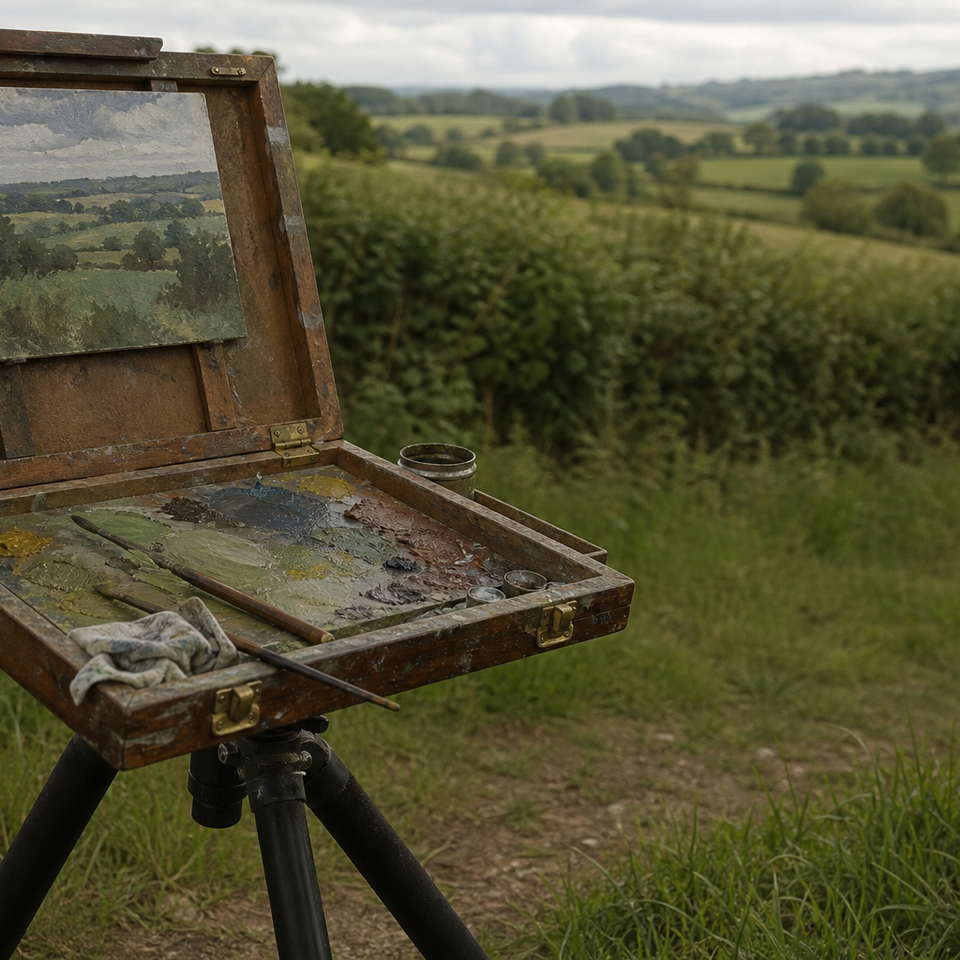
How to Apply Oil Painting Varnish: Brush and Spray
Whether you're using a brush-on or spray varnish, preparation is the same. Work in a clean, well-ventilated room without draughts. A breeze through an open window while the varnish is wet is a reliable way to collect dust on the surface. Dust the painting gently with a soft, lint-free cloth before you begin. For brush application, lay the painting flat or very slightly inclined. Keep a dedicated varnishing brush, flat, wide, and soft-bristled, used for nothing else.
Brush-On Varnish: Step by Step
Applying varnish with a brush
Stir, don't shake
Shaking introduces air bubbles that cause cloudiness. Stir gently with a clean stick or brush handle.
Pour a working amount
Pour a small quantity into a clean, shallow dish. Avoid dipping directly from the bottle.
Apply long, smooth strokes
Load the brush lightly and work in even strokes across the surface in one direction. Overlap slightly to avoid missing patches.
Rotate and repeat
Turn the painting 90° and apply a second pass in the opposite direction to ensure even coverage — this is still one coat.
Leave flat to dry
Allow the painting to dry flat in a dust-free environment. Cover loosely using boards propped above the surface to allow air circulation while blocking dust.
Apply a second coat if needed
Wait for the first coat to cure fully (check the manufacturer's guidance — often 24 hours or more). Apply a second thin coat using the same method.
Thin coats only
Thick applications of varnish are the most common cause of cloudiness and brush marks. One or two thin, even coats will protect the painting far better than a single heavy application. If in doubt, do less.

Spray Varnish: Step by Step
Applying varnish by spray
Warm the can
Bring the aerosol to room temperature before use. Cold cans perform poorly and give uneven coverage.
Shake thoroughly
Shake for at least two minutes. Unlike brush varnish, aerosols need to be shaken — the propellant and resin need to be properly combined.
Set up in a ventilated space
Work outdoors or in a very well-ventilated room. Spray varnishes release more vapour than brush-on products.
Stand the painting upright
Place it on a board or easel — spray varnish is applied vertically, unlike brush varnish.
Spray in even passes from 30–40 cm
Work in smooth horizontal passes, overlapping slightly. Keep moving — don't dwell in one spot.
Build up in light coats
Allow around 10 minutes between coats and apply 2–3 light layers. Check the nozzle between passes and wipe if it starts to clog.
Spray varnishes for oil paintings
Winsor & Newton : Artists' Spray Picture Varnish : (Road Shipping Only)

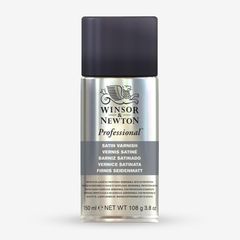
Winsor & Newton : Artists Picture Varnish Spray : 150ml : Satin
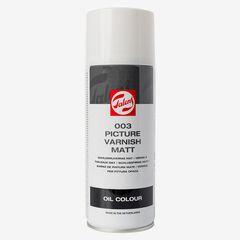
Royal Talens : Varnish Matt Spray Can : 400ml
A note on buying spray varnishes in the UK: aerosol products are classified as dangerous goods for transport, which means many online retailers can only ship them by road. This affects delivery times and isn't always obvious at the checkout. Check the shipping restrictions before ordering. Jackson's Art flags this clearly on relevant product listings. It can be easier to pick up aerosol varnishes in person from a local stockist such as Cass Art, or to plan ahead if ordering for delivery.
When Things Go Wrong: Troubleshooting Common Varnishing Problems
Most varnishing problems are predictable and, in many cases, fixable. The table below covers the issues painters most commonly encounter, along with their likely causes and what to do about them.
| Problem | Likely cause | What to do |
|---|---|---|
| Cloudy or milky finish | Applied too thickly; humidity during drying; varnish not properly stirred | Remove carefully with appropriate solvent; re-apply in thinner coats under dry conditions |
| Blooming (white haze) | High humidity during or after application; natural resin varnishes in damp rooms | Work in a drier environment; consider switching to a non-blooming synthetic formulation |
| Brush marks visible | Brush too stiff; working too slowly; coat applied too thickly | Use a soft, flat, wide brush; work quickly and confidently |
| Paintings sticking together or to wrapping | Varnish not fully cured before packing | Wait for full cure (can be several weeks); use glassine or tissue rather than bubble wrap or plastic |
| Colour coming off on cloth during solvent test | Paint not fully cured | Wait longer before varnishing — the painting is not ready |
Blooming deserves particular mention for UK painters. Natural resin varnishes are noticeably more prone to it in damp or cold conditions, and British winters in particular can create exactly the kind of ambient humidity that causes problems. If you're using dammar and finding a white haze appearing, the environment is almost certainly the culprit. Switching to a modern non-blooming synthetic formulation is the most reliable long-term solution.
If varnish becomes very difficult to remove cleanly, perhaps because the wrong product was used or it was applied over an insufficiently cured painting, resist the temptation to work with increasingly strong solvents. That path risks the paint film. If removal seems stuck, consult a professional conservator. It's a rare situation when a modern removable varnish has been used correctly, but it's worth knowing that help is available.
Caring for Varnished Paintings
Varnishing is worth doing well, and the effort is undone quickly by poor storage or the wrong hanging environment. A few practical habits will keep the surface in good condition.
Hang paintings away from kitchens and bathrooms. Steam and cooking fumes accelerate grime accumulation on the varnish surface and can affect the film over time. Keep them away from radiators and open fires; heat causes the varnish to expand and contract, which leads to cracking over time.
Don't lean varnished paintings face-to-face or against bubble wrap during storage or transport. Impressions can form in varnish that hasn't fully hardened, and some plastics can interact chemically with varnish films. Use glassine or acid-free tissue between paintings and around surfaces.
For day-to-day care, dust gently with a dry, soft cloth when needed. No sprays, no damp cloths, no household cleaning products. Varnish protects, but it isn't indestructible.
Finally, keep a note of when a painting was varnished and with what product. For works you intend to keep or exhibit, this information is genuinely useful for any conservator working on the painting in the future, possibly decades from now. A label on the back of the canvas or panel with the date and product name takes moments and has lasting value.
FAQ
Frequently Asked Questions
When is it safe to varnish an oil painting?
Wait until the paint film is cured. As a guide, very thin layers need at least 6 months, normal thickness about 12 months and thick impasto several years. Always do a solvent test with a cotton bud and low odour mineral spirit in an inconspicuous corner. If no pigment transfers, you can proceed.
What is the difference between retouch varnish and final varnish?
Retouch varnish is a temporary, more permeable coat used to revive sheen while the painting is still curing. It is not a substitute for a final varnish, which is applied only after the paint is fully cured.
Should I use a natural resin like dammar or a synthetic varnish?
Natural resins such as dammar give rich gloss and saturation but tend to yellow, become brittle, and can bloom in humid conditions. Modern synthetic varnishes are non yellowing, more flexible, non blooming and easier to remove, which makes them the conservation friendly choice for most painters.
Brush on or spray varnish which is better?
Both work well if applied correctly. Brush varnish is applied with thin, even coats on a flat surface using a dedicated soft brush. Spray varnish is convenient for even thin layers but needs good ventilation and careful technique. Choose based on size, access and your studio setup.
How do I avoid common problems like clouding or blooming?
Use thin coats, avoid varnishing before the paint has cured, work in a stable, relatively dry environment, stir brush varnish rather than shaking, and follow manufacturer drying times. For humid climates choose non blooming synthetic formulations.
Author

PleinAirPainting Editorial Team
PleinAirPainting.co.uk helps artists paint outdoors with confidence through UK-focused guides, equipment advice, resources and plein air inspiration.