Beach Plein Air Painting: How to Handle Sand, Sea, Wind and Changing Light
Essential tips for beach plein air painting on UK coasts. Plan tides, pack a compact kit, work small, and adapt to wind and changing light. Use photos and notes if you must leave early.

Key takeaways
- • Always check tide times for your exact beach and identify a safe exit route before you set up.
- • Work with a low, compact setup and small panels to reduce wind issues and finish before light changes.
- • Paint early morning or late afternoon; April, May and October are ideal months in the UK.
- • Use a limited palette focused on ultramarine, cobalt, burnt umber, yellow ochre, alizarin crimson and titanium white.
- • Be flexible: move to sheltered locations or photograph your study and finish it later in the studio.
Coastal light is unlike anything you'll find inland. The way brightness bounces off wet sand, the blue-grey depth of a horizon at low tide, the shift from cool sky to warmer sea as your eye moves down: these are the reasons painters have been heading to the beach for centuries. The quality of that light is real, and it's genuinely worth chasing.
But beach plein air painting is also one of the most demanding environments you'll encounter as an outdoor painter. Wind can knock your easel over before you've even mixed your first colour. Tides move. Sand gets into everything. The light that looked extraordinary twenty minutes ago is already gone. None of this is a reason to stay home; it's a reason to plan properly and go prepared.
This guide covers exactly that. You'll find practical advice on reading tides, choosing the right moment to go, what to pack, how to set up, and how to actually paint sea, sky and sand when everything keeps shifting around you.
Planning Your Session: Tides, Weather and Timing
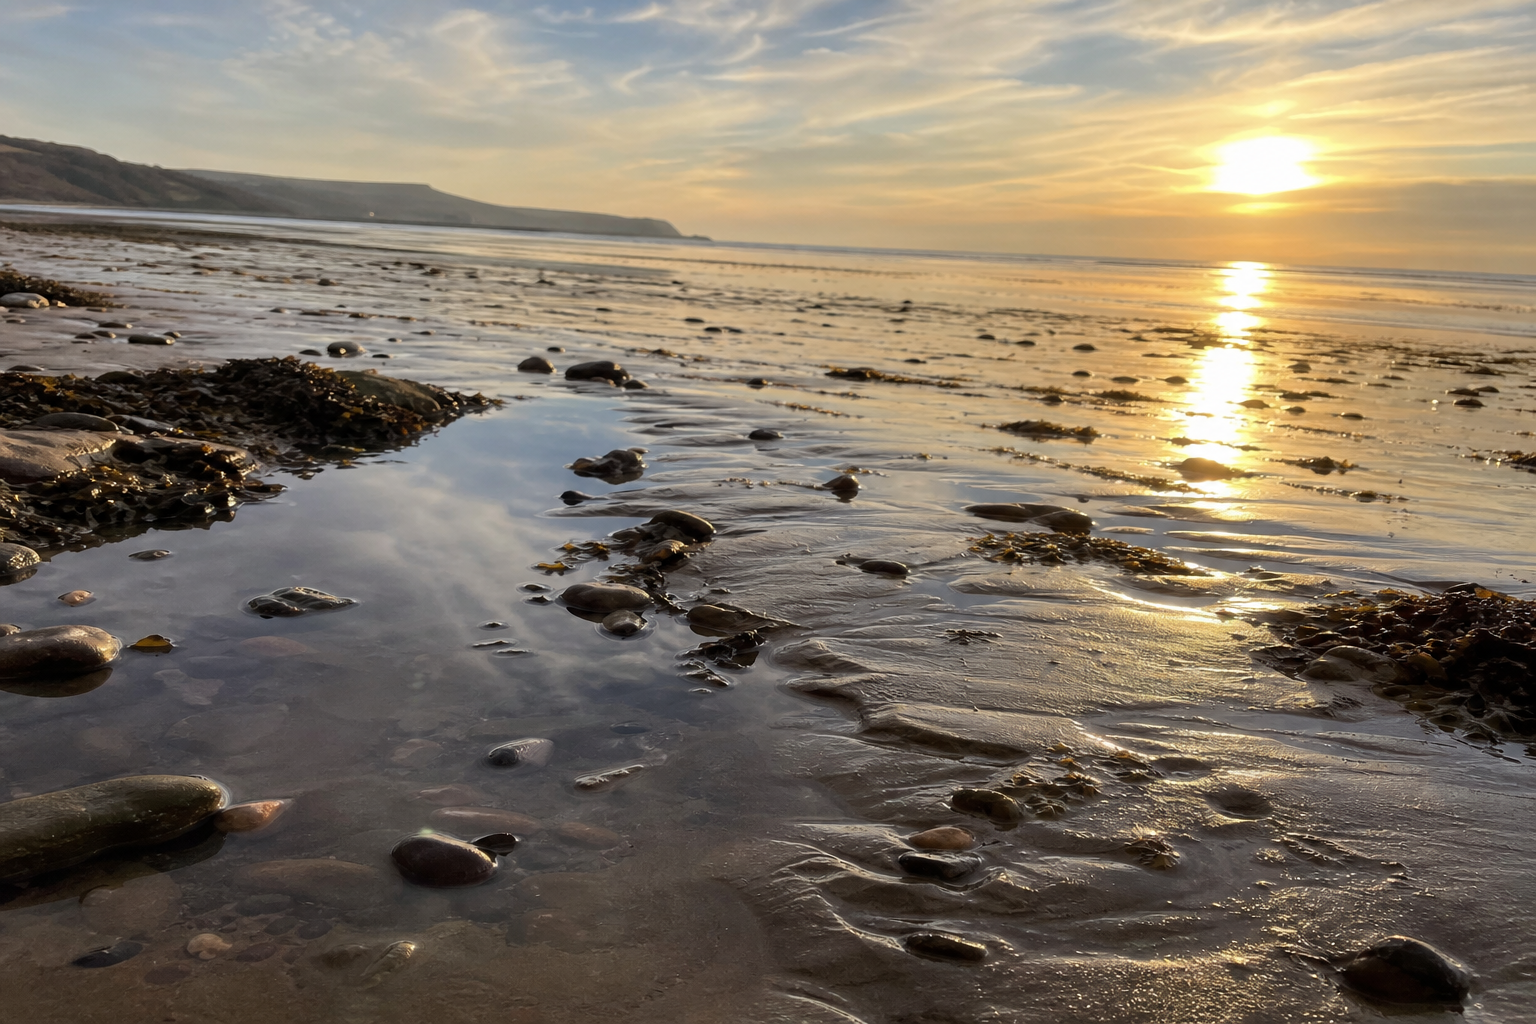
Check the Tides Before Anything Else
Before you think about colour or composition, check the tides for your specific beach. Not a nearby beach, not a regional forecast: your exact location, on the day you're going. Tidal ranges in the UK vary dramatically. The Bristol Channel has one of the largest tidal ranges in the world; a sheltered cove in South Cornwall might barely register by comparison. Generic coastal tide tables are not reliable enough to plan a painting session around.
The Met Office publishes tide tables for named UK ports and beaches, and apps like My Tide Times are useful for checking times on the go. Identify high water and build your session around a window that gives you a comfortable margin on both sides.
Tides move faster than they look
UK tides follow a roughly 12-hour cycle, with around six hours between high and low water. On flat beaches or below cliffs, the sea can move in quickly and close off exit routes before you realise what's happening. Always check tide times for your specific beach before you set out, not just a generic coastal forecast.
When to Go (and When Not To)
April, May and October are the sweet spots for painting at the beach in the UK. The light sits lower in the sky and throws longer shadows, which gives you more to work with in terms of tone and form. Crowds are manageable. The weather is changeable, but that's usually true all year.
July and August are workable, but midday on a popular beach in high summer is genuinely difficult: harsh overhead light, families everywhere, and no shade. If you're set on painting in summer, an early start solves most of the crowd problem and gives you the best light of the day. Aim to be set up and painting by seven or eight in the morning if you can.
Most painters find a sixty to ninety minute session is about right at the beach, especially in changeable conditions. It's long enough to get something done and short enough that the light won't have shifted entirely by the time you're finishing up.
Beach painting season at a glance
- Best months
- April, May, October
- Workable season
- April to October
- Worst time
- July–August midday
- Best light
- Early morning or late afternoon
- Typical session length
- 60–90 minutes
Strong light, fewer crowds
Winter possible but challenging
Crowded, harsh overhead light
Lower sun angle, longer shadows
Shorter in changeable conditions
Staying Safe on UK Beaches
The main risk for painters on beaches isn't the sea itself: it's tidal cut-off. You're stationary, focused, and entirely capable of not noticing the tide moving in around you. It happens, and it accounts for a significant number of RNLI callouts every year. The good news is that it's almost entirely preventable with a small amount of preparation.
Check your tide times before you go, as already covered. Then, before you set up your easel, identify your exit route and make sure it stays open throughout your session. If you're below cliffs, be aware that cliff bases flood before you might expect. On wide, flat beaches, the sea can move in across ground that looked completely safe an hour earlier.
Stay away from cliff bases as a default position. Don't place yourself somewhere where your safe exit depends on a narrow tidal window, even if the composition looks excellent from there.
Carry your phone, charged, and know that in a coastal emergency the right call is 999 and ask for the Coastguard. The RNLI recommends painting on lifeguarded beaches when you're working close to the waterline, which is sensible advice especially if you're alone.
Soft mud and estuary margins look beautiful to paint, but treat any signage about restricted access seriously. These areas can be genuinely hazardous underfoot.
Before you leave for the beach
Check tide times
Use the Met Office tide tables or a tide app like My Tide Times for your specific beach. Identify high water time and plan your session well before it.
Check the weather forecast
Wind speed matters as much as rain. Look for gusts over 20–25mph as a warning sign for exposed locations.
Identify your exit route
Before you set up, know how you'll get back to dry land, and make sure that route stays open throughout your session.
Tell someone where you're going
If you're painting alone, let someone know your location and when you expect to return.
Carry your phone and know the number
In a coastal emergency, call 999 and ask for the Coastguard.
Gear That Actually Works at the Beach
Keep It Compact and Low
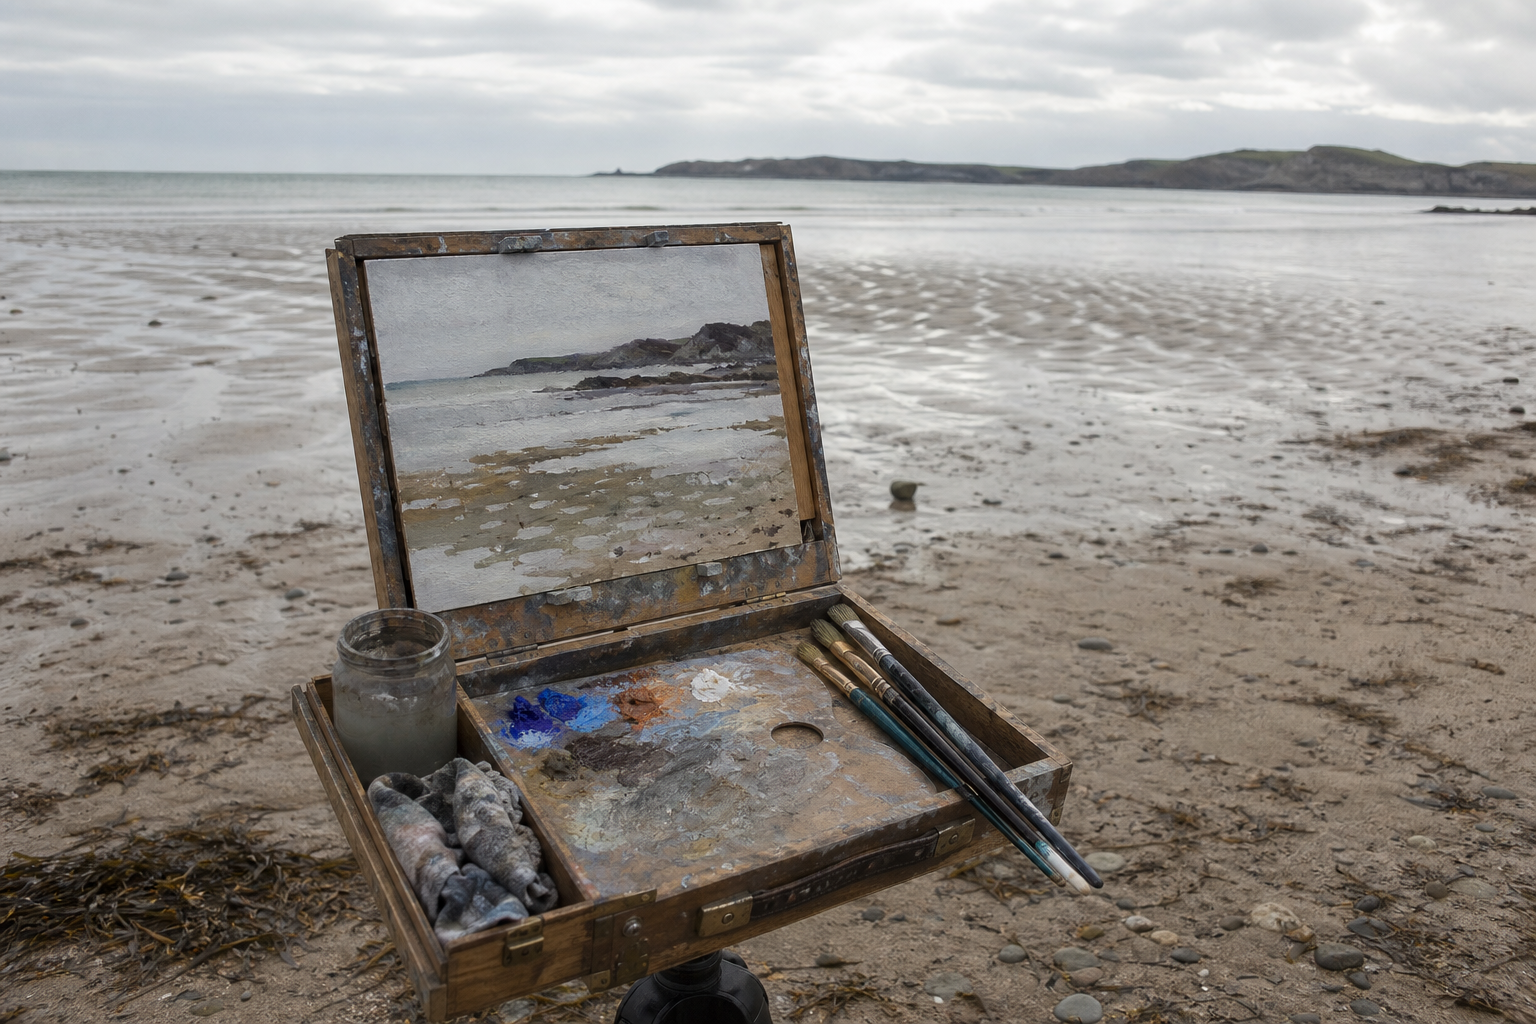
Wind is the defining constraint of coastal painting, and your whole kit needs to be chosen with that in mind. Tall tripod easels that work perfectly well in a sheltered field become sail-like objects on an exposed beach. Low easels and pochade boxes are far more stable: they keep your painting surface close to the ground and reduce the surface area the wind can grab.
Small panels are standard for coastal work: 6x8 inches for quick studies, up to 10x12 for a longer session when conditions allow. Working small isn't a limitation. It means you can finish a piece before the light changes and before you're being rained on, which on a UK beach is a genuine practical advantage. If wind is picking up, compact format work also lets you pack and move quickly.
For plein air coastal painting in high winds specifically, weighted bags hanging from your easel legs, or a low-slung pochade box setup sitting directly on a beach bag, can both help with stability.
What to Pack
- A pochade box or low tripod easel
- Small panels: 6x8 inches for quick studies, up to 10x12 for longer sessions
- A limited palette (see the colour section below)
- Layered, windproof clothing including a waterproof outer layer
- Sun protection: a hat and sunscreen, even on overcast UK days (UV reflects off water and sand more than most people expect)
- A hot drink and food if you're planning a longer session
- Your phone, charged, with a tide app installed
- A camera or phone for reference backup in case conditions force you to stop early
Colour and Technique for Coastal Scenes
A Palette That Works for Sea, Sky and Sand
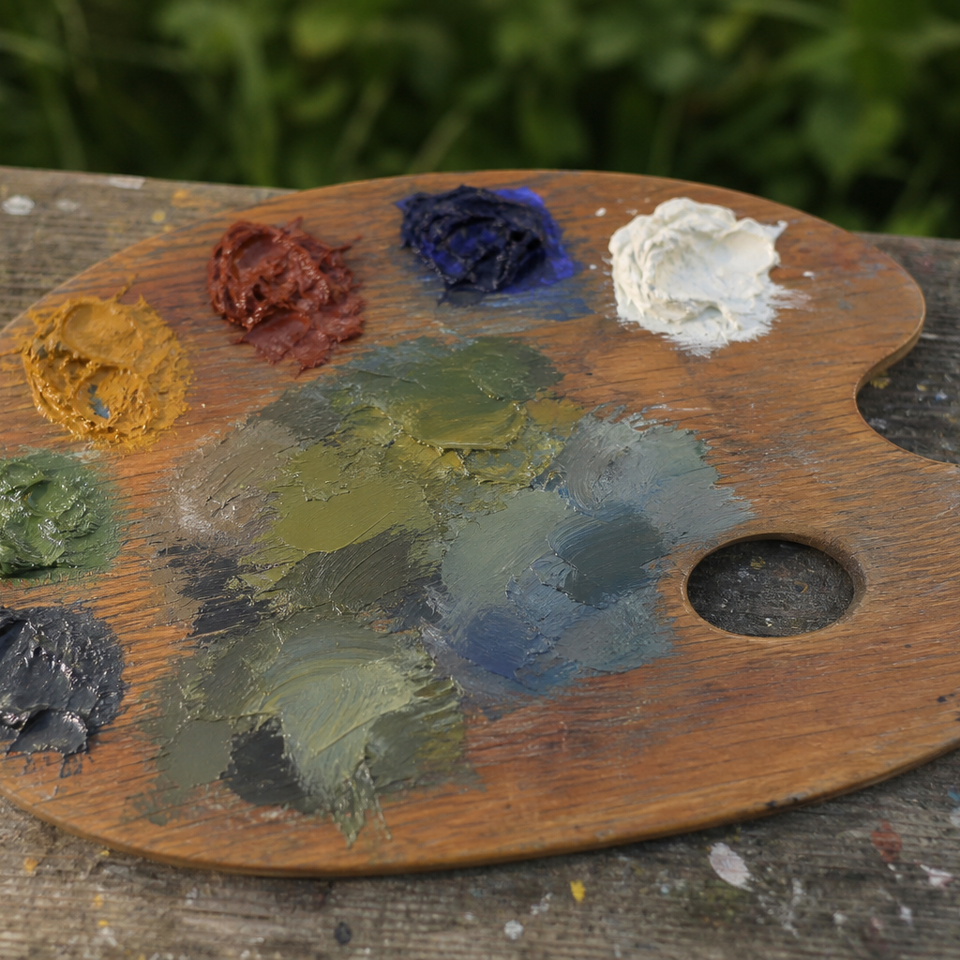
A limited palette isn't just a stylistic choice for seascape plein air work: it's a practical one. Fewer colours means less to carry, faster mixing, and more consistency across a session where the light may shift several times. The following palette covers the full range of what you'll encounter on a UK beach.
Ultramarine blue is the workhorse for deep sky, sea shadow and blue-grey distances. It mixes beautifully into muted neutrals when combined with burnt umber. Cobalt blue handles the lighter, cooler parts of the sky and the mid-tones of the sea without going as heavy or warm as ultramarine. Burnt umber brings warmth to rocks, darks, and any shadow that needs grounding. Yellow ochre is essential for sand tones and the warm quality of beach light; without it, your foregrounds will look too cool and detached. Alizarin crimson earns its place through mixing: used sparingly, it takes the edge off greens and blues and helps you arrive at the subtle warm neutrals that beaches are full of.
Titanium white is needed in generous quantities if you're working in oils outdoors. Sky mixes, surf foam, and the light on water all require more white than you'll think.
Watercolourists typically work a similar range, often adding raw sienna where oil painters might use yellow ochre, for a slightly richer, more granulating beach tone.
| Colour | Role | Notes |
|---|---|---|
| Ultramarine blue | Sky, deep sea, shadows | Mixes well for blue-grey distances |
| Cobalt blue | Lighter sky, middle sea tones | Cleaner and cooler than ultramarine |
| Burnt umber | Darks, neutrals, rocks | Warms up the palette |
| Yellow ochre | Sand, warm light, beach tones | Essential for coastal foregrounds |
| Alizarin crimson | Muting greens and blues, mixing neutrals | Use sparingly |
| Titanium white (oils) | Lightening, sky mixes, surf foam | Generous quantities needed outdoors |
How to Approach the Painting
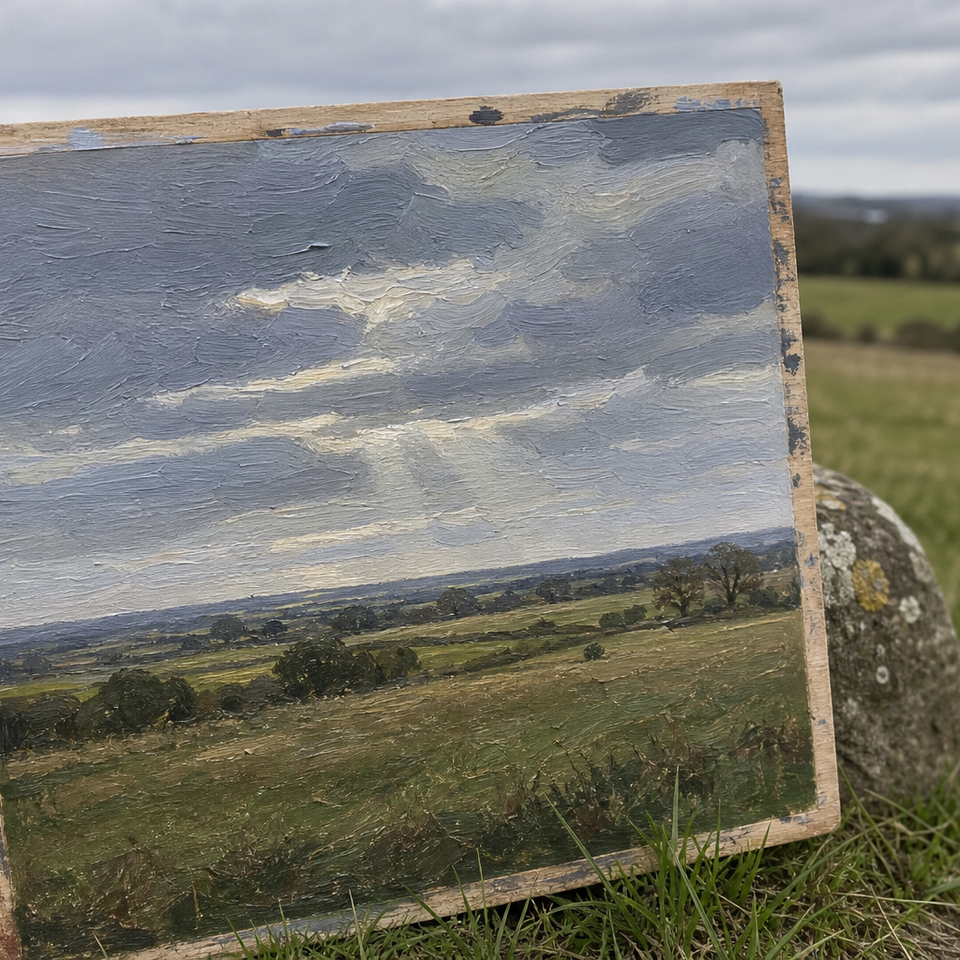
Start with the sky. Always. The sky determines the light across everything else: the temperature of the sea, the colour of the sand, whether your shadows are warm or cool. Get the sky wrong and everything underneath it will fight you. Even a rough, loose sky block, just broad strokes that establish whether this is a high, pale midday light or a low golden late afternoon, gives you something to key the rest of the painting to.
From there, move to the sea and horizon. Keep it simple: the sea at a distance is usually a single transitional band of colour, lighter at the horizon, slightly deeper in the middle distance. Don't be drawn into painting individual waves at the horizon; they're too small to read and too fast to catch.
Then the beach and foreground. Sand shifts in colour more than people expect, from cool and grey-wet near the waterline to warmer ochre tones further up the beach. Build those transitions in broad strokes rather than trying to mix each one separately.
For oils, broken brushwork gives the sea its movement, short directional strokes layered rather than blended. For watercolour, wet-into-wet washes work well for both sky and sea, with reserved whites for surf and foam rather than adding white over the top.
Value structure matters more than colour accuracy in coastal scenes. Keep your strongest contrasts in the foreground and let the distance go softer and cooler. This is what creates the sense of space and light that makes a good beach painting read from across the room.
Work bigger to smaller, not the other way around
Start with the largest shapes and biggest value relationships. Sky, sea, land. Get those right before you touch any detail. On the beach, light changes fast and the temptation is to fiddle with the foreground while the sky is doing something extraordinary behind you.
Finding the Right Spot
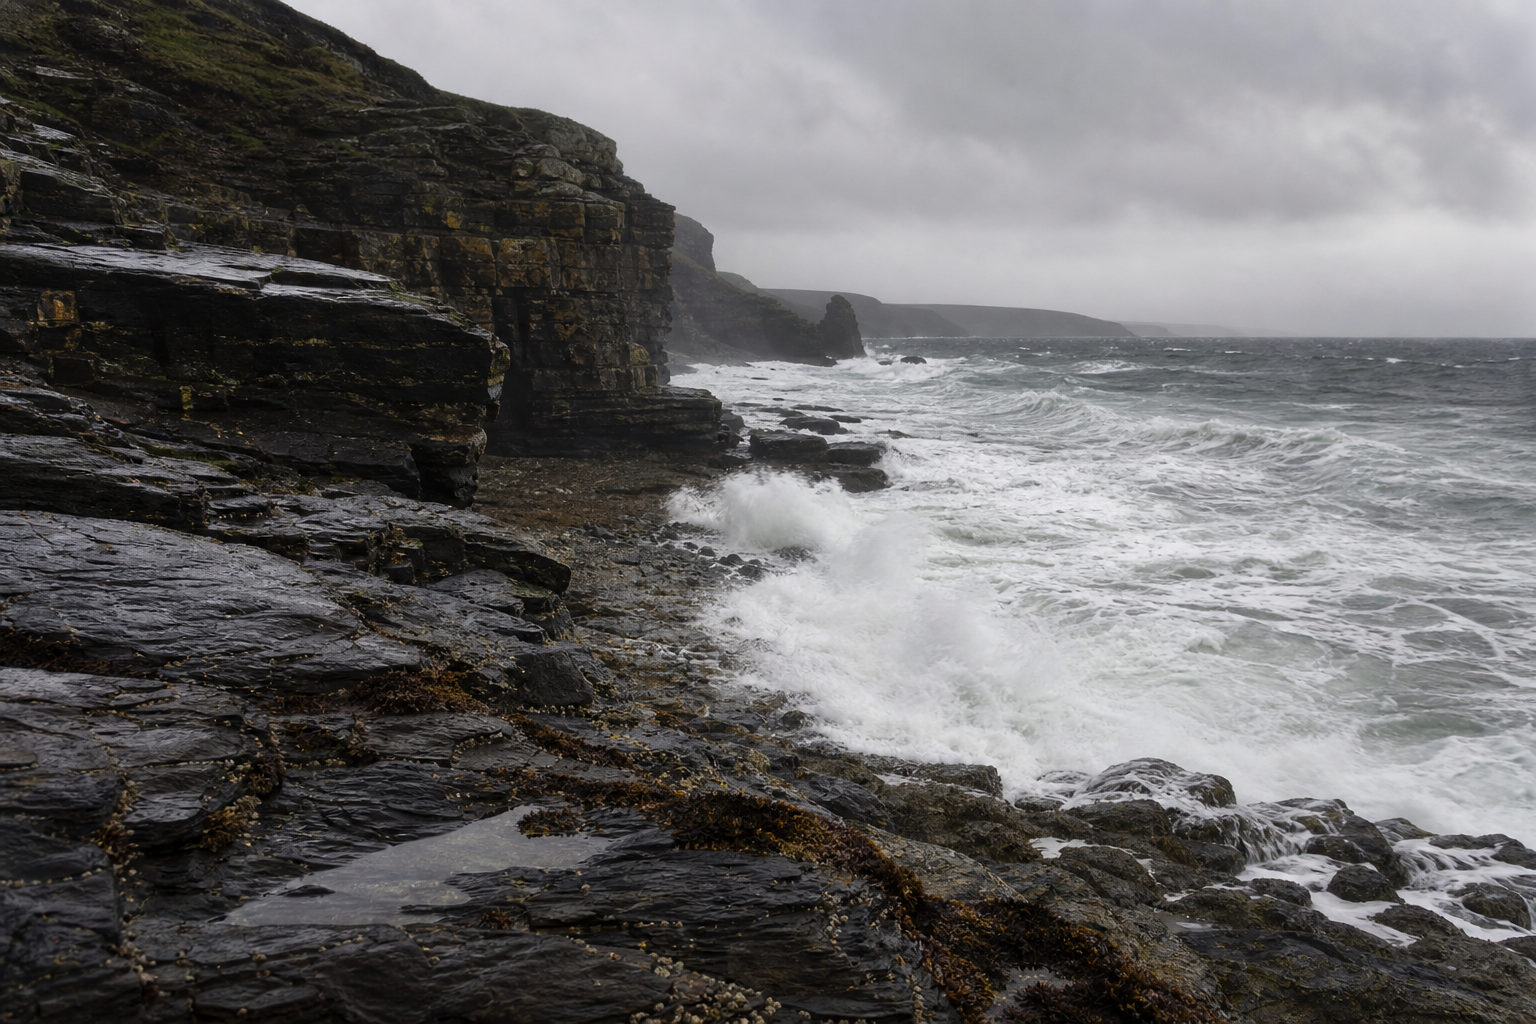
The UK coast offers an extraordinary range of conditions for coastal plein air painting, and where you go shapes everything about the session.
Atlantic-facing beaches in North Cornwall and North Devon are dramatic, with powerful swell, fast-moving tides and exposure to wind from multiple directions. The painting conditions are harder, but the subject matter is spectacular. South Cornwall's estuaries and harbours offer calmer water, more predictable light and far easier logistics: if you're new to coastal painting, a sheltered harbour with a harbour wall at your back is a much more forgiving introduction.
East coast locations, from Suffolk to North Norfolk, tend to have wider skies and flatter, cooler light. The tidal beaches here can be very extensive at low water, which means extra tidal caution: you can walk a long way out and the sea can come back in behind you across flat ground before you've noticed.
Wales and Pembrokeshire offer everything from exposed headlands to sheltered coves, often within a short drive of each other. Scotland's west coast and islands add further variation, with sea lochs and sheltered inlets that paint beautifully.
On access: individual painting on public beaches and promenades is generally fine and doesn't require any permission. National Trust and similar sites typically welcome individual painters as regular visitors. Organised groups or any kind of commercial session may need advance permission: it's worth ringing ahead. Don't block slipways, lifeguard routes, or working areas around fishing boats and equipment. And if dune restoration signage asks you to stick to marked paths, follow it; marram grass on sand dunes is doing important work and doesn't recover quickly from foot traffic. Take your rubbish home.
When the Session Goes Wrong
Sometimes the conditions will beat you. Wind picks up beyond what your kit can handle. The tide comes in faster than you'd planned. Rain arrives from a direction the forecast didn't mention. This is the UK coast, and it happens.
The backup plan isn't failure: it's flexibility. If an exposed beach becomes unworkable, move. A harbour, a sheltered bay, an estuary viewpoint: these are legitimate alternatives, not consolation prizes. Some of the quietest and most paintable coastal spots in the UK are sheltered from the elements precisely because they're tucked away from the drama.
If you have to leave before your painting is finished, photograph it. A reference photo and your on-site colour notes are more than enough to resolve the piece back in the studio. Many experienced painters treat beach studies exactly this way: as light and colour reference material rather than finished works. The studio version, built on a real session in real light, is often stronger for having that foundation.
Build flexibility into your planning rather than committing to a single composition that requires staying in one place regardless of conditions. A willingness to move, adapt, and sometimes call it early is what lets you keep coming back.
Painting at the beach in the UK is genuinely challenging, and that difficulty is part of what makes it so absorbing. The light is extraordinary, the conditions are constantly shifting, and every session is different from the last. With a bit of planning, the right kit, and a willingness to work fast and simply, it's one of the most rewarding places to paint outdoors.
FAQ
Frequently Asked Questions
How do I check tides for my exact painting spot?
Use tide tables for the named port or beach from the Met Office or an app like My Tide Times. Always check the specific beach and plan your session well before high water.
What kit works best on windy beaches?
Choose a low pochade box or low tripod easel, small panels (6x8 up to 10x12), weighted bags for stability, layered windproof clothing and sun protection.
When is the best time to paint on UK beaches?
Early morning or late afternoon are best for lower sun and longer shadows. April, May and October offer excellent light. Keep sessions to 60–90 minutes in changeable weather.
What limited palette should I use for sea sky and sand?
A practical palette: ultramarine, cobalt blue, burnt umber, yellow ochre, alizarin crimson and plenty of titanium white for oils. It speeds mixing and keeps colours consistent.
What should I do if conditions force me to stop early?
Move to a sheltered spot if possible. Photograph the painting and record colour notes. These references let you finish or refine the work later in the studio.
Author

PleinAirPainting Editorial Team
PleinAirPainting.co.uk helps artists paint outdoors with confidence through UK-focused guides, equipment advice, resources and plein air inspiration.