Wet-on-Wet Oil Painting for Plein Air: Technique, Tips, and Troubleshooting
Practical plein air guide to wet on wet oil painting: choose surfaces and mediums, follow fat over lean, troubleshoot muddy paint or slow drying, and build confidence outdoors.
Key takeaways
- • Wet on wet means painting directly into wet paint, ideal for completing works alla prima in one session.
- • Choose surface texture to match the effect you want: smooth panels for soft blends, textured supports for energetic marks.
- • Select medium by conditions: linseed for richness, Liquin to speed drying, and oleo gel for controlled blending.
- • Follow fat over lean when revisiting pieces; use solvent-lean underlayers and increase medium later.
- • Troubleshoot by scraping back muddy areas, oiling out dried surfaces, and adjusting medium for weather.
Wet on wet oil painting is one of those techniques that sounds straightforward until you're standing in a field with a loaded brush, the light shifting, and your paint going in directions you didn't plan. Most painters have a rough idea of what the term means. Fewer feel genuinely confident with it outdoors, where the conditions make demands that a studio session never does. This guide is about closing that gap: what the technique actually involves, how to set yourself up for it, and what to do when things go sideways.
What Wet-on-Wet Oil Painting Actually Means
Wet on wet oil painting means exactly what it says: you're applying fresh paint into paint that's still wet. Instead of waiting for a layer to dry before adding the next, you work directly into the surface, blending and building on the canvas or panel as you go. The mixing happens in front of you, not just on your palette.
This is fundamentally different from a glazing or layered approach, where each application of paint has to be fully dry before the next goes down. Glazing builds luminosity through transparent layers; wet on wet builds immediacy through direct contact. Neither is better, they're suited to different things.
You'll often hear the term alla prima used alongside wet on wet, and the two are closely related. Alla prima refers to completing a painting in a single session, wet into wet, without waiting for layers to dry. It's the most common approach in plein air painting, for practical reasons we'll come to. Wet on wet is the technique; alla prima is often the context in which you're using it.
Why It Works So Well Outdoors
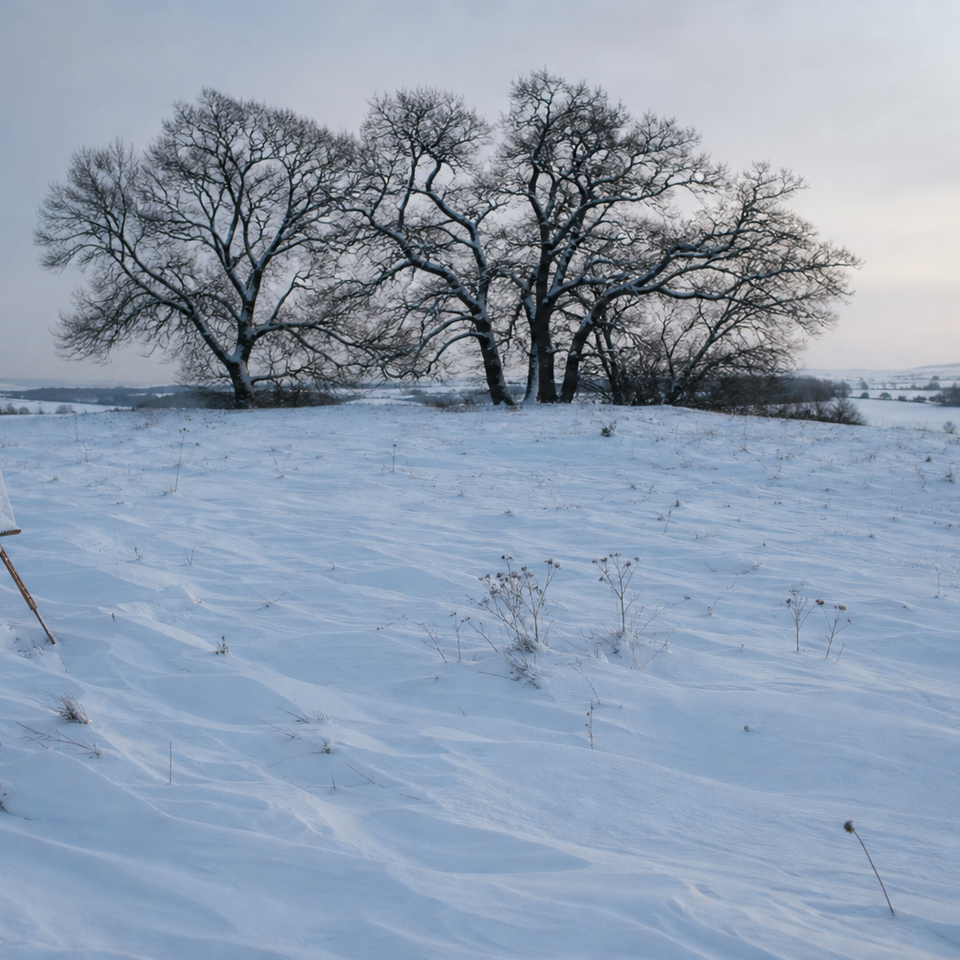
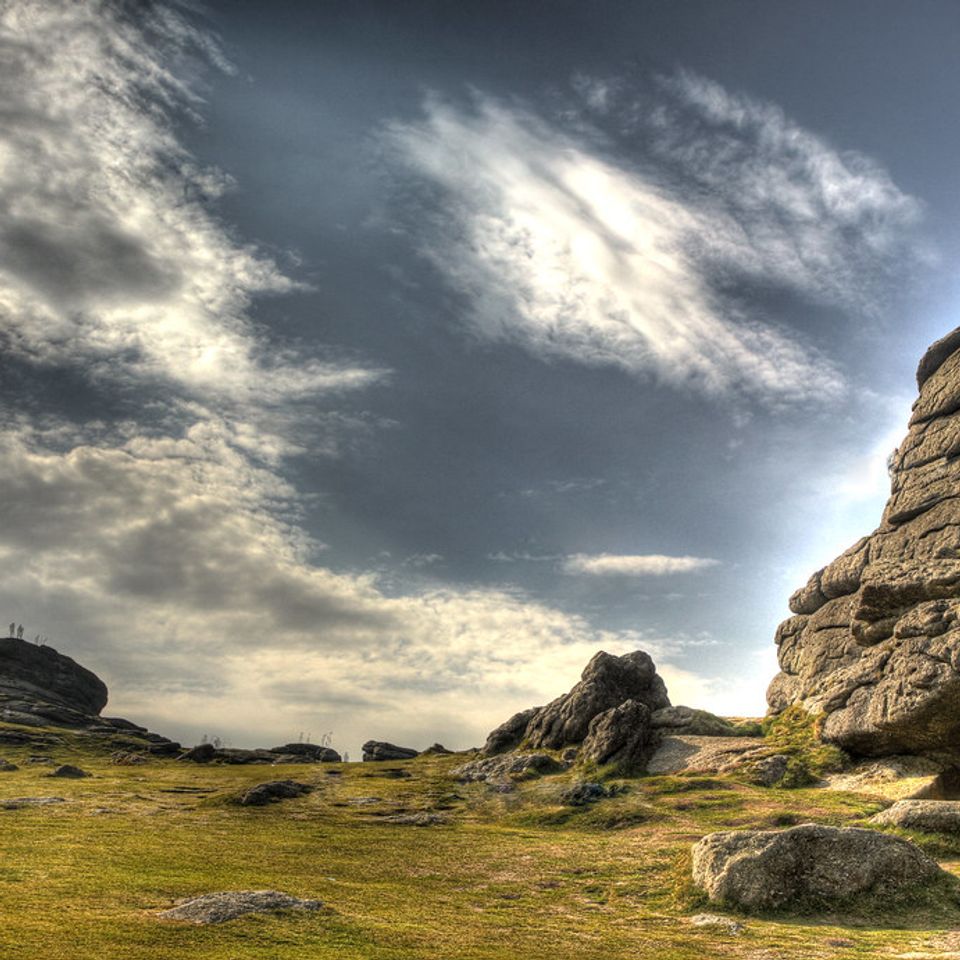
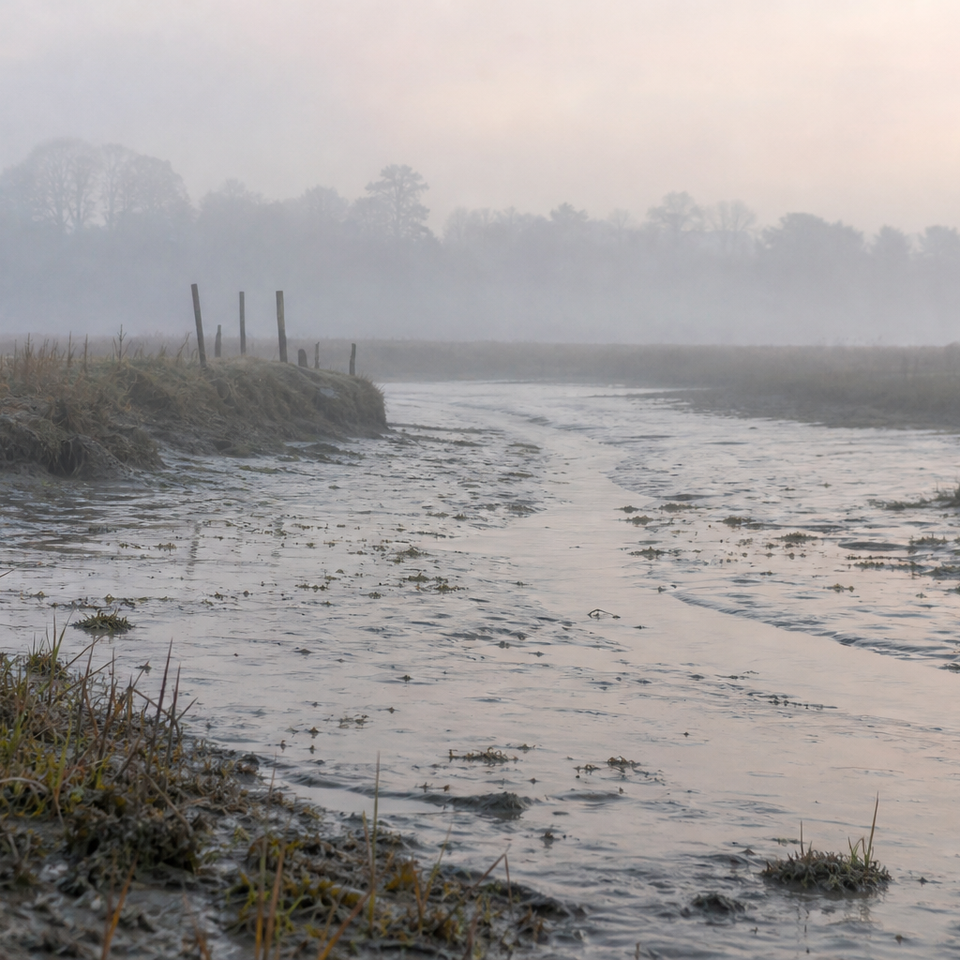
Plein air painting puts you under a kind of productive pressure that studio work doesn't. The light is changing. The weather might be closing in. You have, realistically, an hour or two before the scene in front of you looks meaningfully different from what it looked like when you started. That's not a problem for wet on wet painting; it's precisely what the technique is built for.
Because you're not waiting for anything to dry, you can work across the whole panel continuously, adjusting tones, softening edges, and correcting shapes as you go. A painting that might take days in a studio, with drying time between layers, can be resolved in a single outdoor session.
There's also something about the directness of the technique that suits outdoor work. You have to commit to marks. You can't build up slowly and carefully when the light is moving. That commitment, which can feel uncomfortable at first, tends to produce paintings with more energy and honesty than carefully constructed studio pieces. The technique asks you to trust your eye, and working outdoors is the best possible place to develop that trust.
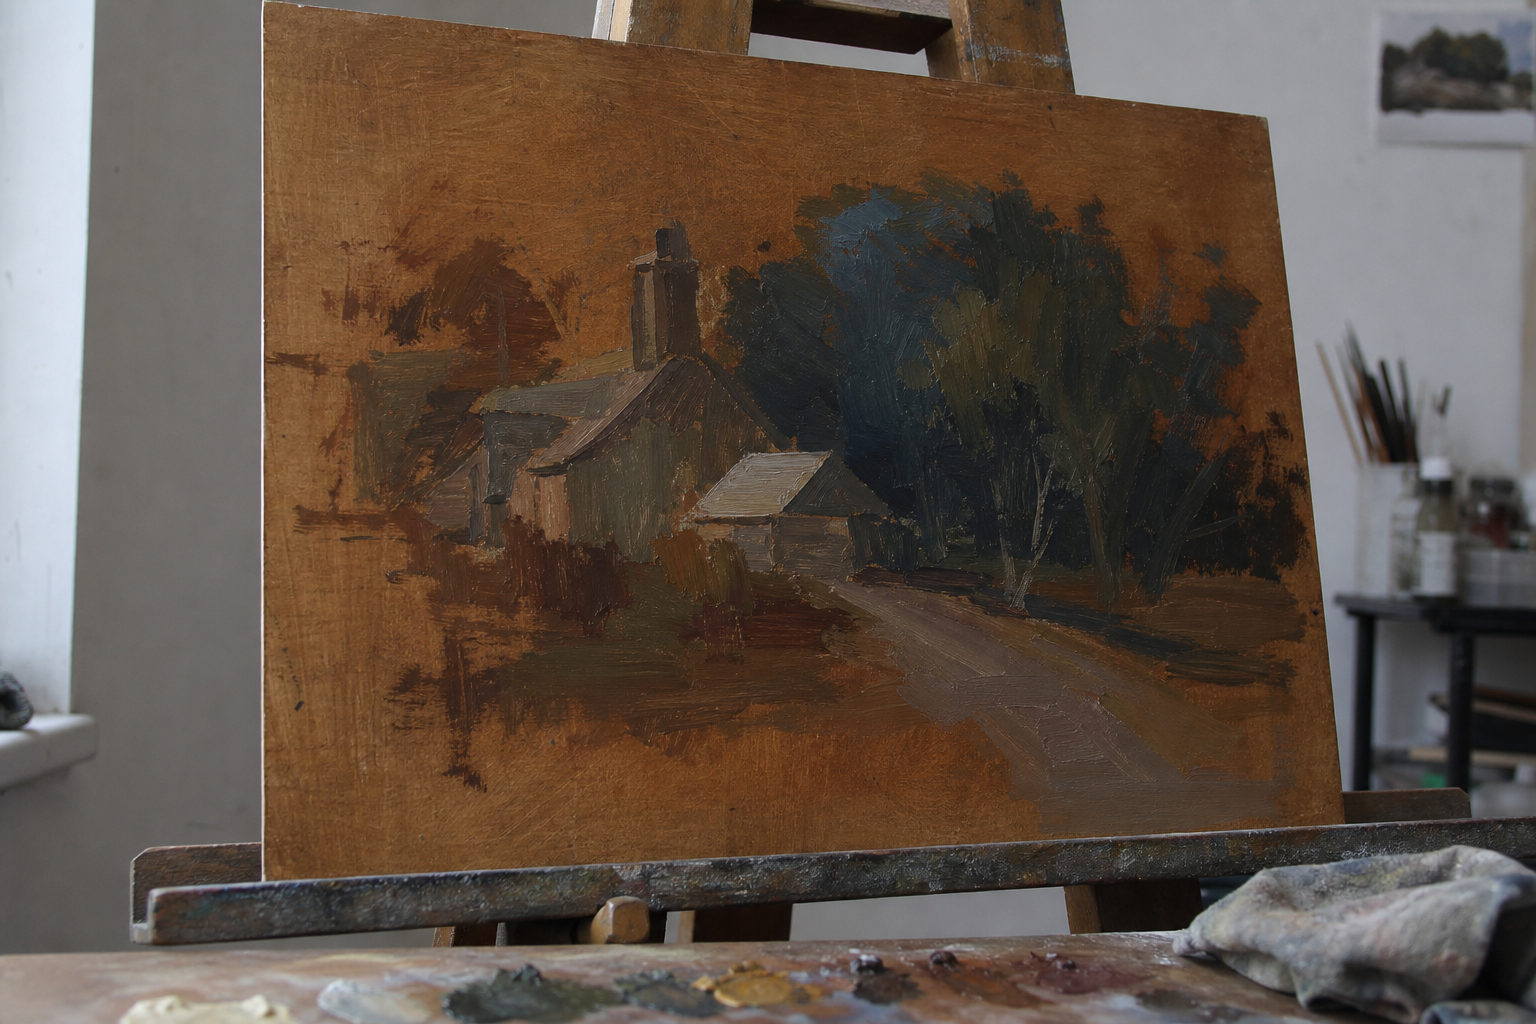
Getting Your Surface Ready
Choosing the Right Panel or Canvas
Surface choice matters more in wet on wet work than in other approaches, because the texture of what you're painting on affects how paint moves and blends.
Smooth surfaces, such as gessoed board or oil-primed linen panels, allow paint to move freely. Edges soften easily, blending is fluid, and you can make adjustments without the paint catching on the surface texture. These tend to suit softer, more atmospheric work: skies, water, landscapes with gentle transitions.
Rougher linen or heavily textured canvas holds more paint in the weave, which resists blending and creates a more broken, textured mark. This isn't a disadvantage. Many painters deliberately choose a rougher surface because it adds life and physicality to the work. Your brush drags across the texture and leaves paint only on the raised grain, which gives marks an immediacy that smooth surfaces can't replicate.
For outdoor use, panels (rigid boards) are generally more practical than stretched canvas. They don't flex or catch the wind, they're easier to pack and carry, and they sit more securely on a pochade box. Gessoed MDF or oil-primed linen boards are both good starting points, and UK suppliers such as Jackson's Art and Ken Bromley carry a solid range of both.
Toning the Surface Before You Start
Working on a white surface outdoors causes a specific problem: everything looks darker than it actually is, because you're judging values against a bright white ground. A toned surface gives you a mid-tone to work from, which makes value decisions much more reliable.
A thin wash of raw umber or burnt sienna, applied with a rag or wide brush and then wiped back, is the most common approach. You want a translucent stain, not an opaque layer. Let it become just slightly tacky before you start painting, so it holds your first marks without the fresh paint slipping around on a liquid surface.
Tone your panel at home
If you're heading out for a morning session, tone your panels the evening before with a thin wash of raw umber or burnt sienna. They'll be just tacky enough to hold your first marks without muddying the fresh paint on top.
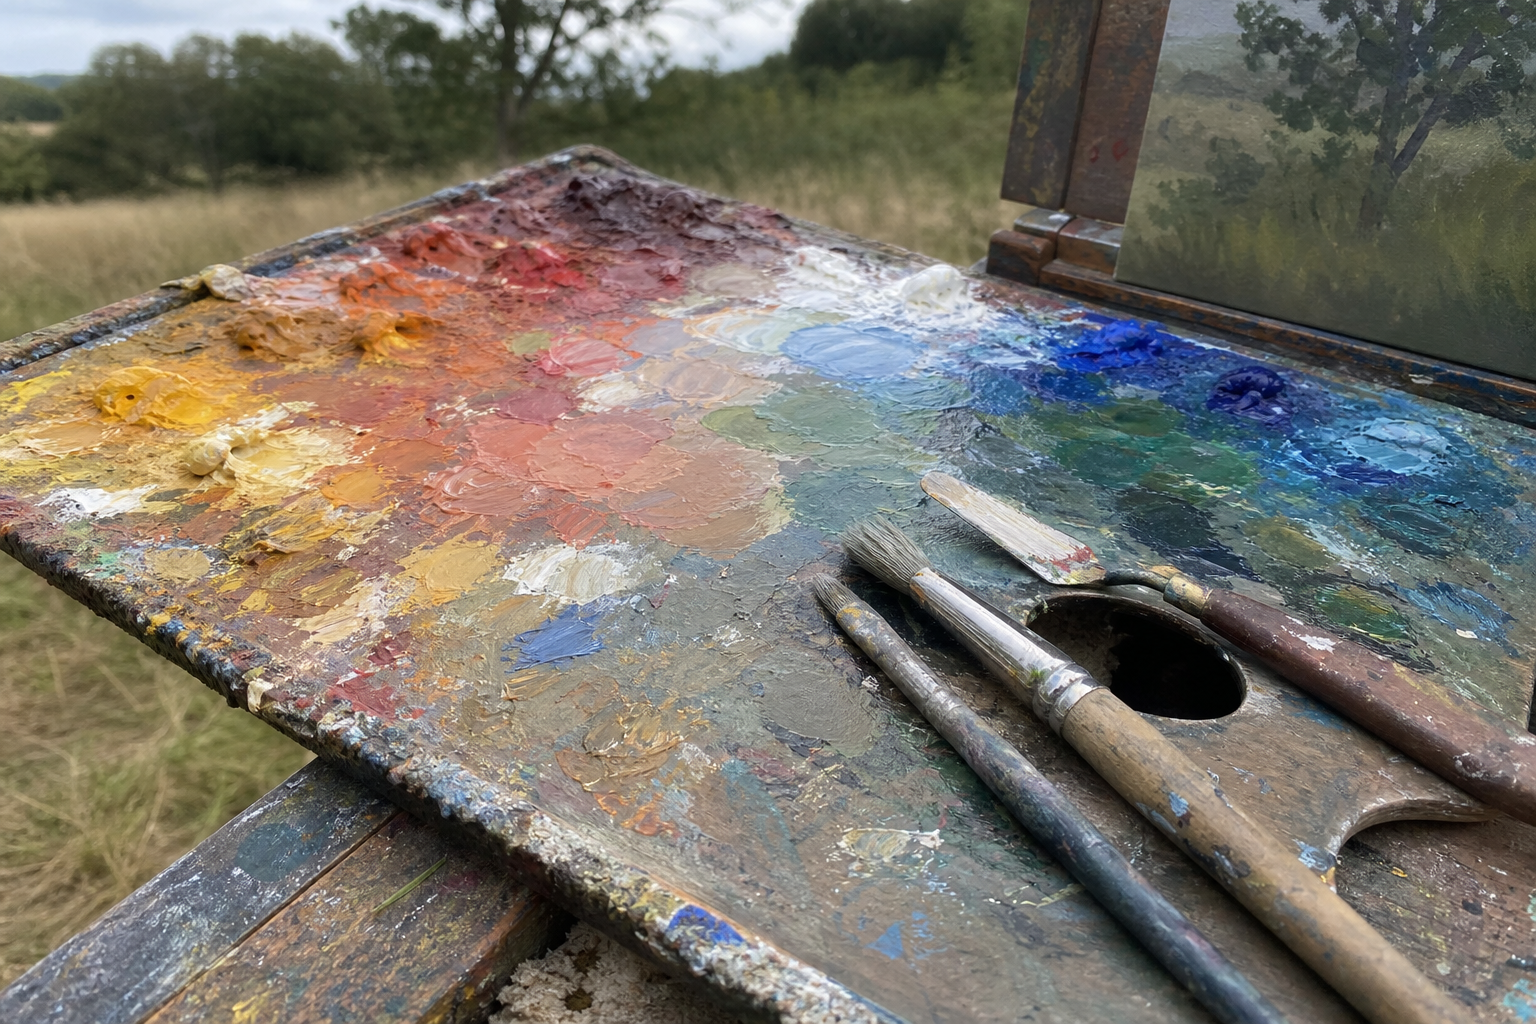
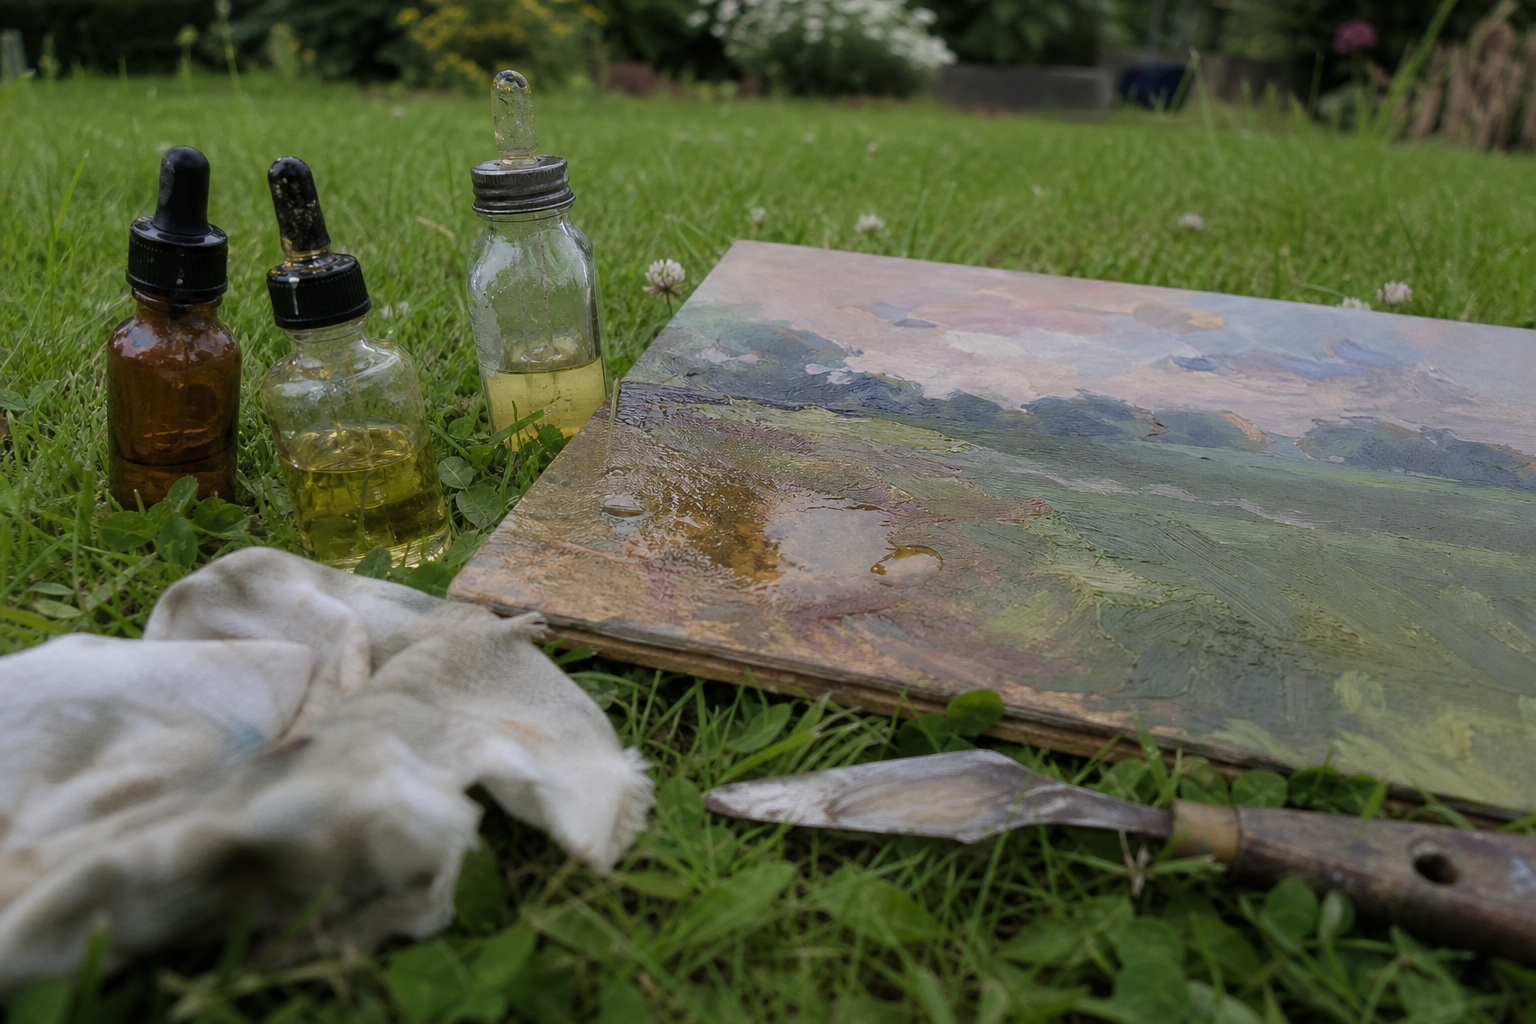
Mediums for Wet-on-Wet Painting Outdoors
Medium choice is one of the most common sources of confusion for painters developing a wet on wet practice, and it's an area where the right answer genuinely depends on your conditions and working speed. Here are the main options worth knowing about.
Linseed Oil
Linseed oil is the traditional medium for oil painting, and it works well for wet on wet blending. It extends the paint, keeps it workable for a long time, and produces a rich, smooth consistency that blends easily on the surface.
The limitation outdoors, particularly in the UK, is that linseed oil is slow. In cool, damp conditions, paint mixed with linseed oil can stay wet for days. That's fine for a single-session study, but if you intend to return to a painting, the slow drying can be a real inconvenience. In cold autumn or winter conditions, it's even slower.
Liquin Original
Liquin Original (by Winsor & Newton) is an alkyd-based medium that significantly speeds up drying. Paint mixed with Liquin can be touch-dry in hours rather than days, which makes it practical for UK painters who are working in conditions that would otherwise keep paint wet and slippery indefinitely.
It also handles well outdoors: it adds a slight gloss, thins paint to a workable consistency, and blends smoothly without making the paint too runny. The odour is noticeable, but in a plein air context you're outside anyway, which deals with that concern practically. Liquin Original is available at Jackson's Art, Ken Bromley, and Cass Art.
Oleo Gel
Oleo gel is a newer option that's gaining attention among contemporary plein air painters. It has a soft, gel-like consistency that gives paint a smooth, controlled feel, making it particularly good for blending without the paint becoming too fluid. The drying rate sits between linseed oil and Liquin, which suits painters who want workability without the paint staying wet for days.
If you find linseed oil too runny to control outdoors, oleo gel is worth trying. It handles well in variable conditions and doesn't thin as dramatically when warm weather arrives.
| Medium | Drying time | Blending quality | Notes for outdoors |
|---|---|---|---|
| Linseed oil | Slow (days) | Excellent | Can stay too wet in damp/cold UK conditions |
| Liquin Original | Fast (hours) | Good | Ideal for UK painters; use in ventilated space |
| Oleo gel | Medium | Excellent | Smooth, controlled; good for blending in variable weather |
| Solvent only (OMS) | Very fast | Limited | Useful for underpainting layer only |
A note on solvents: odourless mineral spirit (OMS) or Zest-it (a UK-based citrus solvent with a lower odour than standard OMS) is useful for thinning paint in the initial block-in stage. It produces a lean, fast-drying underlayer that later, oilier paint can sit on without long-term adhesion problems. Use it for that first wash, then put it away and switch to your chosen medium for subsequent layers.
The Fat Over Lean Principle: Why It Matters
Fat over lean is one of those principles that sounds technical but is easy enough to understand in practice. "Fat" means more oil in the paint; "lean" means less. The rule is simple: lean layers first, progressively fattier layers on top.
The reason is physical. Oil paint dries by oxidation, and layers higher in oil content take longer to set. If you put a lean (fast-drying) layer on top of a fat (slow-drying) layer, the surface dries and contracts while the paint beneath is still moving. Over time, this causes cracking.
Single session? Don't overthink it
If you're completing a plein air study in one sitting, fat over lean matters less. The principle becomes critical when you return to a painting after it has partially dried. In that case, keep lean layers early and gradually increase medium in later passes.
In practical terms: use solvent or a minimal amount of medium for your first marks, and gradually introduce more medium as you build subsequent layers. If you're finishing a painting in one session, you're unlikely to cause problems. The principle becomes important when you return to a painting the following day or later.
Core Wet-on-Wet Technique: Painting Into Fresh Paint
This is where the theory becomes practice. The following sequence isn't a rigid formula; it's a working process that gives you a solid framework to adapt as you develop your own approach.
Wet-on-wet outdoors: a working process
Thin wash to establish the composition
Use a brush loaded with paint thinned with a little OMS or Liquin. Block in the main shapes loosely. This is your lean underlayer.
Work from dark to light
Establish your darkest tones first, then work into the mids and lights. This gives you something to blend against and reduces overworking.
Load your brush and place strokes with intention
Avoid scrubbing. Pick up fresh paint, place it, and leave it. You can soften edges but try not to push paint around unnecessarily.
Blend selectively, not universally
Use a clean, dry brush (fan or filbert) to soften key edges. Leave other edges sharp. Not everything should be blended.
Reassess and adjust values
Step back regularly. Outdoors, the light is changing. Quick value checks using a tonal squint help you see what's working before it's too late to adjust.
One thing experienced painters consistently mention: resist the urge to fix everything. Wet on wet painting has a natural point of diminishing returns, where additional marks stop improving the painting and start muddying it. Learning to stop is as much a skill as learning to start.
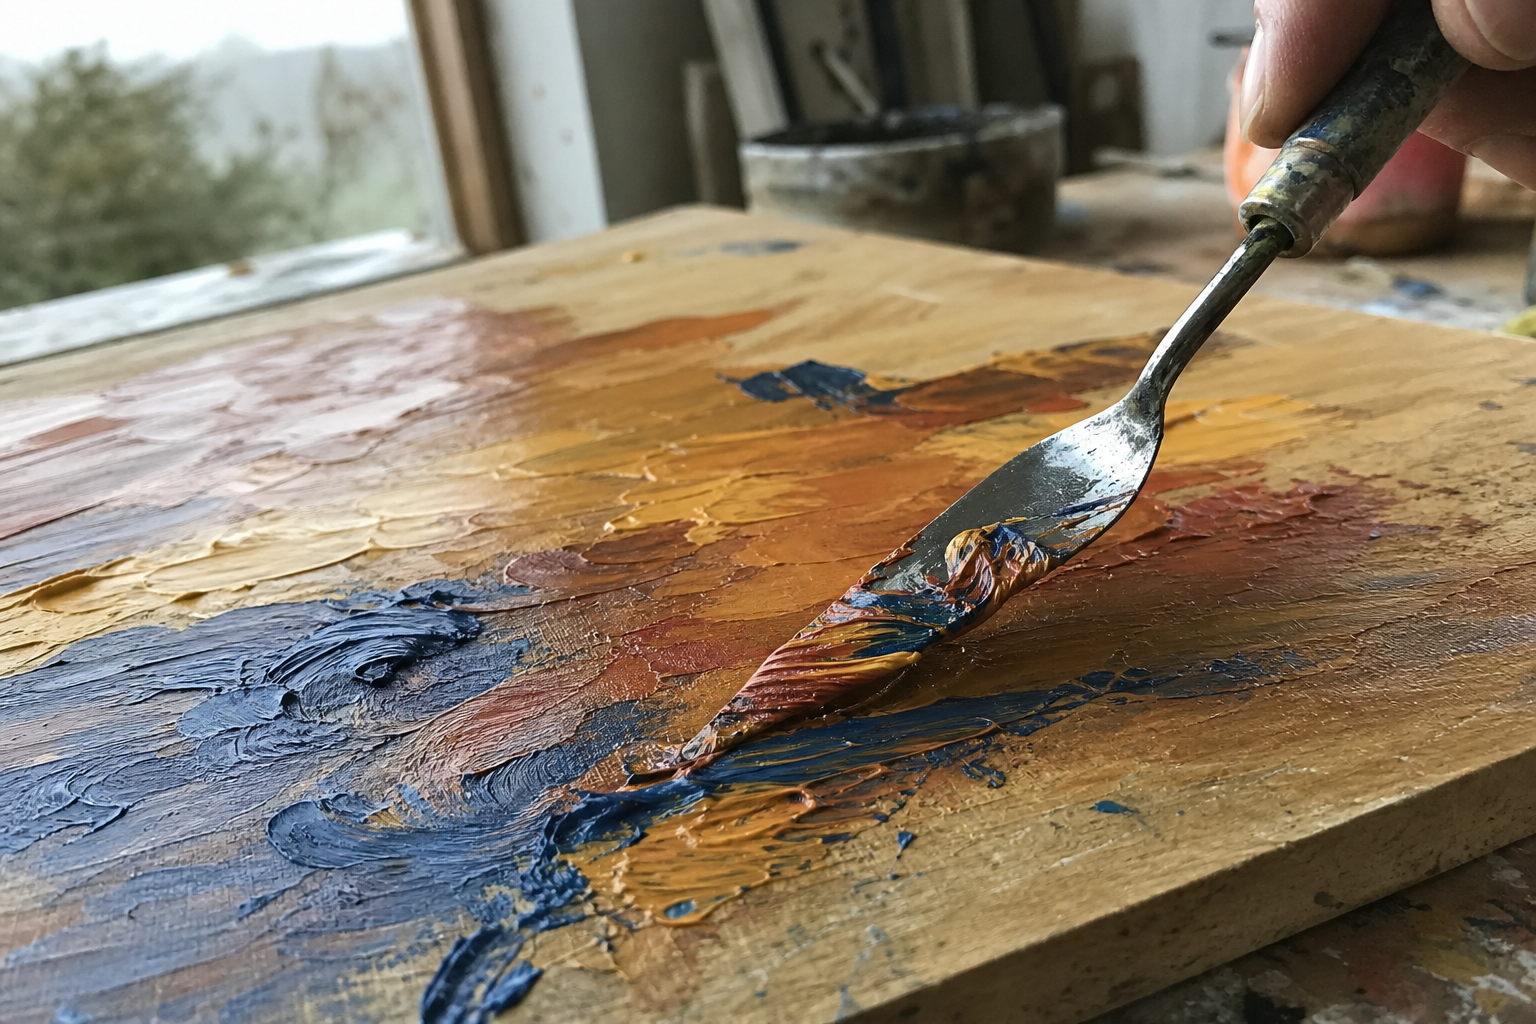
Common Problems and How to Fix Them
Troubleshooting is where most tutorials fall short. Here's an honest account of what goes wrong, and what actually helps.
The Paint Becomes Muddy
We've all pushed paint around too long and ended up with a grey-brown nothing where a sky or shadow used to be. Muddy paint is almost always caused by overworking: too many strokes in the same area blending colours past the point where they read as distinct tones.
The fix is to stop adding and start removing. Scrape back the muddy area with a palette knife, taking off the mixed-up paint to reveal (roughly) the layer beneath. Then reload your brush with fresh, clean paint and place it once. Don't go back in.
The Paint Dries Too Fast in Summer
On a warm, breezy British summer day (they do happen), paint can skin over faster than you expect. This tightens the blending window and can cause fresh paint to drag or pill on the surface.
Add a little more oil or gel medium to slow things down, and work in smaller sections rather than trying to keep the whole surface wet at once. Painting in the shade, where possible, also helps.
The Paint Won't Dry Fast Enough in Cold or Damp Conditions
This is the more common UK problem. A cold October morning combined with damp air means paint stays slippery for hours, and any attempt to build subsequent marks results in everything blending together whether you want it to or not.
Liquin Original is the most straightforward solution. Switch to it as your primary medium in these conditions and avoid adding any additional linseed oil. Working in short sessions and letting panels rest in a warmer, drier environment between uses also helps.
You Return to a Painting and the Surface Has Dried
If you want to rework an area of a painting that has dried, you need to oil out before adding fresh paint. Apply a small amount of linseed oil or Liquin to a clean cloth and rub it lightly across the dried area, then wipe off the excess. What you're left with is a thin, tacky film that gives fresh paint something to grip. Without this step, fresh paint on a fully dried surface can have adhesion problems over time.
Surface Texture as a Creative Choice
It's worth thinking about surface texture not just as a starting condition but as an active part of your painting. Smooth, oil-primed panels allow you to blend seamlessly and produce soft, glowing transitions that suit atmospheric or impressionistic landscapes. The paint moves easily, edges dissolve, and the surface itself stays quiet.
Rougher linen or textured grounds do something quite different. They interrupt your marks, leave gaps in the paint film, and create a physical quality that can add considerable energy to a painting. Many contemporary plein air painters choose rougher surfaces specifically because they don't want everything to blend smoothly; the resistance is the point.
Neither is the right answer. Having a couple of different surface types in your kit and choosing between them based on the subject and mood you're after is a habit worth developing.
A Few Things Worth Having in Your Kit
This isn't a shopping list, but these are the items that specifically support wet on wet painting outdoors, as opposed to just oil painting in general.
A palette knife is practically essential for scraping back mistakes. Choose one with a flexible, offset blade that sits close to the surface. It's also useful for mixing on the palette and, when used directly on the panel, for adding texture.
A fan brush or soft filbert for edge softening. Keep a spare clean and dry specifically for this purpose. A brush you've just used for mixing dark paint is not going to soften a sky edge cleanly.
Rags or paper towels in quantity. Wiping brushes between colours, cleaning the palette knife after scraping, blotting out areas you want to rework: you'll go through more than you expect. Kitchen roll works fine and is easy to pack.
Your chosen medium in a small, secure container. Leak-proof dippers or small glass bottles with tight lids are worth investing in. Liquin on your trousers is a particular type of outdoor painting experience nobody needs.
All of the mediums and surfaces mentioned in this article are available from UK suppliers including Jackson's Art, Ken Bromley, and Cass Art, so you won't need to look far.
Building Confidence With the Technique
Wet on wet oil painting is a technique that rewards time spent with it outdoors more than anything you can learn from reading about it. The first few sessions may feel messy and unpredictable, particularly if British weather decides to complicate things further with a sudden change in light or a drop in temperature. That's not failure; that's the technique teaching you how paint behaves in real conditions.
The painters who get the most from wet on wet are the ones who stay curious about what went wrong, try something different next time, and keep showing up. The unpredictability of outdoor painting that can feel like a problem is also what keeps every session genuinely interesting. The technique has room to grow with you, and the more time you spend with it, the more natural that loaded brush will begin to feel.
FAQ
Frequently Asked Questions
What does wet on wet oil painting mean?
Wet on wet oil painting means applying fresh paint into paint that is still wet so blending and mixing happen directly on the surface rather than in layered, fully dried stages.
Which surface is best for plein air wet on wet work?
Rigid, smooth panels are practical and allow easy blending. Rough linen or textured canvas resists blending and creates lively marks. Carry both types and choose by subject and mood.
Which mediums work best outdoors for wet on wet painting?
Linseed oil keeps paint workable but dries slowly. Liquin Original speeds drying and is useful in cold or damp conditions. Oleo gel offers a controlled, medium drying option. Use OMS or Zest-it for initial lean block-ins only.
How do I stop paint from becoming muddy?
Muddy paint usually comes from overworking. Scrape back with a palette knife to reveal the underlayer, then place fresh, clean paint with decisive strokes. Soften only selected edges rather than blending everything.
What should I do when returning to a painting that has dried?
Oil out the dried area by rubbing a small amount of linseed oil or Liquin into the surface and wiping off the excess. This creates a tacky film so new paint will adhere properly.
Author

PleinAirPainting Editorial Team
PleinAirPainting.co.uk helps artists paint outdoors with confidence through UK-focused guides, equipment advice, resources and plein air inspiration.