Best Budget Plein Air Oil Painting Setup: A Complete UK Starter Kit
A clear UK starter kit for budget plein air oil painting setup. Covers pochade vs easel, limited palettes, panel choices, brushes, solvents, and three realistic budget tiers.

Key takeaways
- • Focus on seven core essentials: easel or pochade, panels, oils, brushes, solvent or water, palette, and a wet panel carrier.
- • A small pochade box on a tripod is the recommended first easel for UK beginners; it is compact and easy to carry.
- • Use a limited palette of six to eight colours and small panels (6×8 or 8×10 inches) to keep sessions manageable.
- • Consider water mixable oils to avoid solvents outdoors; otherwise carry a small jar of odourless mineral spirit and dispose responsibly.
- • Aim for a total kit weight under 5 kg, start with five key items, and upgrade only after several outdoor sessions.
Putting together a budget plein air oil painting setup in the UK doesn't have to be complicated, and it doesn't have to cost a fortune. A complete, functional outdoor oil kit can be assembled for roughly £150–£250 buying new, and considerably less if you already own some studio gear. The challenge isn't the cost so much as knowing what to buy first, what to skip entirely, and what to come back to later. That's exactly what this guide covers: a clear, prioritised kit for UK beginners, with honest product picks, realistic prices, and no unnecessary extras.
What You Actually Need (And What You Don't)
Before looking at specific products, it helps to map out the territory. A working plein air oil painting setup has seven core categories. Everything else is optional.
The core kit categories
| Category | Why it matters | Budget priority |
|---|---|---|
| Easel or pochade box | Holds your panel at the right angle | High — spend here first |
| Panels or surfaces | What you paint on | Medium — start cheap, upgrade later |
| Oils | The paint itself | Medium — student grade is fine to start |
| Brushes | Six to eight is plenty | Low — a basic set will do |
| Solvent or water | Thins paint, cleans brushes | Low — minimal is best |
| Palette | For mixing colours | Low — often included in pochade |
| Wet panel carrier | Gets your work home safely | Low — DIY works fine at first |
What beginners commonly waste money on
- Too many colours. A set of twelve tubes sounds practical but most of them won't get used outdoors. A targeted palette of six to eight is more useful and cheaper.
- Stretched canvas. Canvas on a stretcher is difficult to transport, prone to damage, and harder to store wet. Rigid panels are the standard choice for outdoor painting, for good reason.
- A French box easel as a first purchase. These are heavier than they look and more awkward to carry than beginners expect. Many painters regret buying one before trying anything lighter.
- Expensive brushes before knowing what you like. A basic hog bristle set is entirely adequate for learning outdoors. Save the upgrade for once you know your preferences.
Choosing Your Support: Easel vs Pochade Box
This is the most important decision in your kit, and the one that affects everything else. Get it right and the rest of the setup falls into place.
Option 1: Lightweight field easel (cheapest starting point)
An aluminium sketching easel costs around £20–£35 and pairs with a painting board and bulldog clips to hold your panels. It works, and if you're on the tightest possible budget it's a perfectly reasonable start. The honest trade-off is that it's less stable in wind, provides no built-in palette, and requires a bit more improvisation with your materials. Fine for a first session in a sheltered spot; less ideal for regular use in variable UK conditions.
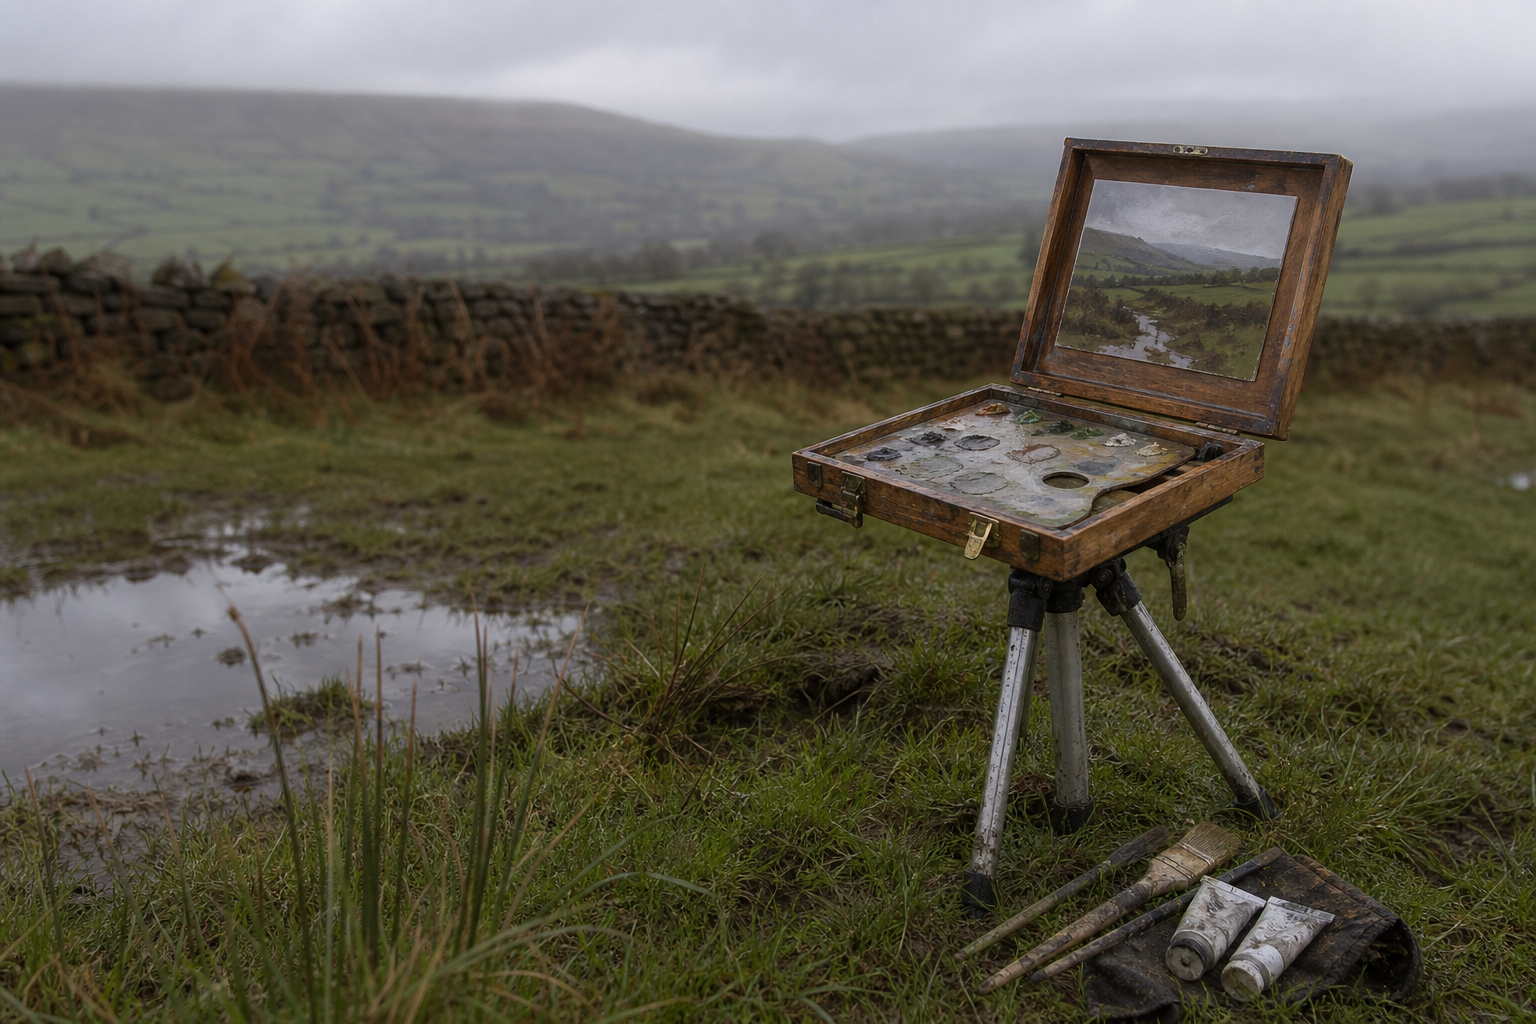
Option 2: Budget wooden pochade box on a tripod (recommended for most)
A small wooden pochade box, typically in the 20×25 cm (8×10") range, sits on a standard photo tripod via a screw fitting. It has a built-in palette, a panel holder, and enough interior storage for your paint and brushes. It's the setup that most modern plein air painters use, and for good reason: it's compact, self-contained, and light enough to carry on public transport or walk a reasonable distance with.
You'll need a photo tripod alongside it. A lightweight but stable model will cost £30–£50. If you already own a camera tripod, that's all you need.
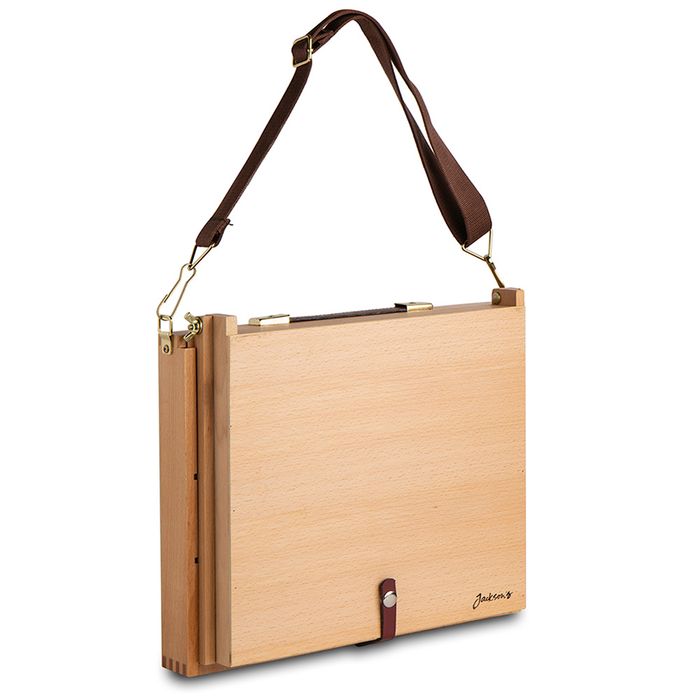
The Jackson's Pochade Box at £48 is a solid starting point for beginners. It's nothing fancy, but it does the job well and sits at the affordable end of the pochade range without feeling disposable.
Jackson's
Jackson's : Pochade Painting Box
This Pochade Painting Box Is Perfect For Setting Up A Workplace In The Home Or Painting Plein Air. Its Lid Folds Out To Provide An Easel With Handy Slots For Storing Two Wet Boards After Working. This Easel Can Be Secured At Your Desired Angle Using The Built-in Screws And Butter
The pochade shortcut
If you already own a camera tripod at home, a budget pochade box is all you need to buy. Screw it on, clip in a panel, and you're ready. It's the fastest route to a working outdoor setup without spending more than you need to.
Option 3: French box easel (traditional, but heavier)
A French box easel combines a palette box, panel holder, and legs into one unit. Budget models run from £70–£120. The appeal is understandable: everything in one place, no separate tripod needed, and a traditional look that appeals to many painters.
The problem is weight. French box easels are heavier than they appear in photographs, and the bulk makes them impractical if you're travelling by bus or train, walking any distance, or working in a compact outdoor space. Most UK beginners who buy one as their first easel find it limiting within a few months. It's not wrong as a choice, but it suits painters who drive directly to their painting spot and don't need to carry it far. For anyone else, the pochade and tripod combination is the more practical first purchase.
Surfaces: What to Paint On Outdoors
Rigid panels are the standard surface for outdoor oil painting. They're sturdier than stretched canvas, easier to store wet, lighter to carry in small sizes, and less vulnerable to knocks and bumps in a bag. If you're coming from studio painting on stretched canvas, the switch to panels feels different for the first session or two, then quickly becomes the obvious choice.
Canvas panels (best value, widely available)
Canvas mounted on board is the simplest and most widely used option for plein air work. Buying in multipacks brings the cost per panel down significantly. Start with small sizes: 15×20 cm (6×8") or 20×25 cm (8×10"). They're manageable to carry, quick to set up, and realistically completable in a single outdoor session before the light shifts.
UK price: roughly £1.50–£3.50 per panel bought in packs from Jackson's, Cass Art, or Ken Bromley.
Jackson's
Daler-Rowney : Simply : Canvas Panel
Daler Rowney Simply Canvas Panels Are Excellent Quality And Great Value For Money. Designed For Oil And Acrylic Painting, These Boards Can Also Be Used For Mixed Media, Collage, Impasto And Other Heavy Textures. The Canvas Fabric Mounted Onto Board Is Ideal For Plein Air Painting
DIY primed MDF or hardboard (cheapest possible option)
Cut to size at a DIY store, sand the edges smooth, and prime with two coats of acrylic gesso. At small sizes, this can come in under 50p per panel. The surface is slightly heavier than canvas-on-board and takes a little preparation, but it's a perfectly good surface for practice sessions and colour studies. Worth doing a batch ahead of time rather than scrambling on the day.
Oil painting paper (for ultralight or hiking setups)
Specially primed oil painting paper (Arches Huile is the most well-known option) accepts oil paint without any additional preparation and is very light and easy to pack. Useful if you're walking significant distances to your painting spot, or if you want to do quick tonal studies rather than finished panels. The sheets can be mounted or framed later; handle them carefully while wet.
Start small
Stick to panels around 15x20 cm or 20x25 cm for your first few sessions. Smaller formats are easier to finish before the light changes, lighter to carry, and much less intimidating. You can always work bigger once you know you enjoy it.
Paints: Building a Limited Palette on a Budget
You do not need many colours to paint effectively outdoors. Six to eight tubes, chosen thoughtfully, will handle the full range of UK landscape subjects. Buying a complete set of twelve is tempting but usually means paying for six colours you won't reach for.
Student-grade traditional oils: good enough to start
Lines like Winsor & Newton Winton and Daler-Rowney Georgian sit at £3–£5 per tube, or £25–£40 for a starter set of eight to ten colours. The pigment load is slightly lower than artist-grade paint, but this makes almost no practical difference when you're learning to read light outdoors. Both ranges are widely available from UK suppliers and entirely adequate as a starting point.
Water-mixable oils: a smart option for beginners
Water-mixable oils (WMOs) are a genuine first-choice option, not a workaround for people nervous about solvents. They thin and clean up with water, handle very similarly to traditional oils on the panel, and remove the need to carry, store, or dispose of mineral spirit entirely. This matters more than it might seem: no solvent means no fumes, no spill risk in a bag, no disposal concerns after painting in a public park or on public transport.
The honest trade-off is that using plain water for all layers isn't ideal. A small bottle of dedicated WMO medium gives better results for glazing and later layers. But for the initial stages of a painting and for clean-up, water alone is perfectly effective.
Schmincke Norma Blue is the recommended range here. It's a step up in price from absolute-budget student oils (around £8.20 per tube), but the quality is noticeably better, the pigment range is well-suited to landscape work, and the solvent-free convenience is a real practical advantage outdoors.
Water-mixable oils worth considering
Schmincke : Norma Blue : Water Mixable Oil Paint
Schmincke : Norma Blue : Water Mixable Oil : 35ml : Titanium White
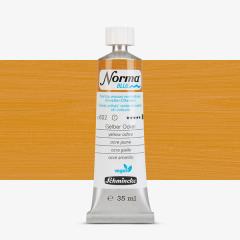
Schmincke : Norma Blue : Water Mixable Oil : 35ml : Yellow Ochre
A limited palette for UK landscapes
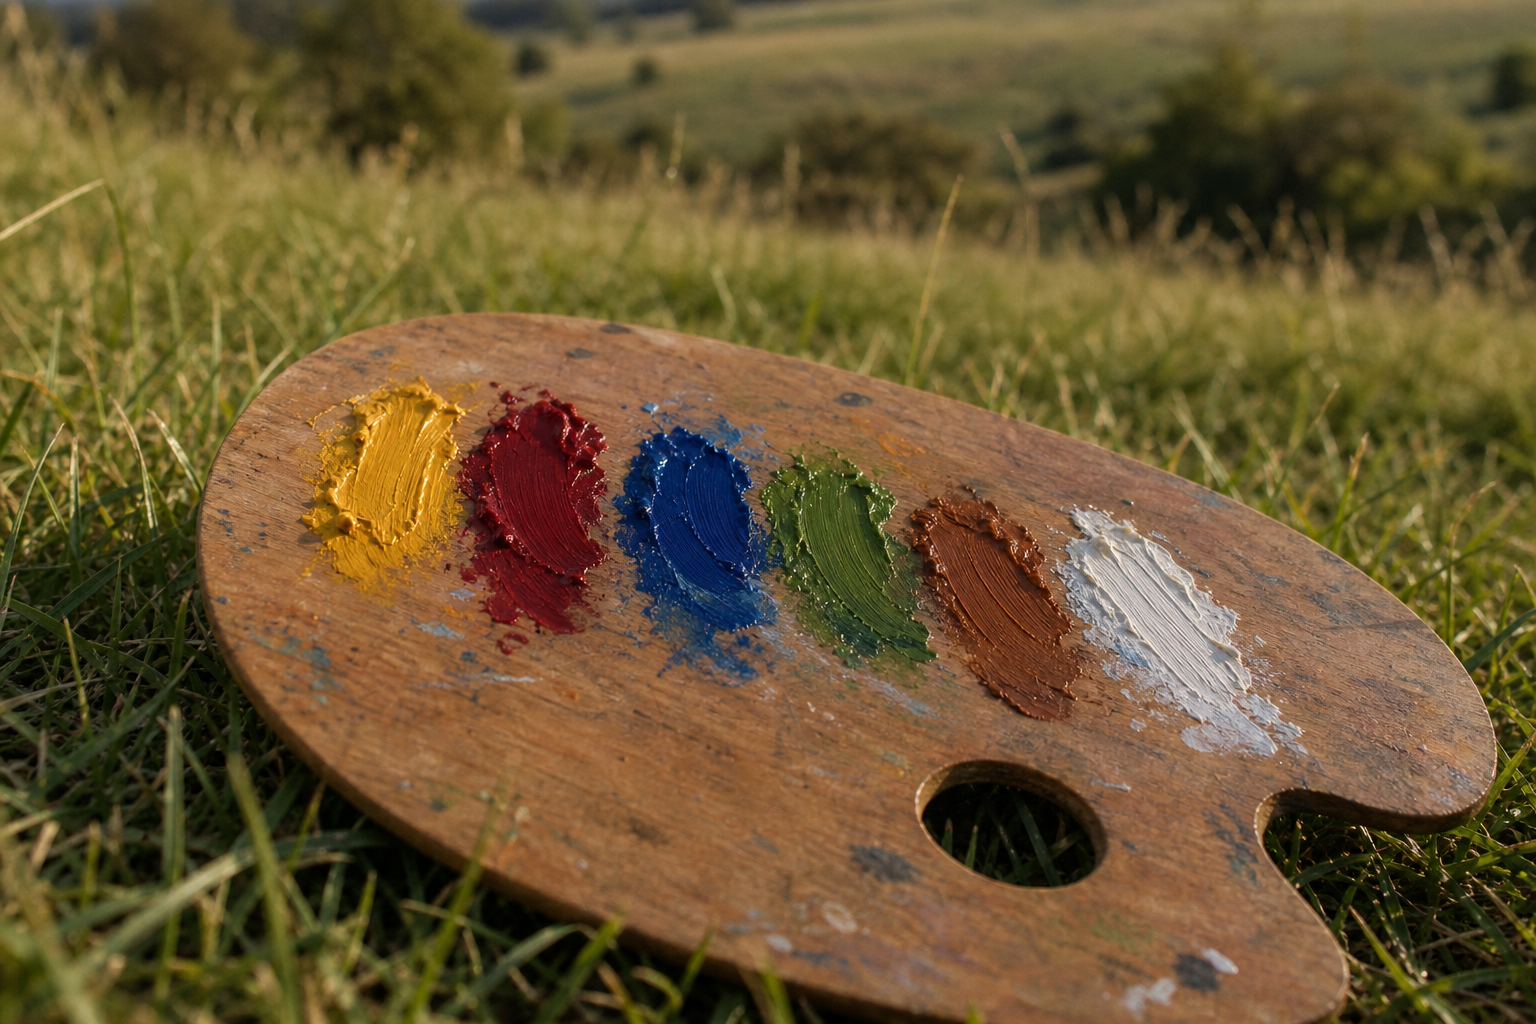
| Colour | Role | Budget note |
|---|---|---|
| Titanium White | Essential for lightening and opaque passages | Buy a larger tube — you'll use a lot |
| Yellow Ochre | Warm earth yellow; key for UK skies and fields | Very versatile; rarely omitted |
| Warm yellow (Hansa Yellow or Cad Yellow Light) | Bright mixes, summer greens | One small tube goes a long way |
| Warm red (Pyrrole Red or Cad Red Light) | Autumn tones, warm sky mixing | Small tube is fine |
| Ultramarine Blue | Sky, shadow mixing, greens | A workhorse; worth a medium tube |
| Raw Umber | Darks, toning panels, quick value sketches | Cheap and very useful outdoors |
| Optional: Viridian or Sap Green | Foliage | Not essential if budget is tight |
Raw Umber is particularly worth noting for UK outdoor work. It's inexpensive, dries relatively quickly, and is extremely useful for toning panels before you start, knocking back colours, and mixing neutral darks without them going muddy.
Buying individual tubes in these specific colours is better value than a twelve-colour set. You'll use everything in the list above; the same is rarely true of a pre-assembled set.
Brushes: Keep It Simple
Six brushes is more than enough for outdoor oil painting. Four will get you through most sessions without feeling limited.
A practical starting set:
- Two hog flat or bright brushes (sizes 6 and 10) for blocking in large areas
- Two hog filberts (sizes 4 and 6) for softer transitions and mid-sized marks
- One small round or rigger for detail work and signing
- One palette knife for mixing (not always sold with brush sets; worth adding separately)
Buy a hog bristle set rather than individual brushes at the start. Sets offer better value per brush and give you a working range without having to make lots of individual decisions up front.
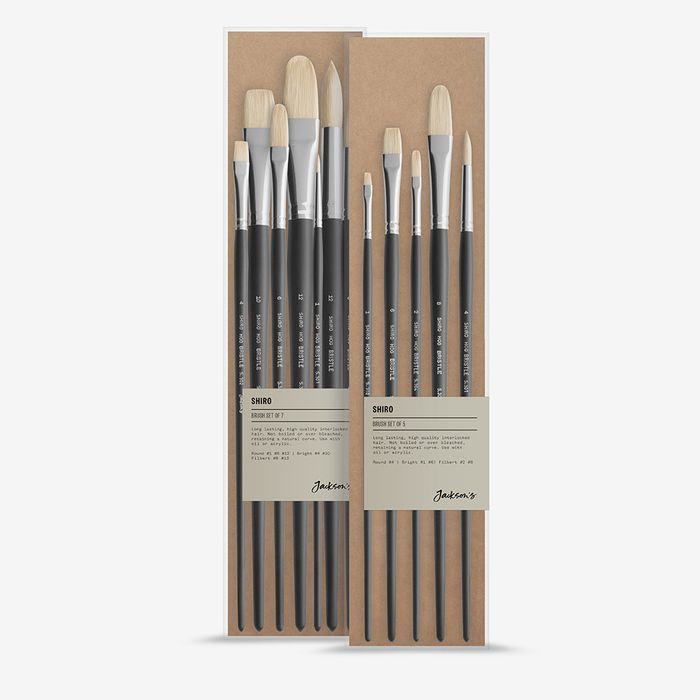
The Jackson's Shiro Professional Hog Bristle set at £16.50 is a good, honest starting point. It's not the finest hog bristle brush you'll ever use, but it's well suited to learning outdoors and the price is realistic for a beginner's budget.
Jackson's
Jackson's : Shiro Professional Hog Bristle Brushes : Sets
Hog Brushes Are One Of The Most Widely-used Brushes For Oil Painting. Jackson's Shiro Hog Bristle Brushes Are A Professional Quality Range For Use With Oil And Acrylics. Shiro Brushes Do Not Undergo Boiling And Have Only Minimal Bleaching, In Order To Prolong The Lifespan Of The
Solvent, Mediums, and Staying Safe Outdoors
This is one area where beginners often over-buy. Keep it simple.
For traditional oils: Carry a small amount of odourless mineral spirit or low-odour thinner in a screw-top, leakproof container. 250 ml is plenty for a full painting session. UK price is roughly £6–£12 for 250–500 ml. A small metal brush washer is a tidy solution (£10–£20), but a clean glass jar with a tight lid works equally well and costs next to nothing.
For water-mixable oils: Skip the solvent entirely. Use water for thinning and cleaning up, and carry a small bottle of WMO medium (around £6–£10) for later layers where you want better flow and adhesion. That's all you need.
On disposal: Never pour used solvent onto soil or into drains. Pack out all solvent-soaked rags in a sealed bag and dispose of them at home. This isn't just good practice; in many outdoor locations it's a legal requirement.
Fast-drying alkyd mediums are worth knowing about as an upgrade: they speed up drying significantly and are useful in cooler, damper UK conditions. But they're not a day-one purchase. Get comfortable with the basics first.
Solvent rule of thumb
Take the smallest amount you think you'll need, then halve it. A tiny jar of odourless thinner is enough for a full session. The less solvent you carry, the lighter your kit and the lower the risk of a spill ruining your bag.
Palette and Wet Panel Transport
The palette
If you buy a pochade box, use the built-in palette. There's no need to buy one separately. For field easel users, a small piece of plywood sealed with linseed oil makes a perfectly good hand palette. A basic wooden hand palette costs £10–£20 from most UK art suppliers. Tear-off paper palettes (£5–£10 for a pad) are an easy clean-up option if you'd rather not scrape down at the end of a session.
Getting your wet paintings home
The DIY method works well and costs very little: place two panels face-to-face, position small squares of foamboard in opposite corners to keep the surfaces apart, and secure the whole thing with elastic bands. Total cost under £5, perfectly adequate for short journeys and small panel sizes.
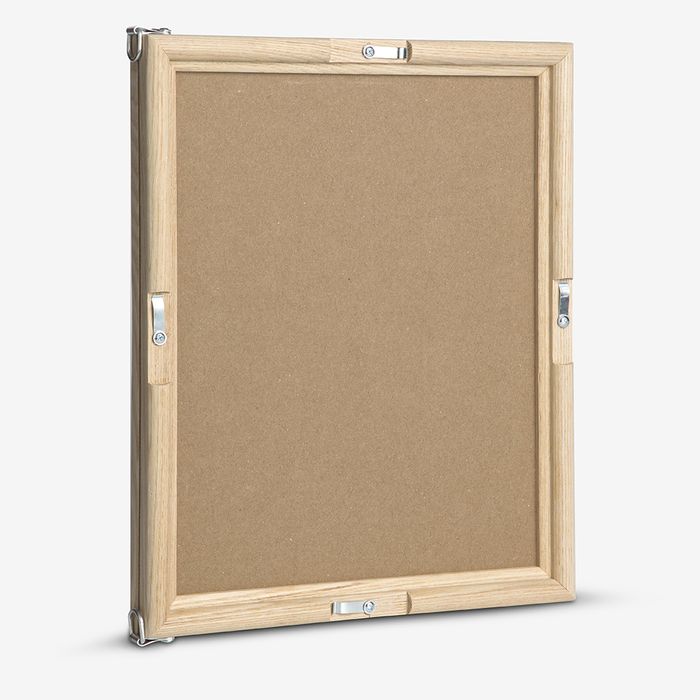
When you're painting regularly or want something more reliable, the Jackson's Plein Air Canvas Board Carrier at £29.50 is a practical step up. It's a straightforward, well-priced option that handles the most common small panel sizes without fuss.
Jackson's
Jackson's : Plein Air Canvas Board Carrier : 24x30cm
The Jackson’s Plein Air Canvas Board Carrier Can Be Used To Transport Wet Canvas Boards Safely, And Store Them While They Are Drying. Made From Ash Wood, The Carrier Has A Slim Lightweight Design With A Detachable Carry Strap, Ideal For Plein Air Expeditions. Designed Around Our
For context, New Wave U.GO wet panel carriers are among the best available and are used by a lot of experienced plein air painters. They cost £142–£174. Worth knowing about for the future, but firmly in the upgrade category rather than starter kit territory.
Three Budget Tiers: Which Setup Is Right for You?
Budget kit tiers at a glance (UK prices, buying new)
- Bare minimum
- ~£80–£120
- Best-value starter
- ~£150–£200
- Comfortable budget setup
- ~£200–£260
Field easel + canvas panels + student oils + basic brushes + DIY wet panel solution
Budget pochade + lightweight tripod + limited palette oils + hog brush set + canvas panels + small solvent jar
As above, but better pochade, Schmincke Norma Blue water-mixable oils, Jackson's canvas board carrier, oil paper pad for studies
What to buy first
Start with these five things and nothing else:
- A pochade box (or field easel if budget is very tight) and a tripod
- A pack of small canvas panels in 15×20 cm or 20×25 cm
- Six tubes of paint in the limited palette listed above
- A small hog brush set
- A small jar for solvent or a bottle of WMO medium if going solvent-free
Then stop, go outside, and paint. Everything else can wait.
What to upgrade later
Once you've done a handful of sessions and know what you enjoy, these are the upgrades worth considering:
- A wet panel carrier, once you know which panel sizes you're settling on
- Artist-grade paint in your most-used colours (Titanium White and Ultramarine Blue are worth upgrading first)
- A folding stool if you prefer sitting
- A painting umbrella for consistent light and shelter from glare
- A better pochade if you want to work on larger panels or need more storage
Don't wait for the perfect kit
The best plein air setup is the one that gets you outside. Most experienced outdoor painters will tell you their first kit was too heavy, had the wrong colours, and still produced some of their favourite early work. Start with what you can afford and refine from there.
A Note on UK Weather and Weight
This is worth being direct about, because most plein air guides written for other markets gloss over it entirely.
UK conditions change fast. A clear morning can become overcast and breezy within an hour, and a session that started in pleasant light can end in drizzle. A kit that feels manageable when you set out can feel very different if you're packing up in the rain, carrying it back along a muddy path, or waiting for a bus that's running late.
Aim for a total kit weight under 5 kg. This is comfortably achievable with a pochade setup, a small tripod, and a pack of 20×25 cm panels. It's much harder with a French box easel.
A few practical points that apply to any UK outdoor setup:
- Always bring an extra layer and a light waterproof, regardless of the forecast
- A broad-brimmed hat or cap makes a real difference for reading colour accurately in changing light
- In wind: hang your bag or a stone from the tripod's centre column to add stability; never leave your setup unattended in a breeze
- If you travel by bus or train: a pochade and tripod pack neatly into a daypack and a shoulder bag; a French box easel does not
None of this should put you off. Outdoor painting in the UK is genuinely rewarding, even in imperfect conditions. The painters who enjoy it most are the ones who build a kit light enough that going out feels easy, and practical enough that it copes with whatever the day brings.
FAQ
Frequently Asked Questions
What is the cheapest practical ple in air oil painting setup for a beginner in the UK?
A budget pochade box plus a lightweight photo tripod, a pack of small canvas panels (15×20 cm or 20×25 cm), six tubes from a limited palette, a basic hog bristle brush set and a small jar for solvent or a bottle of WMO medium. This can be assembled for about £150–£200 new, or less if you reuse items.
Should I buy a pochade box or a French box easel first?
Buy a small pochade box on a tripod first. It is compact, lighter to carry, and offers a built in palette and storage. A French box easel is heavier and suits painters who drive to their spot. For most UK beginners the pochade plus tripod is the more practical first choice.
What surfaces should I use outdoors?
Start on rigid panels or canvas panels in small sizes (15×20 cm or 20×25 cm). They are easier to carry, store wet, and finish in one session. DIY primed hardboard or oil painting paper are cheaper or lighter alternatives for practice or hiking.
Are water mixable oils a good option outdoors?
Yes. Water mixable oils clean with water, avoid carrying solvent, and behave similarly to traditional oils. Carry a small bottle of dedicated WMO medium for better flow on later layers. They are especially useful in public spaces and when you want to avoid fumes.
How should I transport wet panels home?
For small panels a DIY method works: sandwich two panels face to face with foamboard spacers in the corners and secure with elastics. For regular painting, upgrade to a wet panel carrier which protects multiple boards and is more reliable for travel.
Author

PleinAirPainting Editorial Team
PleinAirPainting.co.uk helps artists paint outdoors with confidence through UK-focused guides, equipment advice, resources and plein air inspiration.