Plein Air Painting in Wind: How to Keep Your Easel and Panels Secure
Practical techniques for plein air painting in wind: choose shelter, weight and secure your easel, work small, adapt brushwork and know when to stop to protect gear and paintings.

Key takeaways
- • Check sustained wind speed and gust peaks before you go and choose a sheltered lee side on site.
- • Set tripod easels low and wide, point one leg downwind and lower the working height to reduce leverage.
- • Weight the easel low with a kit bag or corded anchor, tighten clamps and tether the panel to prevent it sailing off.
- • Work small and fast, use arm-led brushwork, and adapt medium techniques to manage drying and contamination.
- • Know when to stop: if the easel tips once or you cannot work and manage the setup at the same time, pack up or seek shelter.
Plein air painting in wind is one of the most genuinely frustrating challenges UK outdoor artists face. A gust that arrives without warning, a canvas that catches the air like a kite, an easel that shifts just as you lay down a careful mark — these are not rare bad-luck moments. If you paint on the coast, the moors, or any exposed open ground in Britain, wind is a routine companion.
This article gives you practical strategies to secure your setup, work effectively on breezy days, and make a clear-headed decision when conditions have pushed past manageable. With the right preparation, wind stops being a reason to stay home and becomes just another part of painting outdoors.
Why Wind Catches Plein Air Painters Out
The core problem is physics. A full-size canvas or board held upright at easel height behaves like a sail. Even at a moderate 25 km/h, a flat surface of that area generates real lateral force, and most tripod easels are already top-heavy by design. The higher the working surface, the more leverage the wind has against the legs.
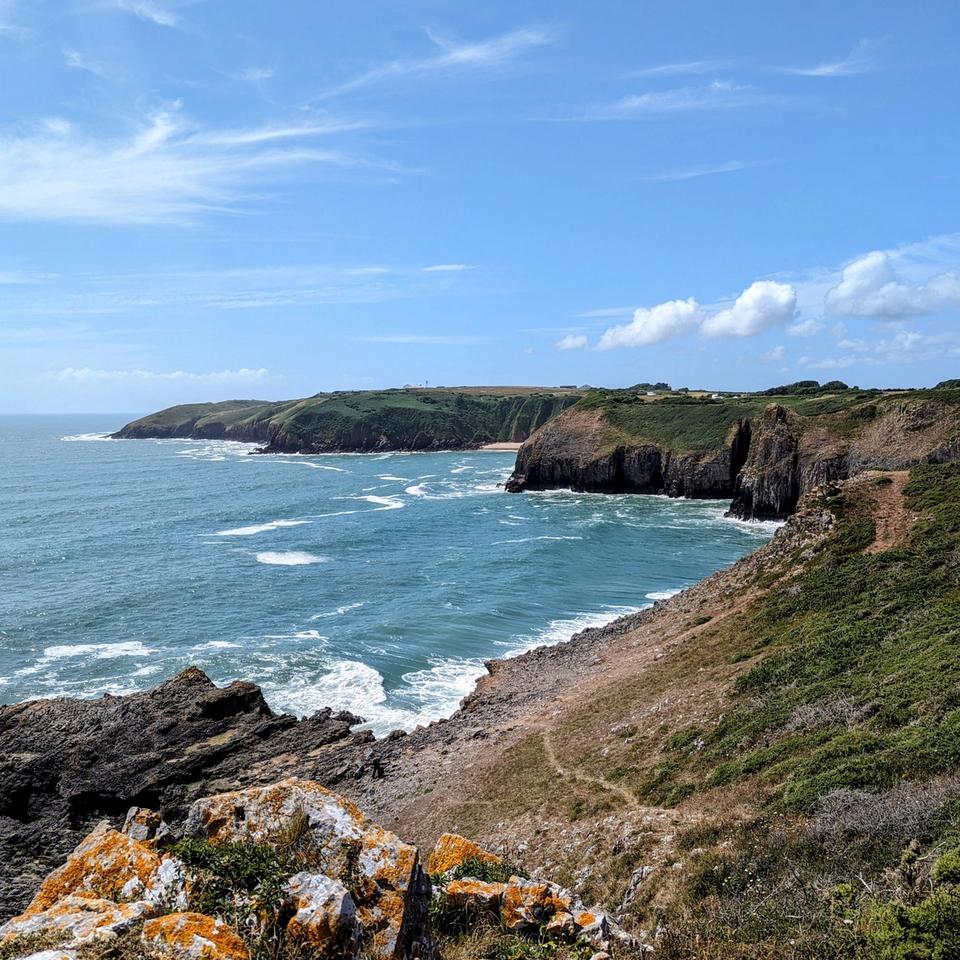
Beyond the easel itself, outdoor painting involves a collection of light, flat objects: palettes, reference photos, paper towels, sketchbooks. In a gusting wind, any of these left unsecured can be gone in a moment. Add the specific character of UK painting locations, and you have conditions that genuinely test every part of your setup. Coastal paths in Cornwall and Pembrokeshire, open moorland in the Dales and the Peak District, exposed headlands along the Scottish coast: these are not edge cases for British plein air painters. They are the main event.
Wind at a glance
- Beaufort 3 (12–19 km/h)
- Gentle breeze
- Beaufort 4 (20–28 km/h)
- Moderate breeze
- Beaufort 5 (29–38 km/h)
- Fresh breeze
- Beaufort 6+ (39+ km/h)
- Strong breeze or above
Manageable with basic precautions
Secure setup needed; work small
Consider shelter or shorter session
Seriously consider calling it off
Before You Go: Checking Conditions and Choosing Your Spot
Wind management starts before you leave the house. The painters who handle windy days most calmly are usually the ones who have already made a plan before they arrive on site.
Using a Weather App Properly
Most people check the temperature and leave it at that. For painting outdoors in wind, you need three things: sustained wind speed, wind direction, and gust peaks. Gusts are the real danger for easels; a sustained 20 km/h is manageable, but a gust to 40 km/h in the same forecast is a different matter.
The Met Office app is the most reliable source for UK conditions, with hourly forecasts that include gust data. Windy.com is worth bookmarking for trips to exposed locations; it shows directional wind flow across a map, which helps you understand where the gusts are coming from and whether your planned spot will be sheltered or directly in the line of travel.
Choosing a Sheltered Position in UK Landscapes
Relocating 20 metres can transform a session. This is not an exaggeration. UK landscapes are full of natural windbreaks, and learning to read them quickly is one of the most useful skills an outdoor painter can develop.
Dry-stone walls are common across the Lake District, Yorkshire Dales, and Peak District, and the downwind side of a good stone wall can be genuinely calm even when the field beyond it is breezy. Sand dune systems on the Norfolk coast, in North Wales, and along the Scottish shores offer deep hollows and ridges that block wind completely from certain angles. On coastal headlands, one side is almost always sheltered while the other takes the full force; walking just a little further around the point often makes the difference.
In urban settings, riverside paths and open squares can funnel surprisingly strong gusts between buildings. Moving into a side street, or setting up with a building corner at your back, can drop the effective wind speed dramatically.
The principle in every setting is the same: find the lee side of something solid and set up there.
Setting Up Your Easel Securely in the Wind
This is the practical core of any windy-day session. The right setup does not guarantee a perfectly still painting experience, but it does mean your easel stays upright and your panel stays on it.
Choosing the Right Easel for Windy Conditions
Heavier French easels have more inherent stability simply because of their mass, but they are not always practical on longer walks or rough terrain. For tripod-style easels, which most plein air painters rely on, the priority is how you set them up, not the easel itself.
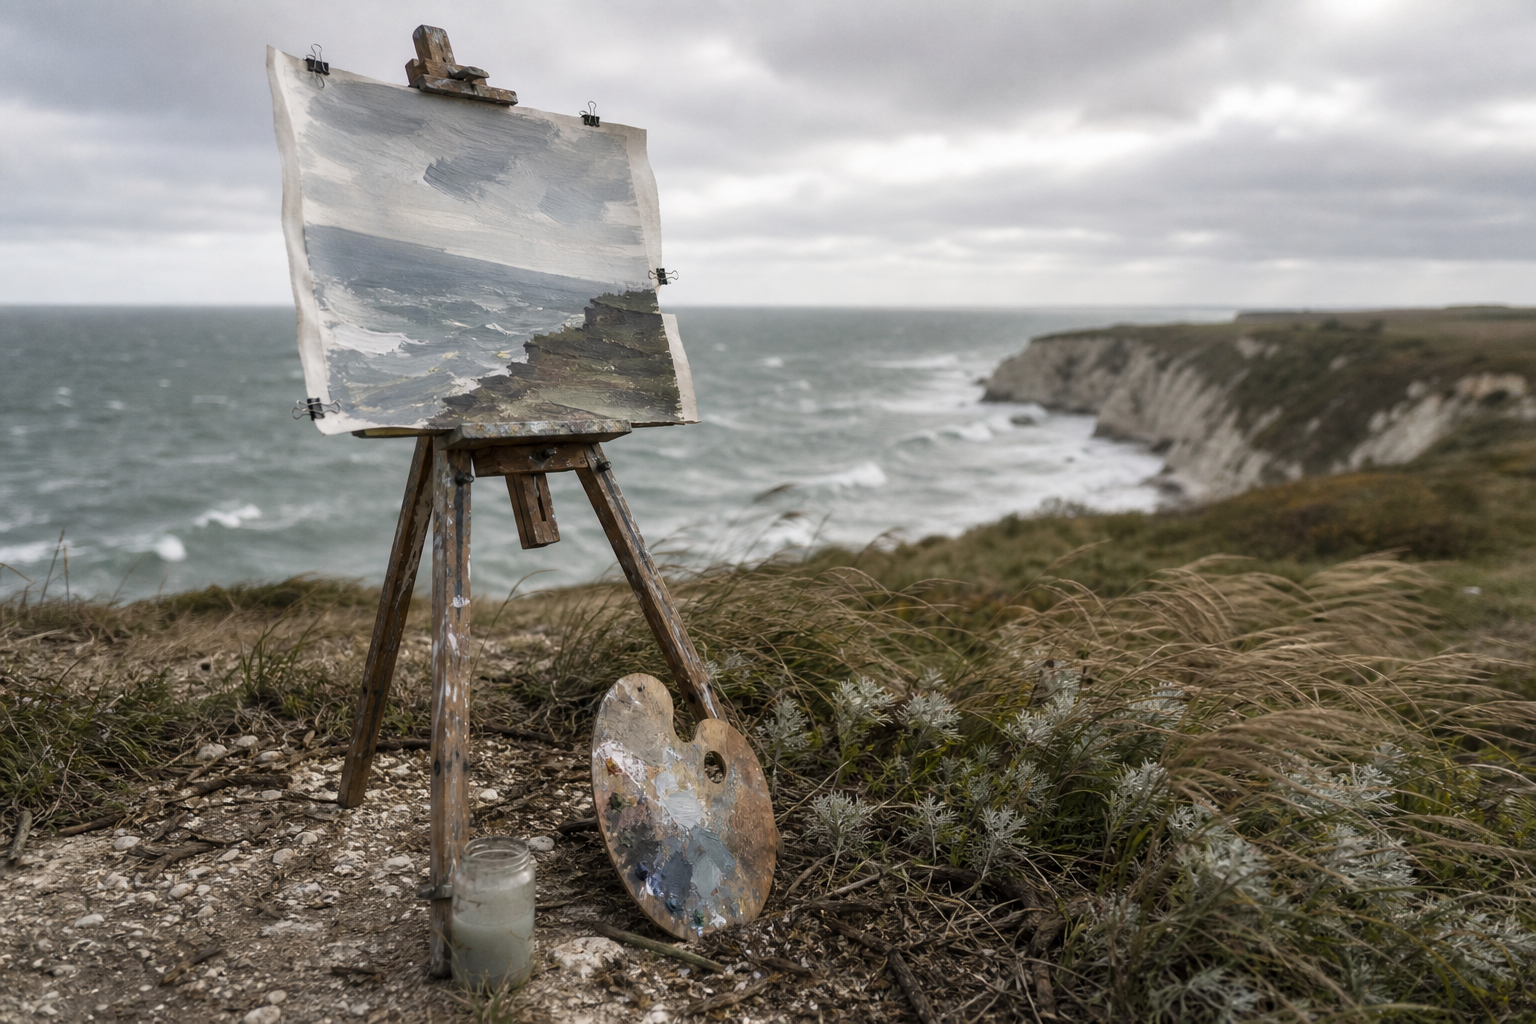
Spread the legs as wide as they will go. Point one leg directly downwind, so the easel is braced in the direction the force is coming from rather than presenting a broad angle to it. Lower the working height as much as you comfortably can; every centimetre you drop the panel reduces the leverage a gust can apply to the legs. Angle the painting surface slightly downwind rather than perpendicular to the gusts, and you reduce the sail effect significantly.
The sail effect
A full-size canvas or board held upright acts like a sail. Even a moderate breeze can generate enough force to tip a standard tripod easel. Working smaller and lower is not a concession — it is good wind management.
Weighting Your Easel
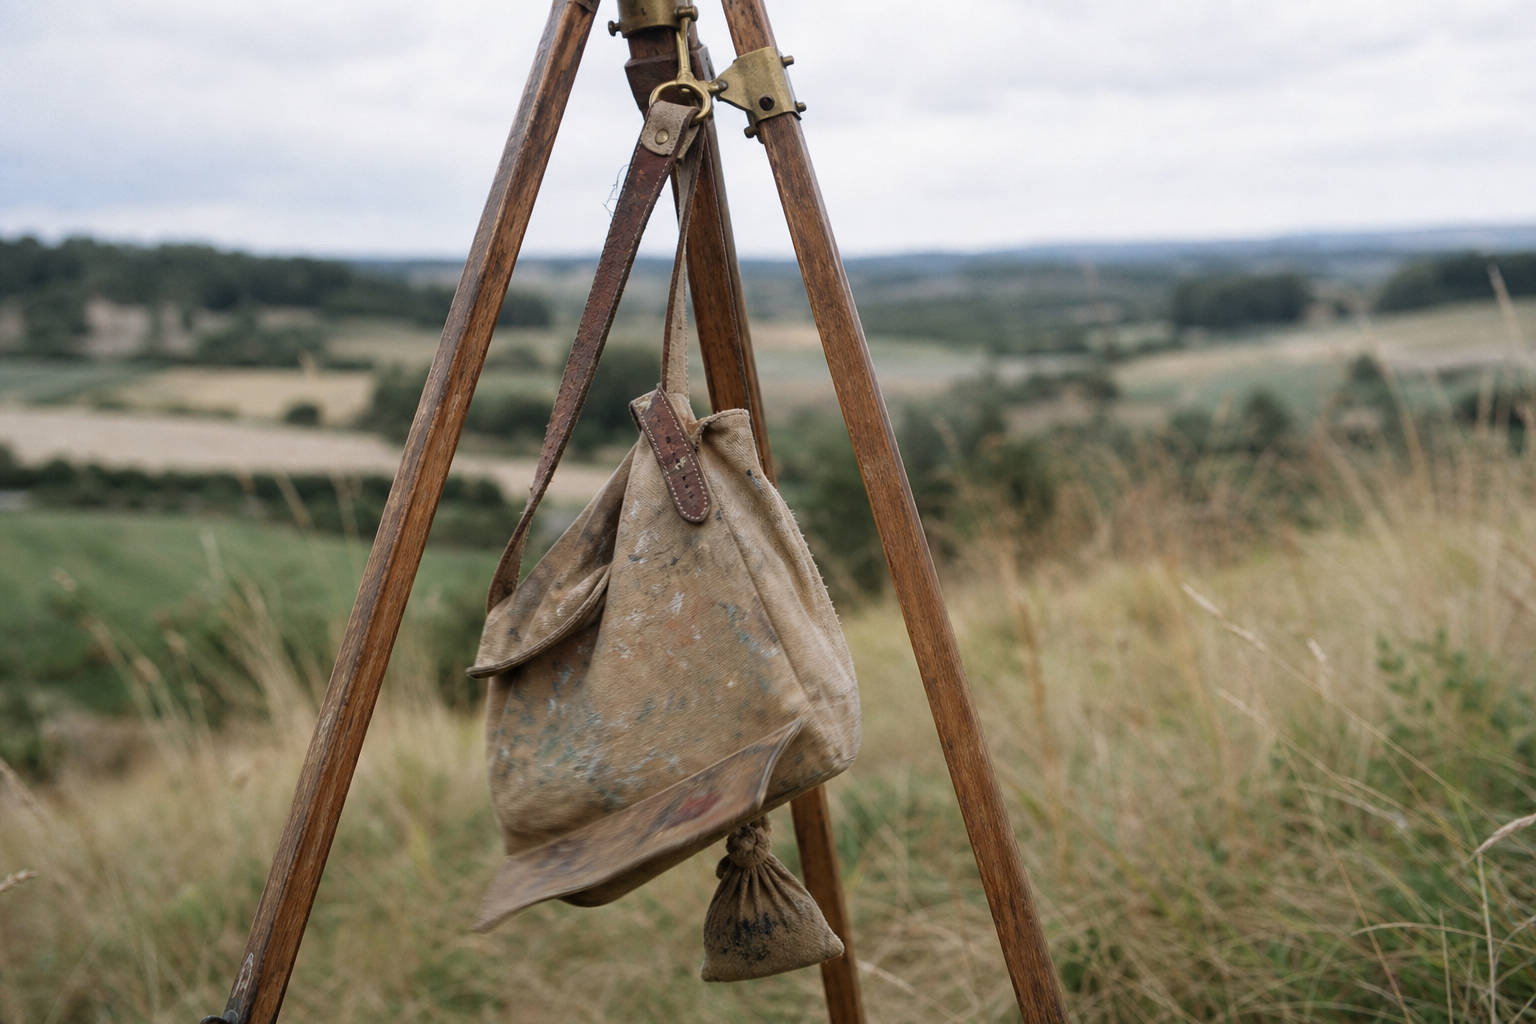
Most tripod easels have a central hook beneath the head. This is not just for storage; it is designed to take a hanging weight that lowers the centre of gravity and makes the whole setup more resistant to tipping. Hang your loaded kit bag or backpack from it. The heavier, the better, within reason.
If your easel has no central hook, improvise with a loop of cord around the legs, tied off to a rock or a ground anchor peg. The goal is to add mass low down, close to the ground. Avoid hanging anything that can swing freely; a bag that swings in a gust can make things worse, not better. Keep the weight low, snug, and stable.
Securing Your Panel or Canvas
Check the easel's built-in clamps at the start of every session and tighten them properly. They loosen with use and vibration, and it is easy to assume they are fine from the session before. Add bulldog clips or small ratchet straps as a backup across the top of the panel if your easel allows it.
A simple loop of cord or yarn tethering the panel to the easel frame is effective and takes seconds to set up. If the panel moves, it stays connected rather than sailing off. On particularly exposed days, boards and rigid panels are a better choice than stretched canvas; they flex less in gusts and present a slightly smaller sail profile at the edges.
Keeping Your Palette and Tools Under Control
A palette resting loosely on the shelf of an easel is an accident waiting to happen. In any wind above a gentle breeze, it should be attached: a bungee cord looped around the easel arm, or a clamp holding it in place. A recessed or covered palette reduces the surface area catching the wind and keeps your colours safer if something does move.
Keep brushes in your working hand or in a secured holder attached to the easel. Loose rags and paper towels should be clipped down or tucked under something heavy. Anything left sitting on a nearby rock or bag will eventually be caught by a gust, and on an exposed coastal path or moorland edge, retrieval can be genuinely difficult.
How to Adapt Your Painting in Windy Conditions
Setup is only part of it. The sessions that work best in wind are the ones where the painter has also adjusted their expectations and approach.
Work Small and Work Fast
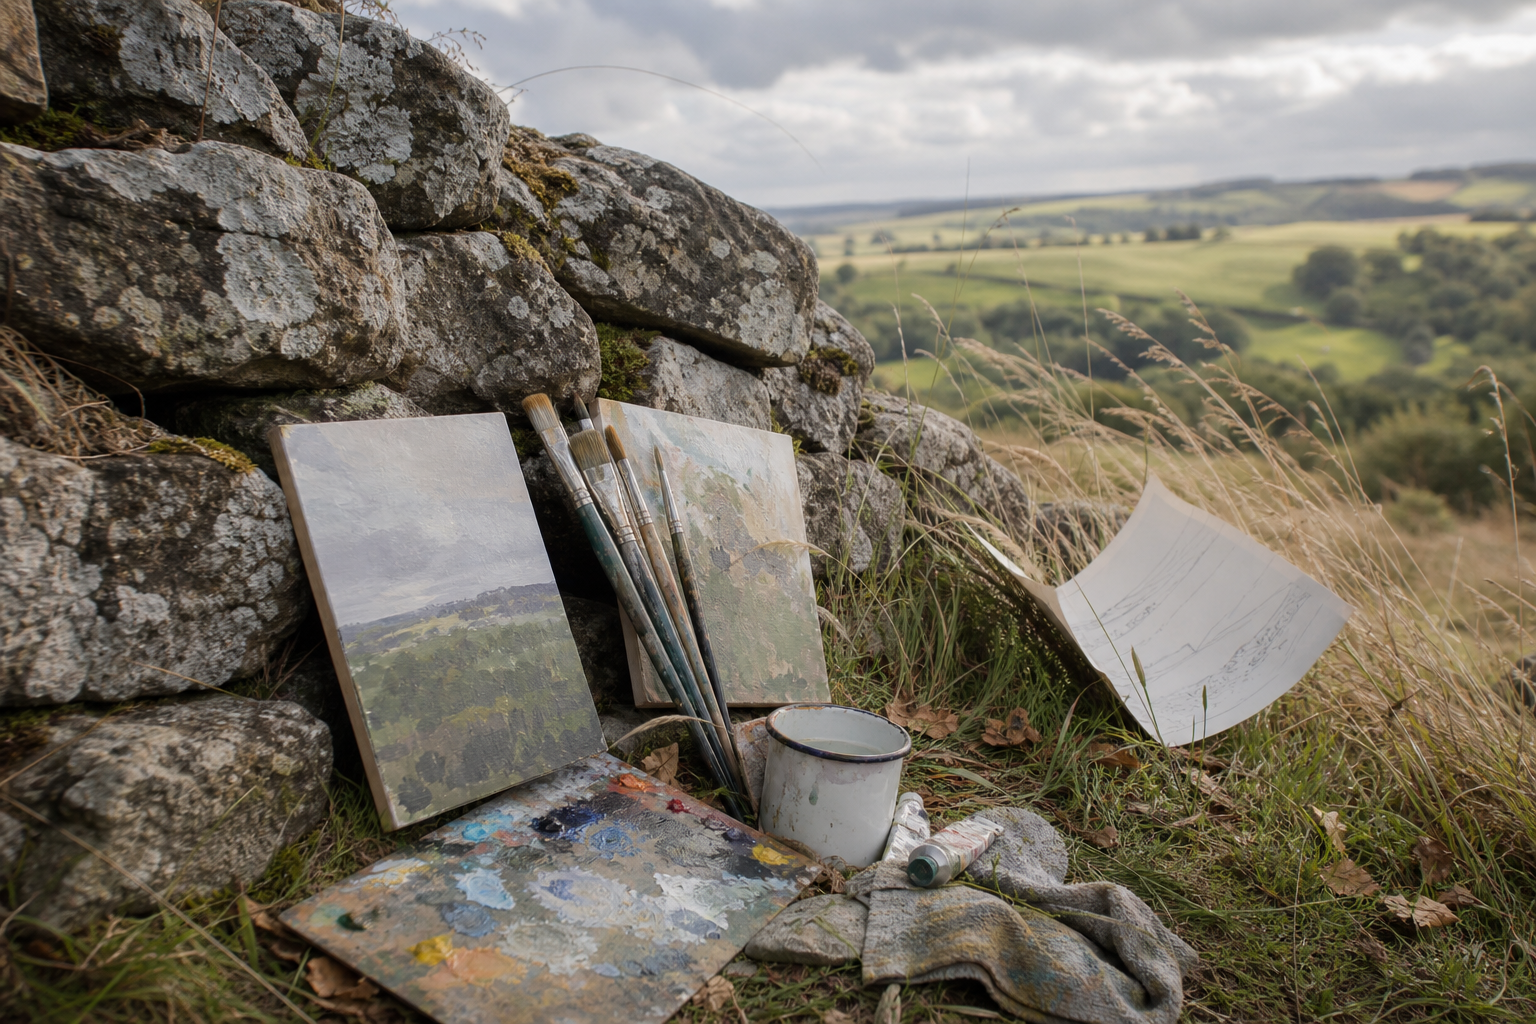
A 6x8 or 8x10 panel is the practical sweet spot for windy day plein air painting. Less sail area means the panel is easier to keep secure, and the smaller format encourages you to work decisively rather than fiddling. Smaller panels also complete faster, which matters when conditions can change quickly.
Before you start, set a single clear aim: one strong value relationship, one light effect, the colour temperature of the shadows. Treat the session as a study with a specific goal, not a finished piece with undefined ambitions. This is not settling for less; it is working intelligently within the conditions.
Adjust Your Brushwork
Standing in wind creates movement in your hand whether you like it or not. Rather than fighting it and producing tense, overworked marks, use it. Work from the elbow or shoulder, making broader, more committed strokes. Fine wrist movements in a gusting wind are a recipe for frustration; arm-led marks read with more energy and suit the scale of a small panel well.
Windy-day work often produces some of the most alive, gestural painting in a plein air sketchbook. The looseness is not a defect in the work; it is a record of the conditions, and that quality is worth something.
How Different Mediums Handle Wind
| Medium | Main wind risk | Key adaptation |
|---|---|---|
| Oil | Airborne dust on wet surface | Shield painting between strokes; work smaller sections |
| Watercolour | Washes drying too fast; contamination | Use a lidded palette; avoid large wet passages |
| Gouache | Surface skins over very quickly | Mist palette regularly; work in small sections |
| Acrylic | Rapid skinning; edges dry too hard | Use retarder medium; keep sessions short |
Oil is generally the most forgiving medium in wind. The paint itself is unaffected by moving air, and longer drying times give you time to work. The main risk on sandy beaches, coastal dunes, or peaty moorland is airborne particles landing on a wet surface. Shield the painting when you are not actively working on it, and wipe the surface before continuing if you are near dusty or sandy ground.
Watercolour is the most vulnerable. Wind accelerates drying dramatically, turning deliberate wet washes into hard-edged accidents before you have finished laying them in. Airborne sand or soil on coastal and moorland sites will contaminate wet paint on the paper. Use a palette with a lid, work in smaller sections rather than covering large areas with wet paint, and accept that loose, fluid watercolour techniques are difficult to control in anything above a gentle breeze.
Gouache dries quickly at the best of times, and wind accelerates this significantly. Keep a small misting bottle to hand and use it on the palette regularly. Work in small, manageable passages and expect wet-into-wet blending to be harder than usual.
Acrylics face similar challenges to gouache; rapid skinning is the primary problem, and the edges of strokes can dry too hard to blend before you return to them. Retarder medium is genuinely useful outdoors in breezy conditions, and keeping individual working areas small helps maintain control.
Deciding When to Call It Off
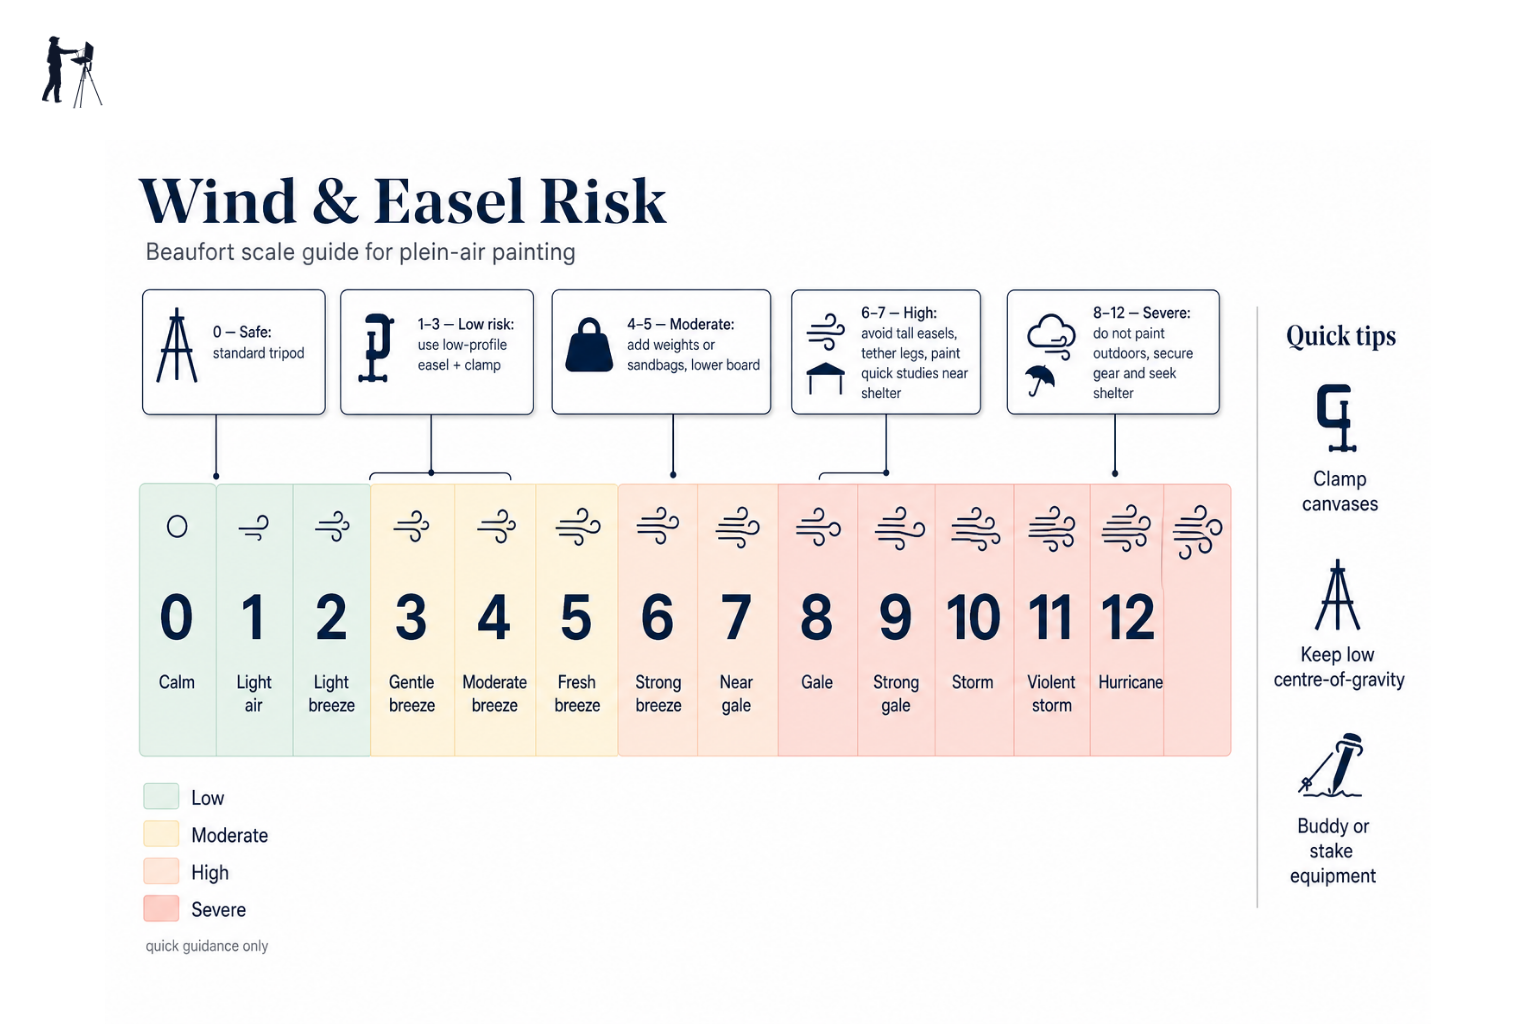
This is the part of windy day plein air painting that most guidance glosses over. Knowing when to stop is not a failure; it is experienced judgement, and it protects your gear, your work, and your enjoyment of painting outdoors.
Wind speed is a useful guide, but gust peaks are what actually cause problems. An average of Beaufort 4 with gusts to Beaufort 6 is a much harder session to manage than sustained Beaufort 4 with no significant variation. Check the gust column in your forecast before you go, not just the headline figure.
On site, the clearest signal that conditions have moved beyond reliable control is when your easel moves or tips for the first time. That tells you the setup is already at its limit, and a second incident risks damaging work and gear. If you find yourself gripping the panel with one hand while trying to paint with the other, or you cannot hold a coherent thought about what you are doing because you are managing the setup, it is time to reassess.
A partial session is a fully legitimate outcome. Get the essentials established outdoors — block in the main masses, fix the light, read the colours — then retreat to the car or finish at home. That workflow produces solid results and preserves the most important observations from the location. Painting from inside a parked car is also a genuine option in severe conditions; the window frames the view and acts as a natural wind shield.
The one-tip-over rule
If your easel tips over once, the wind is already stronger than your setup can reliably handle. Pack up, find better shelter, or call the session done. A second tip-over risks damaging work and gear.
Staying Comfortable in Cold, Windy Conditions
Physical discomfort is a major reason sessions end early, and wind makes the felt temperature significantly colder than the thermometer suggests. On exposed coasts and upland sites, dress at least one layer warmer than the air temperature alone would indicate.
A windproof outer shell is more useful outdoors than a heavier fleece; a compact packable jacket that blocks the wind keeps you warmer with less bulk and is easy to carry on days when the weather changes. Layering underneath it gives you flexibility.
Cold hands affect brushwork noticeably before you even register how cold you are. Fingerless gloves let you work but leave the fingertips exposed; keep full gloves in a pocket for breaks. A hat is essential, but it needs to stay on: a buff or a hat with a chin tie is far more useful on an exposed headland than a standard beanie that lifts off in the first strong gust.
Sitting low on a stool or foam mat reduces your profile to the wind and makes you physically more stable. On a very exposed site, sitting also reduces the fatigue of bracing yourself upright in strong gusts, which means you can paint for longer before the session becomes genuinely uncomfortable. Small practical additions, like lip balm and hand cream, prevent the minor miseries of wind-dried skin that quietly erode concentration over a long session.
A Quick Wind-Day Checklist
Windy day plein air checklist
Check the forecast
Look at wind speed and gust peaks, not just temperature. Know the direction before you choose your spot.
Choose your location
Find natural shelter — a wall, hedge, dune, or woodland edge — and set up on the downwind side.
Set up your easel low and wide
Spread the legs fully, point one leg downwind, and lower the working height as much as possible.
Weight the easel
Hang your kit bag from the central hook. If there is no hook, improvise with cord and a rock or peg.
Secure the panel
Tighten all clamps, add a bulldog clip backup, and tether the panel to the easel frame with a loop of cord.
Clip everything down
Bungee the palette, weight the rag, and keep brushes in hand or in a holder.
Adjust your aim
Work small, set a clear goal, and treat it as a study. Broad marks, strong values, light effects first.
Know your exit
Decide in advance at what point you will stop. One tip-over is enough.
Wind is part of painting outdoors in the UK. The coast, the moors, the open countryside: the conditions that make these places worth painting are the same conditions that make them challenging to work in. With the right preparation, a sheltered position, and a realistic aim for the session, wind becomes manageable, and the paintings you produce in difficult weather often carry an energy that calm, comfortable sessions rarely match. Use the checklist, find your shelter, and get out there.
FAQ
Frequently Asked Questions
What wind speed is too windy for plein air painting?
Use gusts as your guide. Sustained Beaufort 5 (29–38 km/h) needs shelter and shorter sessions. Beaufort 6 and above (39+ km/h) or gusts reaching that level mean you should seriously consider stopping. If your easel tips once, pack up.
How should I weight a tripod easel in wind?
Hang a loaded kit bag or backpack from the central hook to lower the centre of gravity. If there is no hook, tie a loop of cord around the legs and secure it to a rock or a ground peg. Keep the weight low, tight and stable so it does not swing.
How can I keep panels, palettes and tools from blowing away?
Tighten all easel clamps, add bulldog clips or ratchet straps as backups, and tether the panel to the frame with a loop of cord. Use a bungee or clamp to secure the palette and keep brushes in a holder or your working hand. Use rigid boards rather than stretched canvas on exposed sites.
Which painting media cope best with wind?
Oil is the most forgiving, though airborne dust is a risk. Watercolour is the most vulnerable because wind speeds drying and contamination. Gouache and acrylic skin over quickly; use misting for gouache and retarder for acrylic, and keep passages small.
How should I adapt my painting approach on windy days?
Work smaller and faster, set one clear aim for the study, and use broader arm or shoulder strokes rather than fine wrist work. Sit low to reduce your profile, and be ready to finish or protect the work if conditions worsen.
Author

PleinAirPainting Editorial Team
PleinAirPainting.co.uk helps artists paint outdoors with confidence through UK-focused guides, equipment advice, resources and plein air inspiration.